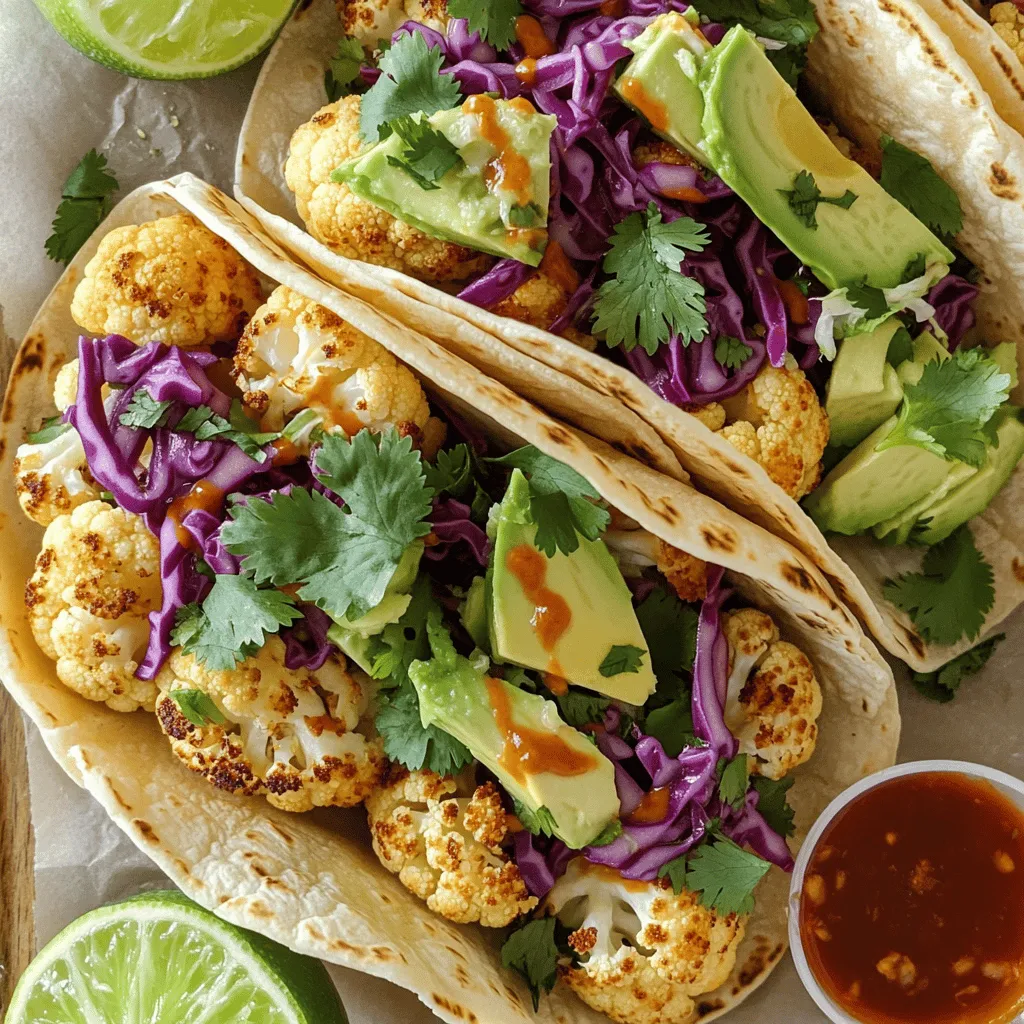
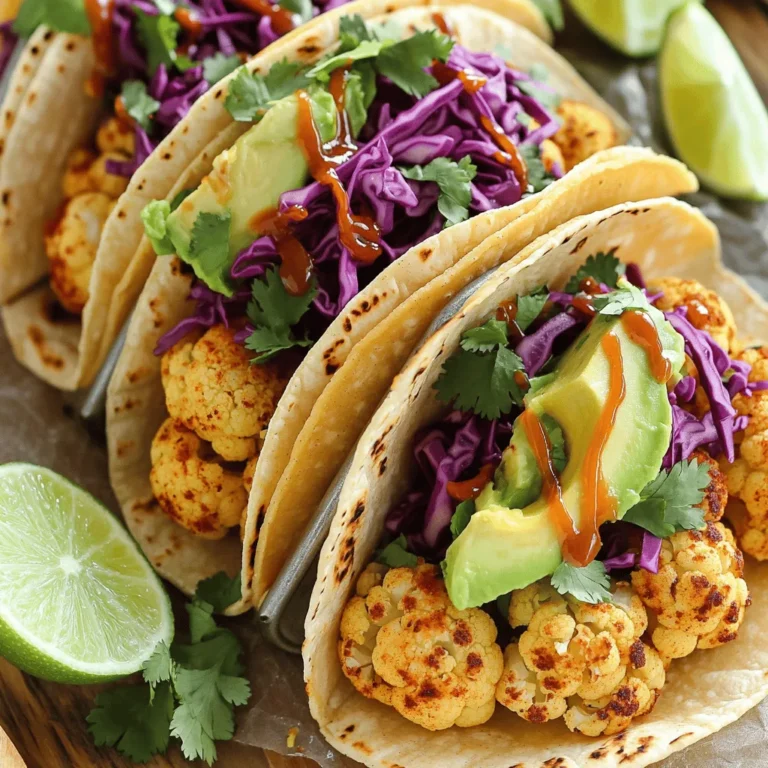
Are you ready to spice up your taco night? Roasted Cauliflower Tacos are the perfect blend of flavor and simplicity. With just a few ingredients, you can create a delectable meal everyone will love. In this post, I’ll take you step-by-step through the process, share handy tips, and offer tasty variations. Get ready for a fun and delicious cooking adventure that will impress your friends and family!
Ingredients
Main Ingredients for Roasted Cauliflower Tacos
– 1 large head of cauliflower, cut into bite-sized florets
– 2 tablespoons extra virgin olive oil
– 1 teaspoon smoked paprika
– 1 teaspoon ground cumin
– 1 teaspoon garlic powder
– 1/2 teaspoon chili powder
– Salt and freshly cracked black pepper to taste
– 8 small corn or flour tortillas
– 1 cup red cabbage, finely shredded
– 1 ripe avocado, sliced into thin wedges
– 1/2 cup fresh cilantro, roughly chopped
– 1 lime, cut into wedges
– Optional: your favorite hot sauce for drizzling
The main ingredients make this dish tasty and colorful. Cauliflower serves as the star, while spices give it a warm flavor. The tortillas hold everything together. You can customize your meal with fresh toppings like cabbage and avocado.
Optional Ingredients for Customization
– Other vegetables for added flavor
– Different sauces or dressings
You can add more veggies to make your tacos unique. Try bell peppers, onions, or even corn. Different sauces and dressings can change the taste too. A zesty lime crema or a spicy salsa can make your tacos pop.
Recommended Tools and Equipment
– Mixing bowl, baking sheet, and roasting pan
– Skillet for warming tortillas
Having the right tools makes cooking easier. A mixing bowl helps combine the cauliflower with spices. A baking sheet is essential for roasting. Use a skillet to warm your tortillas just right, making them soft and easy to fold.Enjoy your cooking adventure!
Step-by-Step Instructions
Preparing the Cauliflower
First, I preheat the oven to 425°F (220°C). This high heat helps the cauliflower roast well. Next, I grab a large mixing bowl. I add the bite-sized cauliflower florets along with olive oil, smoked paprika, ground cumin, garlic powder, chili powder, salt, and pepper. I mix everything well, coating the florets evenly.
Now, I line a baking sheet with parchment paper. This makes cleanup easy. I spread the seasoned cauliflower in a single layer. It is important not to crowd the florets. This helps them roast evenly.
Roasting the Cauliflower
Now it’s time to roast! I place the baking sheet in the hot oven. I set a timer for 25-30 minutes. Halfway through, I stir the cauliflower. This promotes even browning. I look for a golden-brown color on the edges. I know the cauliflower is done when it feels tender and has a nice crisp.
Assembling the Tacos
While the cauliflower roasts, I prepare the tortillas. I heat a dry skillet on medium heat. I warm each tortilla for about 30 seconds on each side. This makes them soft and easy to fold.
Once the cauliflower is ready, I take it out of the oven. I let it cool for a few minutes. Now comes the fun part! I place a generous amount of roasted cauliflower on each tortilla. Then, I layer on shredded red cabbage for crunch, avocado slices for creaminess, and a sprinkle of fresh cilantro for brightness. Finally, I squeeze fresh lime juice over each taco. If I want some heat, I drizzle on my favorite hot sauce.
I serve these tacos right away for the best flavor. Ready to enjoy?
Tips & Tricks
How to Achieve Perfectly Roasted Cauliflower
To get great roasted cauliflower, you must adjust the seasoning to your taste. I usually start with salt, pepper, and spices. A pinch more or less can change the flavor. Don’t hesitate to taste a piece before serving.
The right roasting temperature is key. I like to set my oven to 425°F (220°C). This heat gives the cauliflower a nice char and keeps it tender inside. Make sure your florets are in a single layer. Overcrowding will steam them instead of roasting.
Taco Assembly Tips
When stacking tacos, I suggest layering ingredients wisely. Start with roasted cauliflower, then add crunchy cabbage. Next, place avocado slices on top. This keeps everything balanced and tasty.
To avoid soggy tacos, heat the tortillas before filling them. A warm tortilla holds up better. You can warm them in a skillet for about 30 seconds on each side. This simple step makes a big difference.
Serving Suggestions
Pair these tacos with fresh sides and drinks for a complete meal. A simple salad or some chips with salsa works well. For drinks, a light beer or sparkling water can be great.
Presentation matters too! Arrange your tacos on a large platter. Garnish with extra cilantro and lime wedges. This adds color and makes the dish look inviting. Enjoy your meal!

Variations
Vegan and Non-Vegan Modifications
You can make these tacos for everyone. If you want a vegan option, skip the cheese and sour cream. Instead, use a creamy avocado sauce or cashew cream. If you prefer non-vegan, sprinkle some cheese on top. You might enjoy feta or cotija cheese. For protein lovers, add black beans or grilled chicken for extra heartiness.
Flavor Variations
Spices can change the taste a lot. Try adding chili flakes for heat or oregano for a fresh twist. You can also switch up the herbs. Cilantro is great, but try fresh parsley or dill too. The type of tortilla matters too. Corn tortillas give a nice crunch, but flour tortillas are soft and chewy. Experiment with both to find your favorite.
Seasonal Additions
Toppings can change with the seasons. In spring, use fresh radishes for a nice crunch. In fall, add roasted sweet potatoes for sweetness. For summer, fresh tomatoes and corn can brighten your tacos. For holidays, think about adding cranberry salsa or pumpkin puree for a festive touch. Each season brings new flavors to enjoy!
Storage Info
How to Store Leftovers
After enjoying your roasted cauliflower tacos, store any leftovers properly. Place the cooled cauliflower in an airtight container. It helps to keep the flavors fresh. You can also use glass containers, which are great for microwave warming. If you want to freeze the cauliflower, ensure it is in a freezer-safe bag or container. Remove as much air as possible to prevent freezer burn.
Reheating Tips
When reheating, keep the cauliflower crispy. Use an oven or air fryer to warm it up. Set the oven to 375°F (190°C) and heat for about 10 minutes. This will help retain that delightful crunch. Store tortillas separately to keep them soft and pliable. Warm them in a skillet for about 30 seconds before serving.
Shelf Life and Quality
Roasted cauliflower will last in the fridge for about 3 to 5 days. The tortillas should stay fresh for about a week. Signs that your leftovers are no longer good include off smells, a slimy texture, or unusual colors. Always trust your senses! If anything seems off, it’s best to discard it.
FAQs
Can I make Roasted Cauliflower Tacos ahead of time?
Yes, you can prepare these tacos in advance. To do this, roast the cauliflower and store it in a container. Keep it in the fridge for up to three days. Warm it in the oven before serving. This keeps it crispy. You can also warm the tortillas just before eating.
What can I substitute for cauliflower?
If you want to switch things up, use other vegetables like broccoli or sweet potatoes. You can even try chickpeas for extra protein. Just make sure to adjust the cooking time based on what you choose.
How can I make these tacos spicier?
Add more chili powder or sprinkle in cayenne pepper for heat. You can also drizzle your favorite hot sauce. Brands like Sriracha or Cholula work well. If you like a smoky flavor, try chipotle hot sauce. These options will add a nice kick to your tacos!
Roasted cauliflower tacos are delicious and versatile. We covered key ingredients, tools, and step-by-step instructions. You learned tips for perfect roasting and how to assemble your tacos right. From vegan options to seasonal toppings, there’s room for creativity.
With proper storage and reheating, leftovers can shine just as bright. Enjoy experimenting to make this recipe your own. Every bite can be a tasty adventure!


