Cinnamon Roll Baked Oatmeal Easy and Tasty Recipe
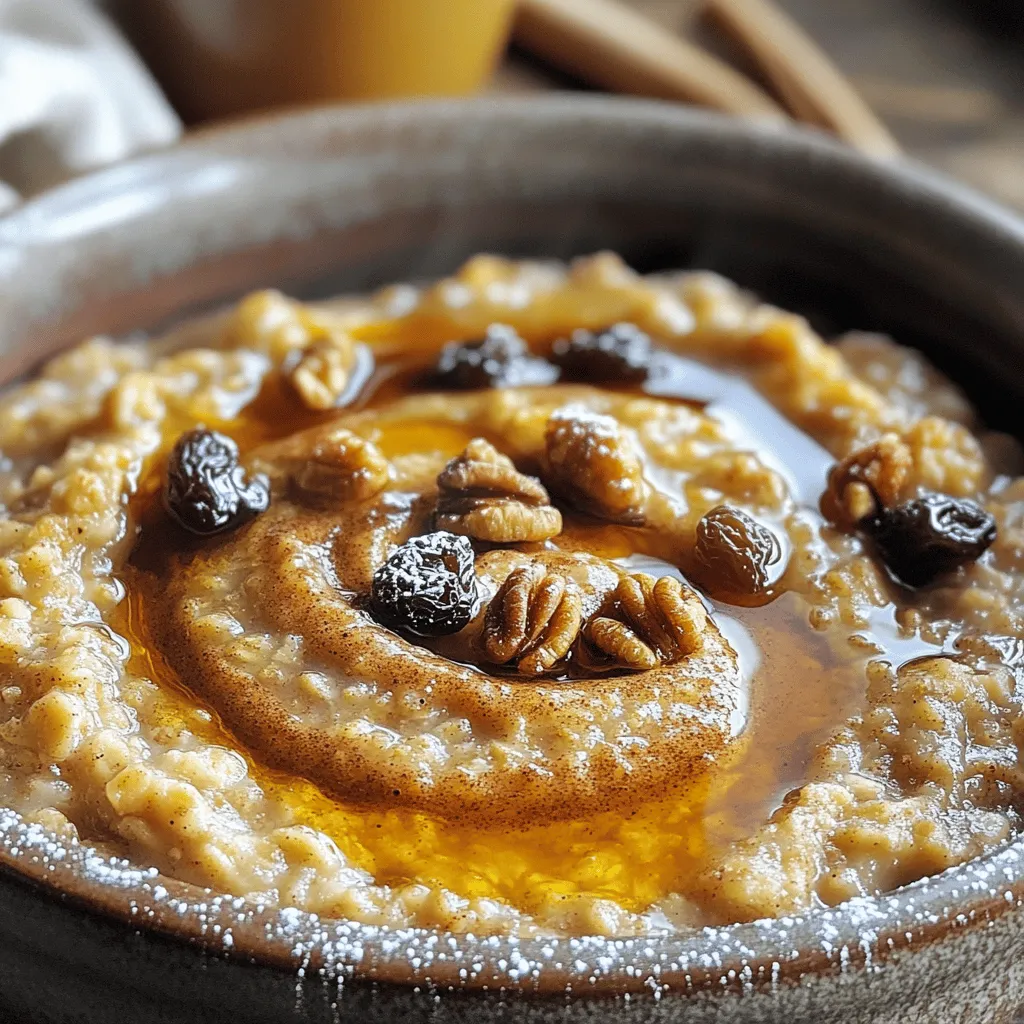
Looking for a warm, comforting breakfast that’s easy to make? Cinnamon Roll Baked Oatmeal is the perfect solution! This tasty
Looking for a warm, comforting breakfast that’s easy to make? Cinnamon Roll Baked Oatmeal is the perfect solution! This tasty
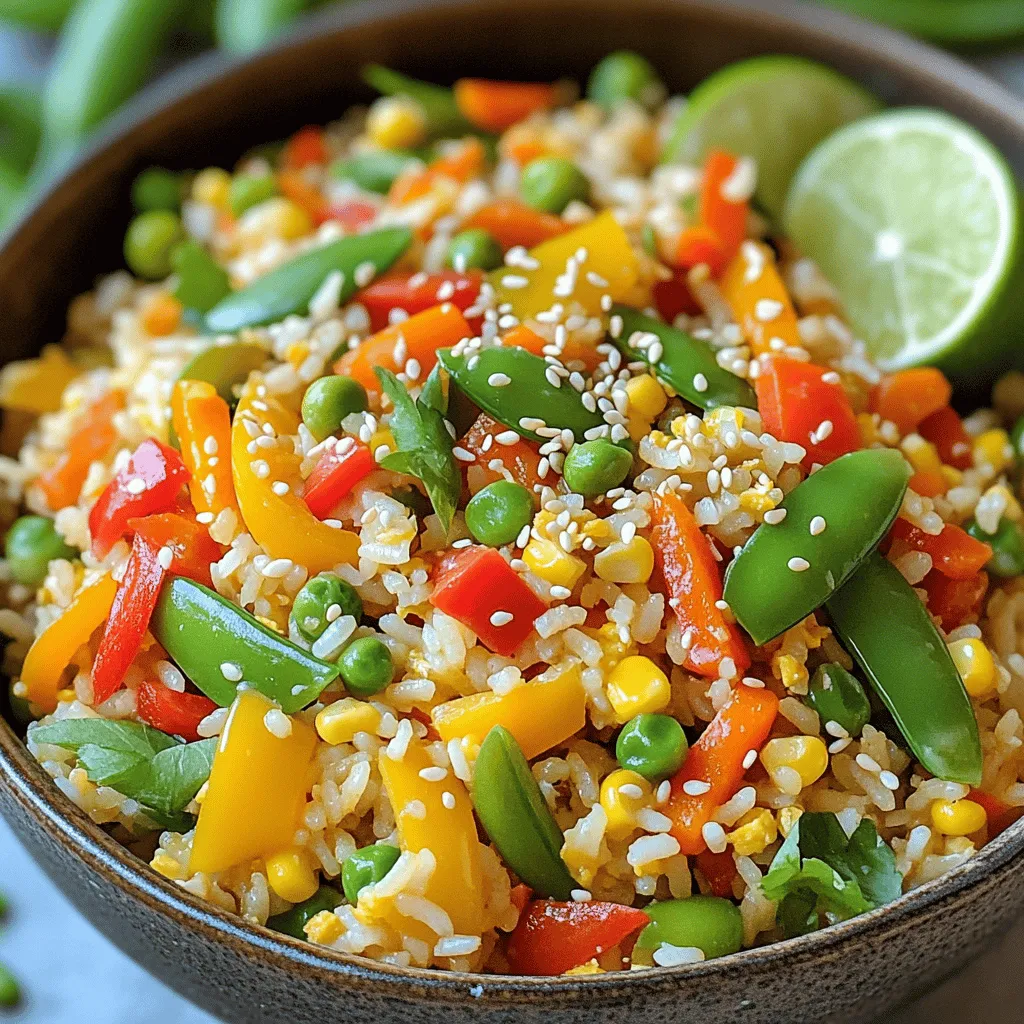
Looking for a meal that’s both tasty and healthy? Veggie Loaded Fried Rice is your answer! Packed with colorful veggies
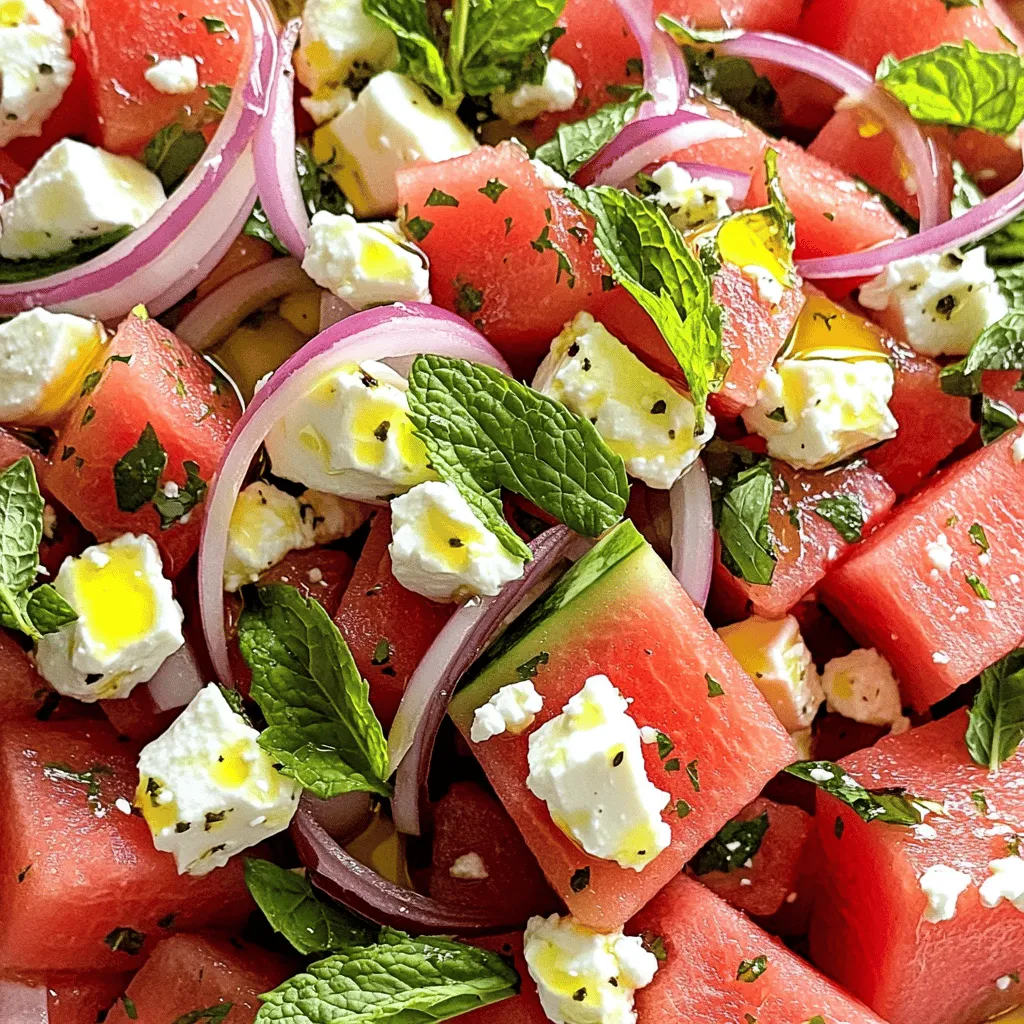
Looking for a fresh and flavorful dish to wow your guests? The Watermelon Feta Mint Salad is a perfect choice!
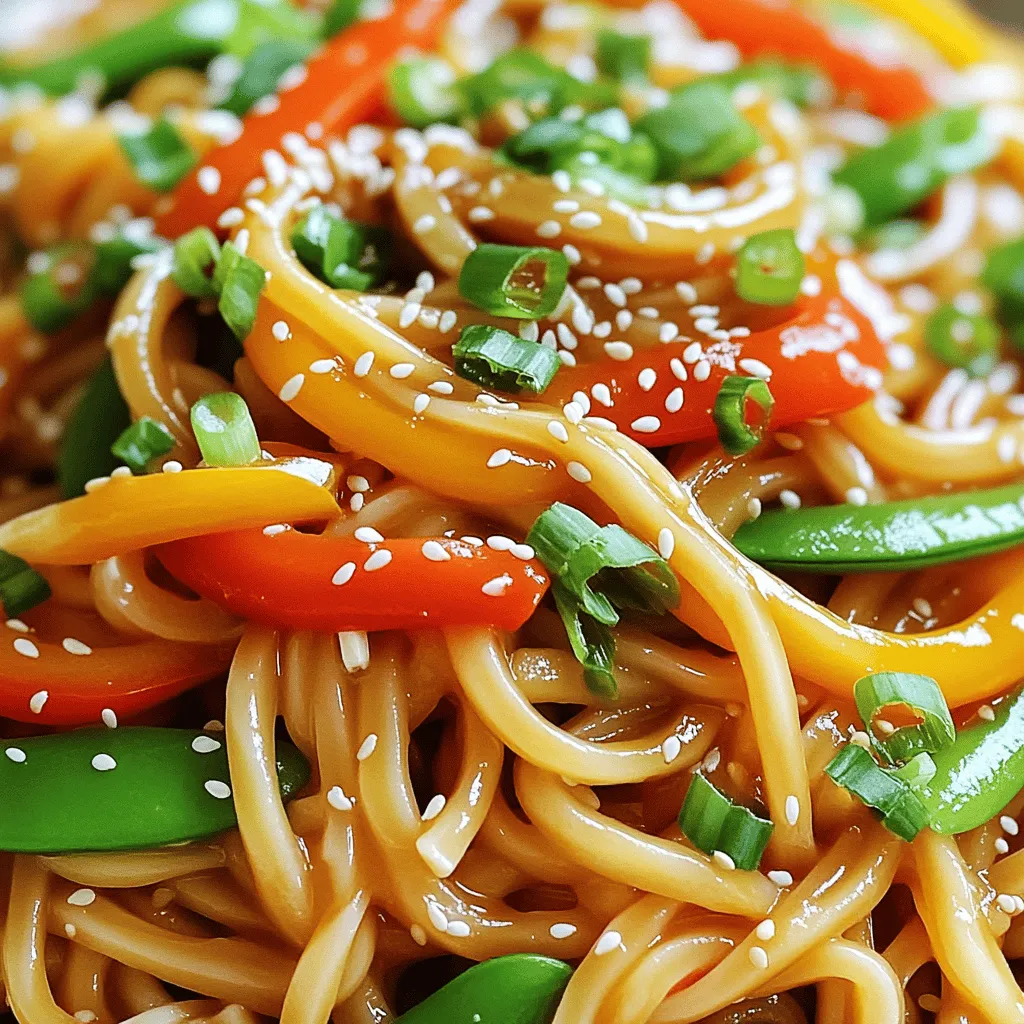
Looking for a quick and tasty dinner? You’ve come to the right place! This Chili Garlic Udon Noodles recipe packs

If you’re craving a warm and hearty dish, look no further than my Creamy Chicken Gnocchi Soup! This comforting recipe

Are you ready to boost your dinner routine with a dish that’s both tasty and healthy? This Teriyaki Tofu Stir

Are you ready to whip up a dish that’s bold, tasty, and easy to make? Tuscan Sausage Gnocchi brings together
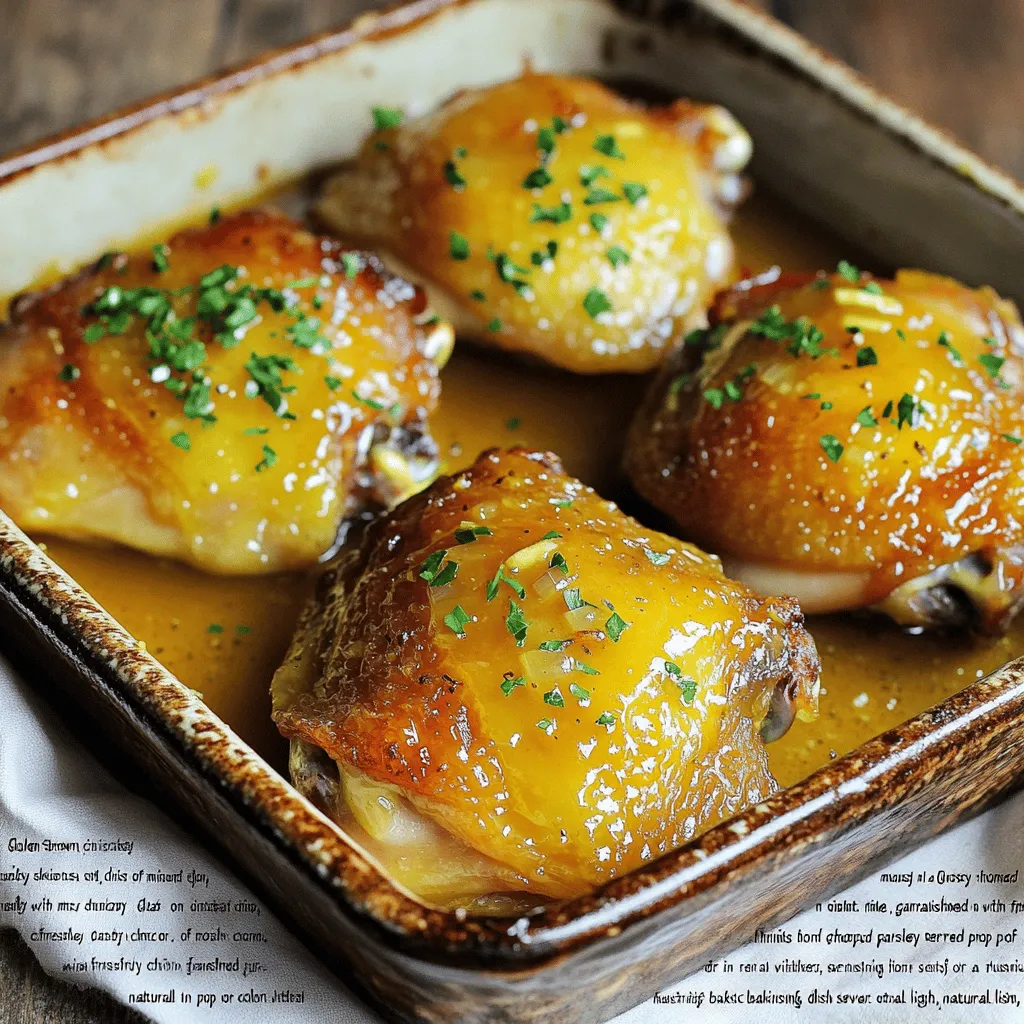
Are you ready to transform your weeknight dinners with an easy and delicious dish? My Honey Mustard Chicken Thighs recipe

Looking for a fresh and flavorful dish? Avocado Pesto Zucchini Noodles are your perfect match! This recipe offers a light

Looking for a quick and tasty meal? Garlic Butter Steak Bites are your answer! In this easy recipe, I’ll show
