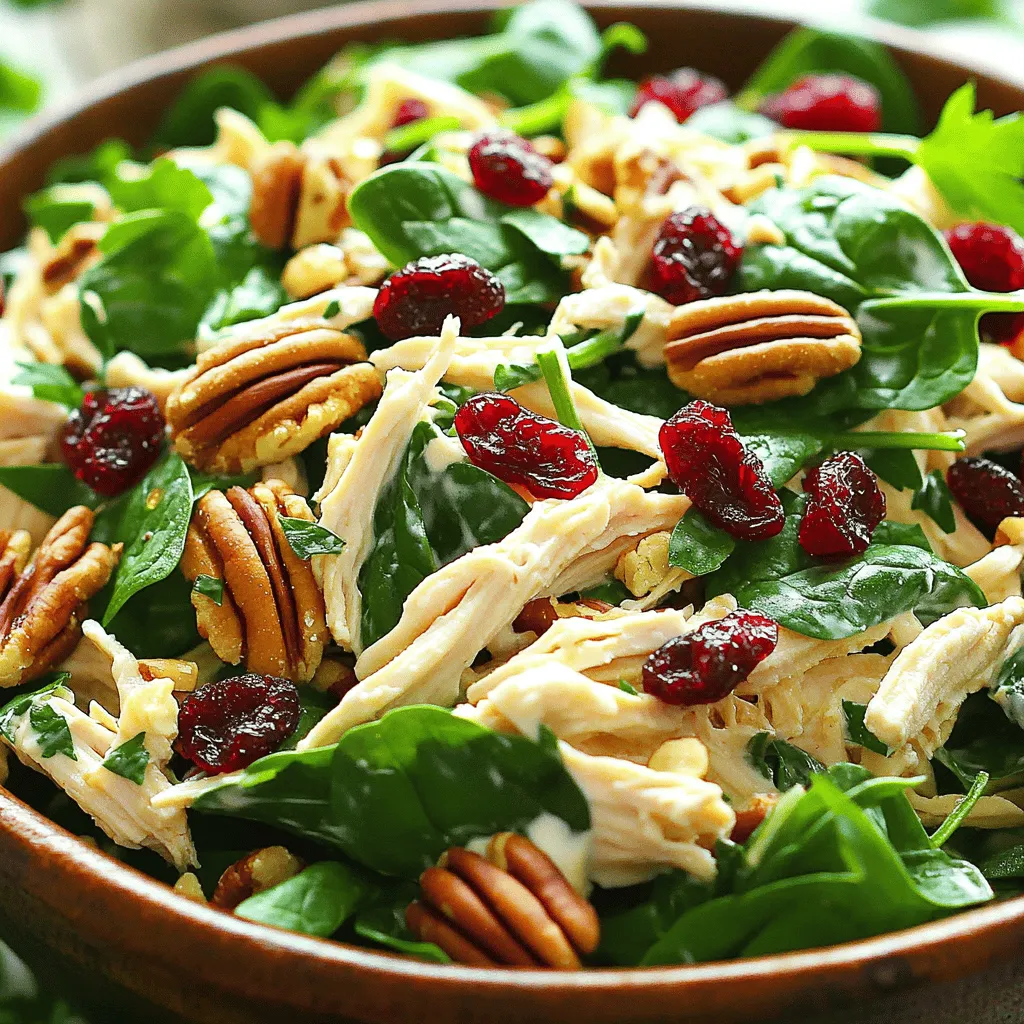
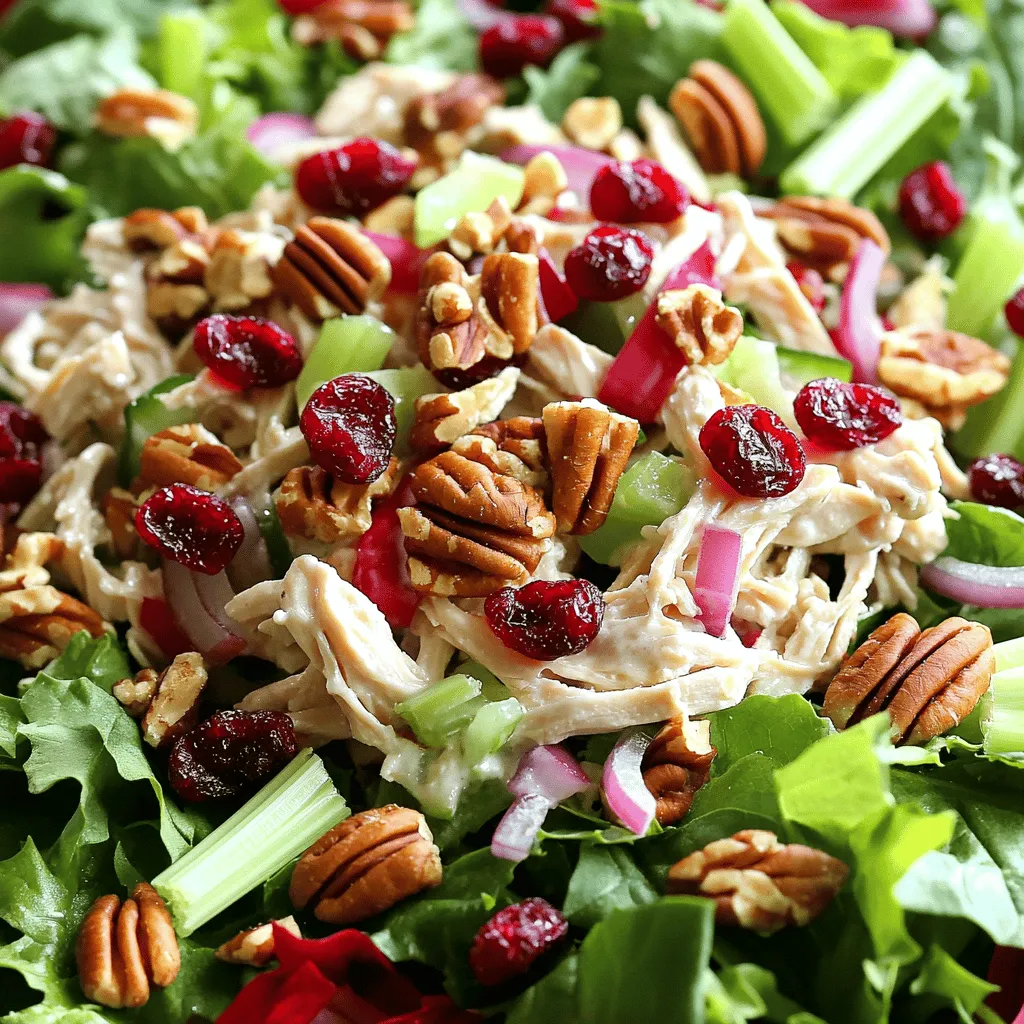
Cranberry Pecan Chicken Salad Fresh and Flavorful Meal
Looking for a fresh and tasty meal? My Cranberry Pecan Chicken Salad hits the spot! This salad combines juicy chicken,
Looking for a fresh and tasty meal? My Cranberry Pecan Chicken Salad hits the spot! This salad combines juicy chicken,
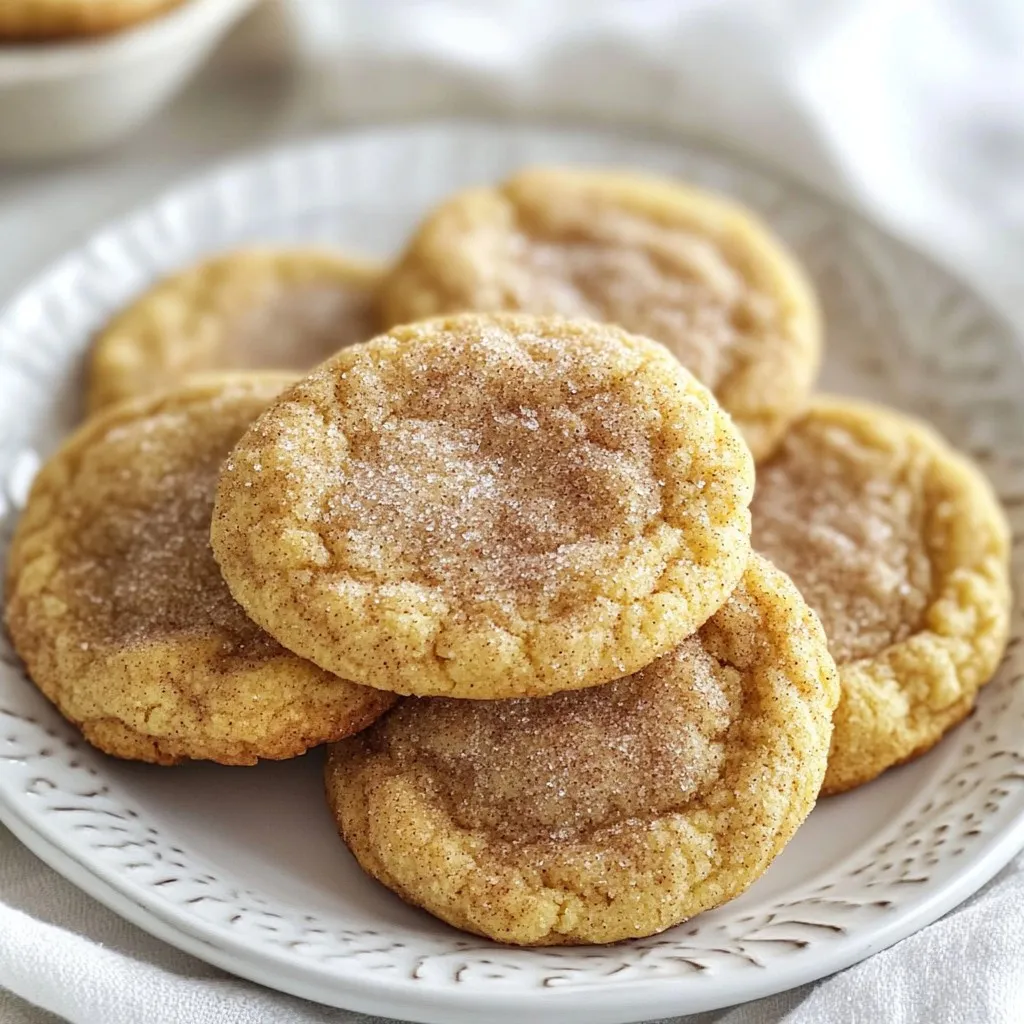
If you love cookies, then you need to try these Brown Butter Snickerdoodle Cookies! They blend rich, nutty brown butter
Are you looking for a simple yet delicious dish that will impress everyone at your table? Look no further than
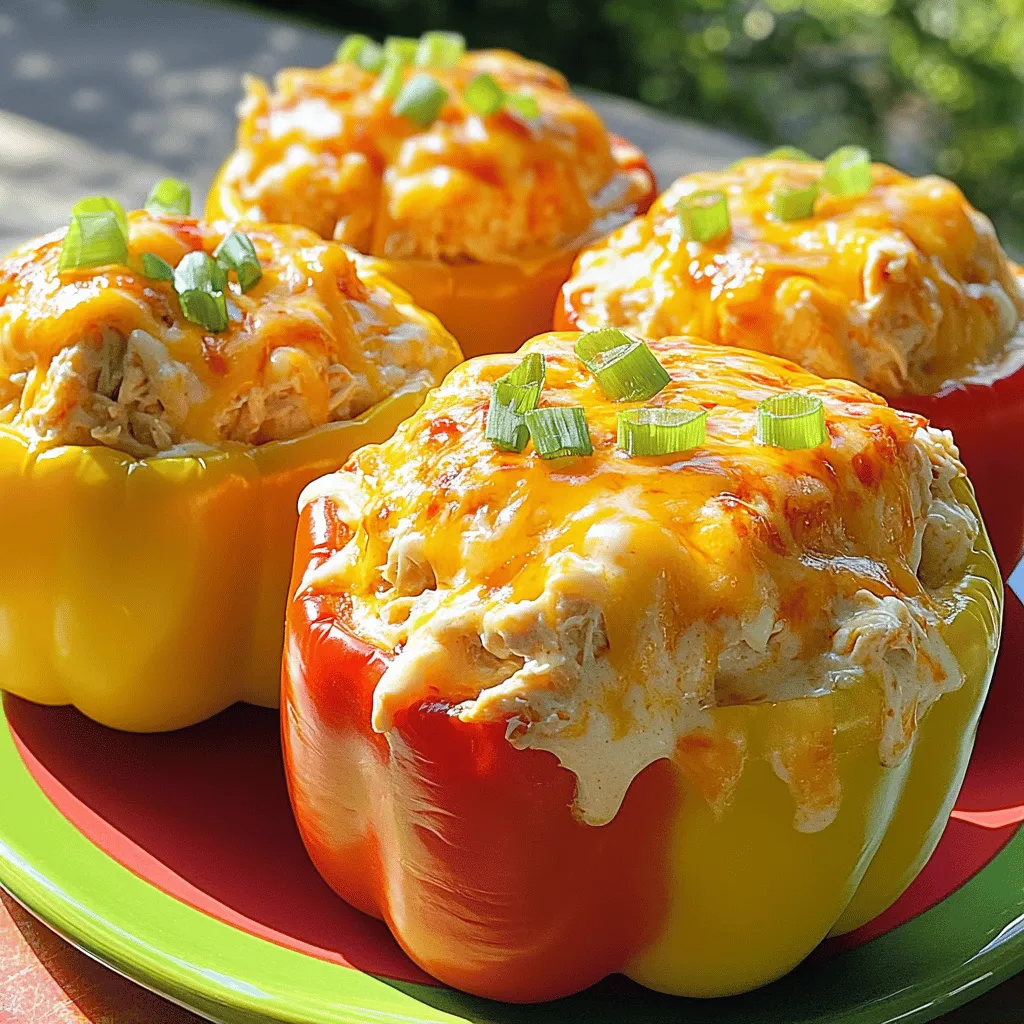
Are you ready to spice up your dinner routine? Buffalo Chicken Stuffed Peppers combine bold flavors with a simple cooking

Craving something warm and comforting? This Creamy Broccoli Cheddar Soup will hit the spot! I’ll guide you through making a
Are you ready to brighten up your meal routine? In this post, I’ll share my tasty and simple recipe for

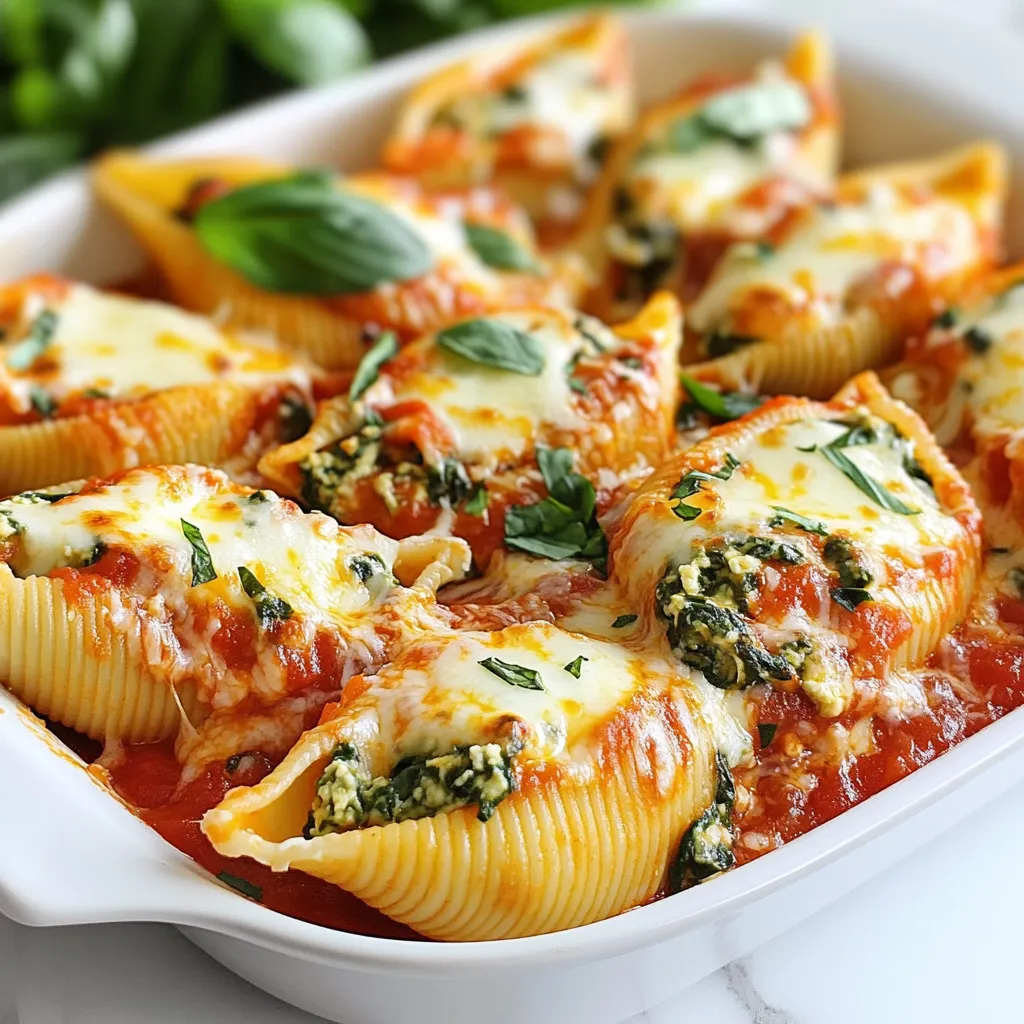
If you’re craving a rich, flavorful pasta dish that’s surprisingly easy to make, look no further than Creamy Roasted Red
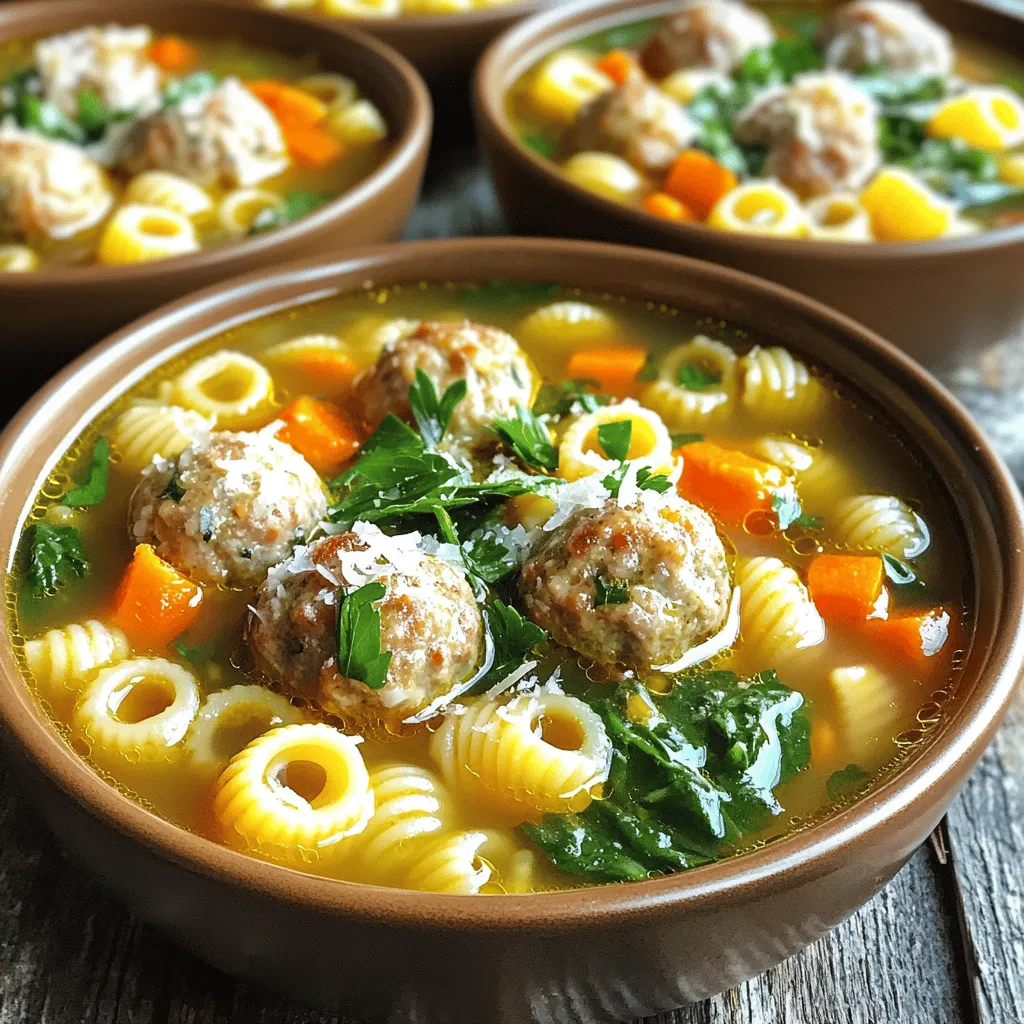
Welcome to my kitchen! Today, I’m sharing Italian Wedding Soup, a warm hug in a bowl. This soup features tender

Craving a treat that’s both sweet and tangy? Look no further! My Cranberry Orange Shortbread Cookies are the perfect blend
 This blog post covered everything you need to make Caprese-Stuffed Garlic Bread. We talked about the key ingredients, how to prepare them, and even storage tips. You can make this dish your own with easy substitutions and by adding new flavors. In the end, cooking is about enjoying the process. Have fun, share with friends, and savor every bite. Happy cooking!](https://tastymomrecipes.com/wp-content/uploads/2025/08/bbf3e69a-01dd-49d4-b9d0-ce6b57c4fa97.webp)
Are you ready for a taste sensation? My Caprese Stuffed Garlic Bread is a savory delight that will blow your
