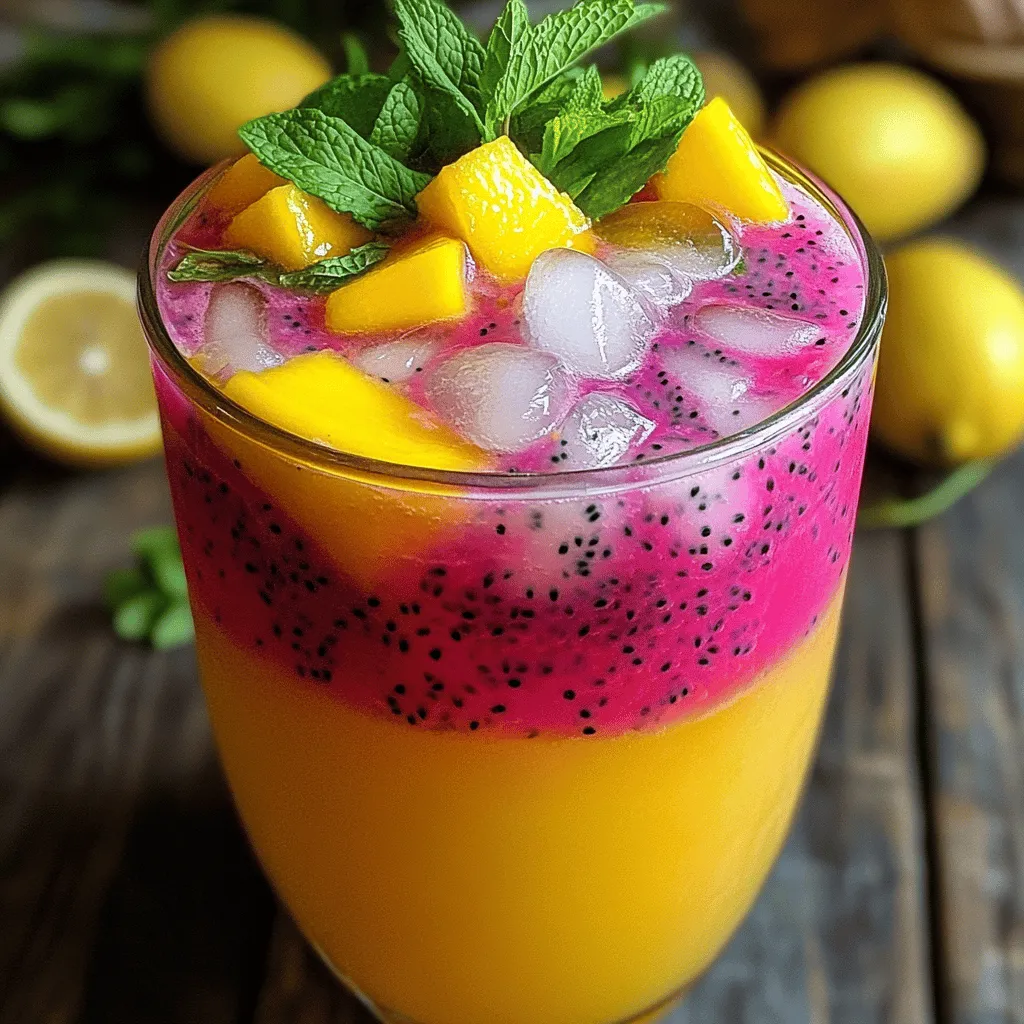
Mango Dragonfruit Lemonade Refreshing Summer Treat
Looking for a vibrant drink to beat the heat this summer? Try my Mango Dragonfruit Lemonade! This refreshing mix of
Looking for a vibrant drink to beat the heat this summer? Try my Mango Dragonfruit Lemonade! This refreshing mix of
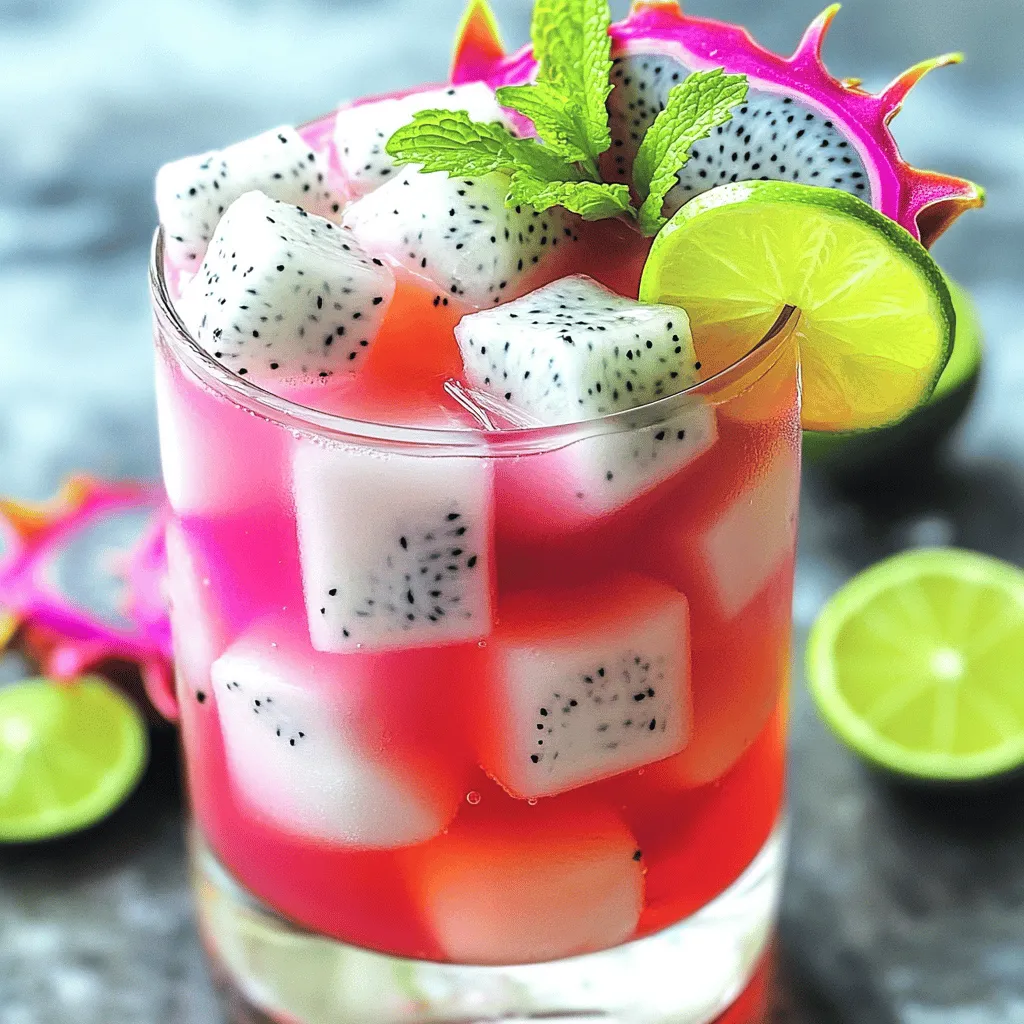
Looking to recreate the vibrant taste of a Dragon Fruit Refresher at home? You’ve come to the right place! In
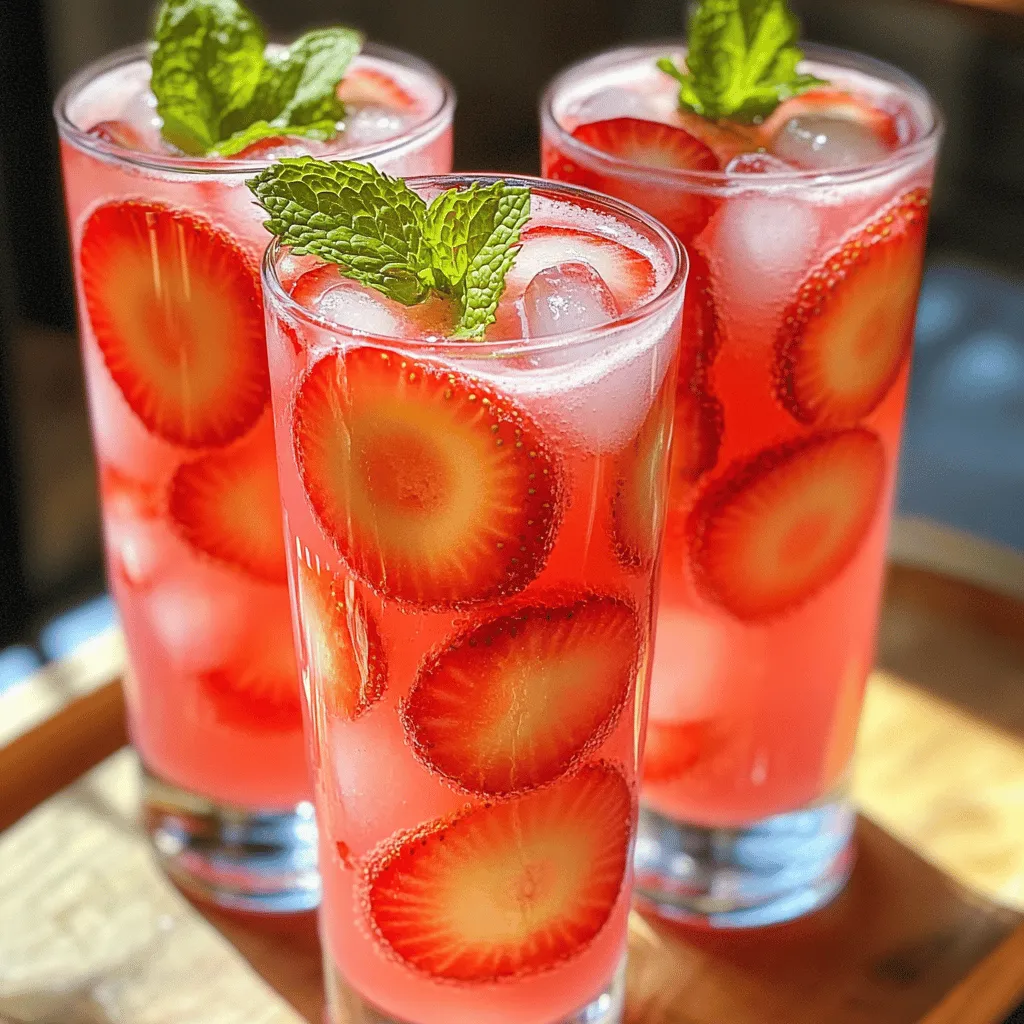
Are you craving a refreshing drink that’s both easy to make and delicious? Look no further! This Strawberry Pink Drink
![Matcha powder is the star of this drink. It gives your iced matcha latte that vibrant green color. I use 2 teaspoons of high-quality matcha powder. This helps you enjoy the rich flavor and health benefits. Look for matcha that is bright and finely ground. The better the matcha, the better your drink will taste. Next, you need milk. You can pick from many types. I often use 1 cup of dairy milk for creaminess. Almond milk and oat milk also work well. Each option changes the flavor slightly. Dairy milk gives a rich taste, while almond adds a nutty note. Oat milk is sweet and smooth. Choose what you love best. For sweetness, I like to add honey or maple syrup. Use about 1 tablespoon for a balanced flavor. If you want it sweeter, feel free to adjust. You can also skip sweeteners if you prefer a more earthy taste. The choice is yours! This recipe helps you create a drink that feels just right. To find the complete recipe, check out the [Full Recipe]. To start, measure 2 teaspoons of matcha green tea powder. Sift it into a small bowl. Sifting helps break up clumps for a smooth drink. Next, add 2-3 tablespoons of hot water. Make sure the water is hot but not boiling. Use a bamboo whisk or frother to mix it well. Whisk until the matcha dissolves and gets frothy. Set it aside to cool. This step is crucial for a tasty latte. In another bowl, pour in 1/2 cup of heavy cream or coconut cream. Add 1 tablespoon of vanilla extract for flavor. If you like it sweeter, add 1 tablespoon of powdered sugar. Whisk this mixture until soft peaks form. You can use a hand mixer for fluffier cream. This sweet cream adds a rich touch to your latte. Grab a tall glass and fill it with ice cubes. Pour in 1 cup of your favorite milk, like dairy, almond, or oat. This creates a cool base. Then, gently pour the cooled matcha over the milk. Sweeten it with honey or maple syrup based on your taste. Stir gently to mix while keeping a pretty marbled effect. Finally, top your iced matcha latte with the vanilla sweet cream you made. Optionally, sprinkle a little matcha powder on top for a beautiful finish. Enjoy your drink! For the complete recipe, check the Full Recipe link. When making an iced matcha latte, quality matters. Look for bright green matcha powder. This color shows that it is fresh and full of flavor. Avoid dull or yellowish powders. They often lack the rich taste you want. Try to choose ceremonial grade matcha for the best quality. It has a smooth texture and a sweet taste. Your drink will be much better with this choice. To get that perfect foam for your vanilla sweet cream, use cold cream. Heavy cream or coconut cream works great. Whisk it until soft peaks form. This means it should hold its shape but still be soft. If you want even more foam, use a hand mixer. Just be careful not to over-whisk. You want your cream to be fluffy, not stiff. Sweetness is personal. You can add honey or maple syrup to your matcha latte. Start with one tablespoon and taste it. If you want it sweeter, add more. Remember, the vanilla sweet cream adds sweetness too. So, balance is key. You can also use stevia or agave if you prefer. Just find what makes your taste buds happy. Check out the Full Recipe for more details on how to make the perfect iced matcha latte with vanilla sweet cream! {{image_4}} If you want a dairy-free option, try almond or oat milk. These milks add a nice flavor and creaminess. Coconut milk is another great choice. It gives your latte a tropical twist. Just remember to choose unsweetened versions to control the sugar levels. You can change up the vanilla sweet cream too. Add a splash of caramel or hazelnut syrup for a unique taste. You can even use flavored extracts like almond or coconut. This makes your iced matcha latte exciting and personal. For more flavor, mix in spices like cinnamon or cardamom. A pinch of matcha powder with chocolate adds a rich taste. You can also blend in fruits like banana or mango for a fruity twist. Each change gives your latte a fresh, new vibe. For the full recipe, check out the section above. To keep your iced matcha latte fresh, store any leftovers in the fridge. Use an airtight container to avoid any strong odors. Consume within 24 hours for the best taste. If you store the vanilla sweet cream separately, it can last up to two days in the fridge. Just give it a quick whisk before using it again. You can prepare the matcha and the sweet cream ahead of time. Sift and mix your matcha powder with water. Let it cool before storing. For the sweet cream, whisk it up and store it in a jar. When you're ready to enjoy, just pour your favorite milk over ice and add the matcha and cream. - Matcha Powder: Lasts up to a year if kept cool and dry. - Milk: Check the expiration date; use it within a week after opening. - Honey or Maple Syrup: Can last indefinitely if sealed well. - Heavy Cream: Typically lasts about a week in the fridge. - Vanilla Extract: Lasts for years when stored away from light. - Powdered Sugar: Can last indefinitely if kept dry. By following these storage tips, you can enjoy your iced matcha latte with vanilla sweet cream longer! For a detailed recipe, check the Full Recipe for step-by-step guidance. Yes, you can use regular sugar in your iced matcha latte. Just remember, sugar dissolves best in warm liquids. If you want it to mix well, add the sugar to your matcha while it's still warm. Stir until it fully dissolves. You can adjust the amount based on how sweet you like your drink. You have many options for milk! Dairy milk gives a creamy taste. Almond milk adds a nutty flavor. Oat milk is smooth and sweet. Choose what you love most. Each type will change the taste a bit. So, feel free to experiment with different milks to find your favorite! To make your iced matcha latte vegan, simply swap out dairy products. Use a plant-based milk, like almond, soy, or oat milk. For the sweet cream, use coconut cream instead of heavy cream. This keeps it rich and creamy. Plus, use maple syrup or agave instead of honey for sweetening. It’s that easy! If you want more info, check out the Full Recipe. You now have all the steps to make an iced matcha latte. We covered the key ingredients, from matcha powder to sweeteners. I shared easy instructions for preparing and assembling your latte. You learned tips to choose quality matcha and make perfect foam. You can also explore variations to match your taste. Storing the ingredients properly ensures longer use. Enjoy crafting your drink, and don’t hesitate to experiment with flavors. Your iced matcha latte journey starts now!](https://tastymomrecipes.com/wp-content/uploads/2025/07/a2016e48-08ae-4945-bbe0-5e48f17adad0.webp)
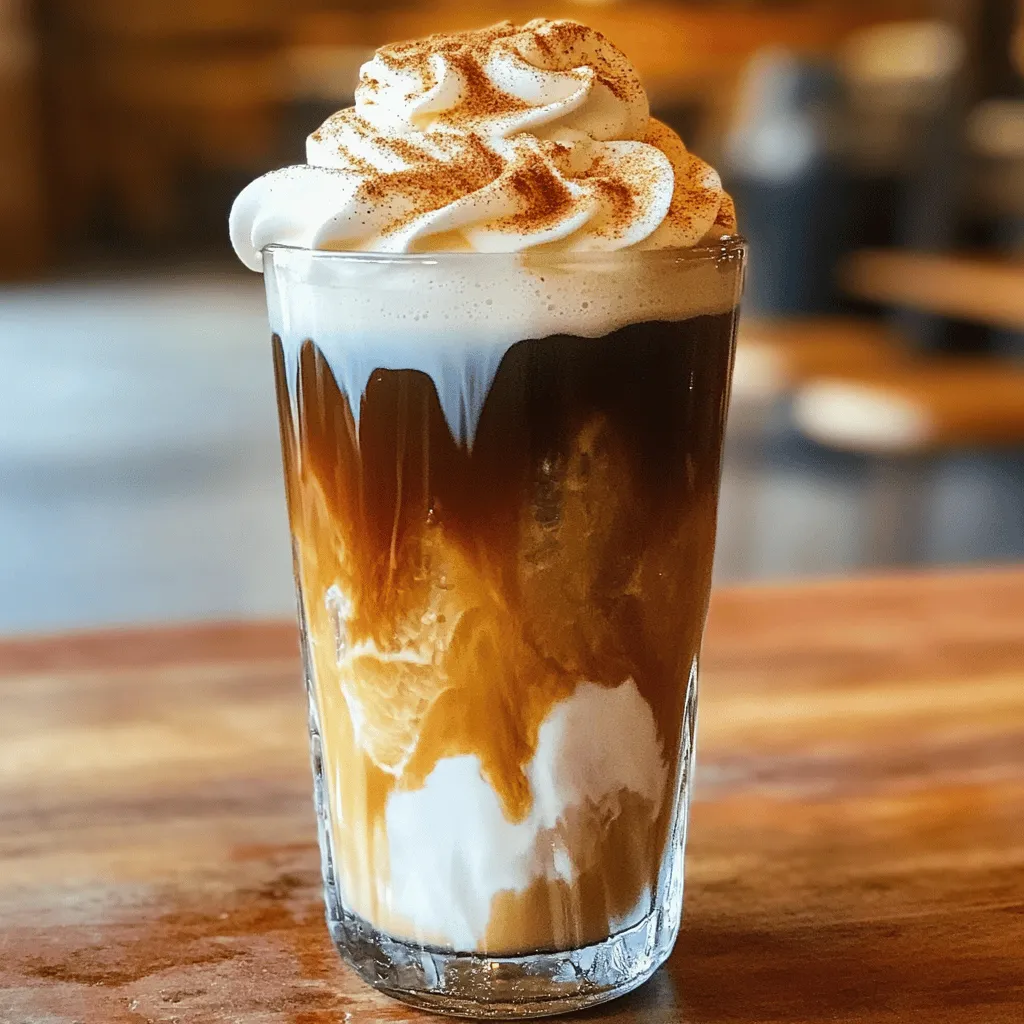
If you crave a refreshing drink that combines rich matcha and sweet cream, you’re in the right place! In this

Are you ready to elevate your coffee game? The Dirty Chai Latte is a bold fusion of spicy chai tea
Are you craving that sweet, cozy flavor of a Brown Sugar Shaken Espresso but don’t want to hit the café?
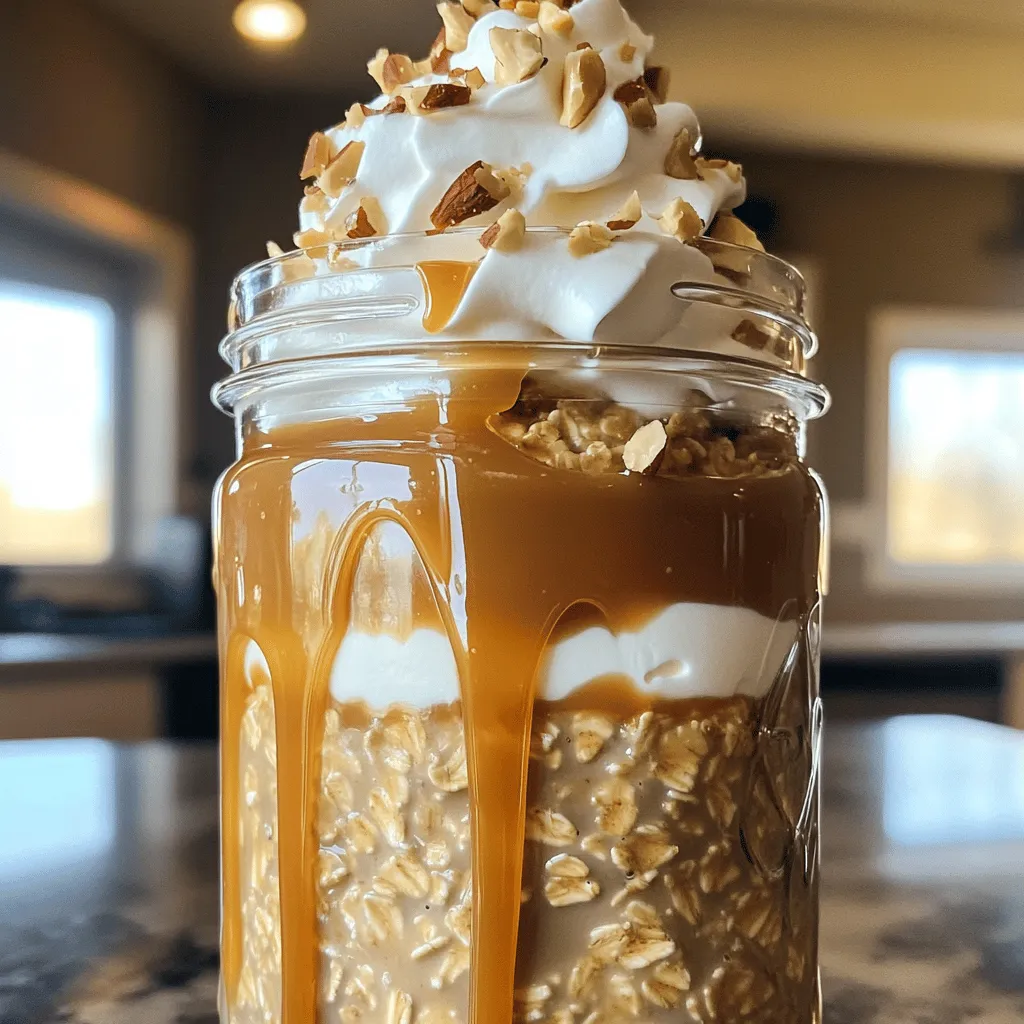
Start your day with a delightful twist! Caramel Macchiato Overnight Oats combine your favorite coffee flavor with healthy oats. You’ll
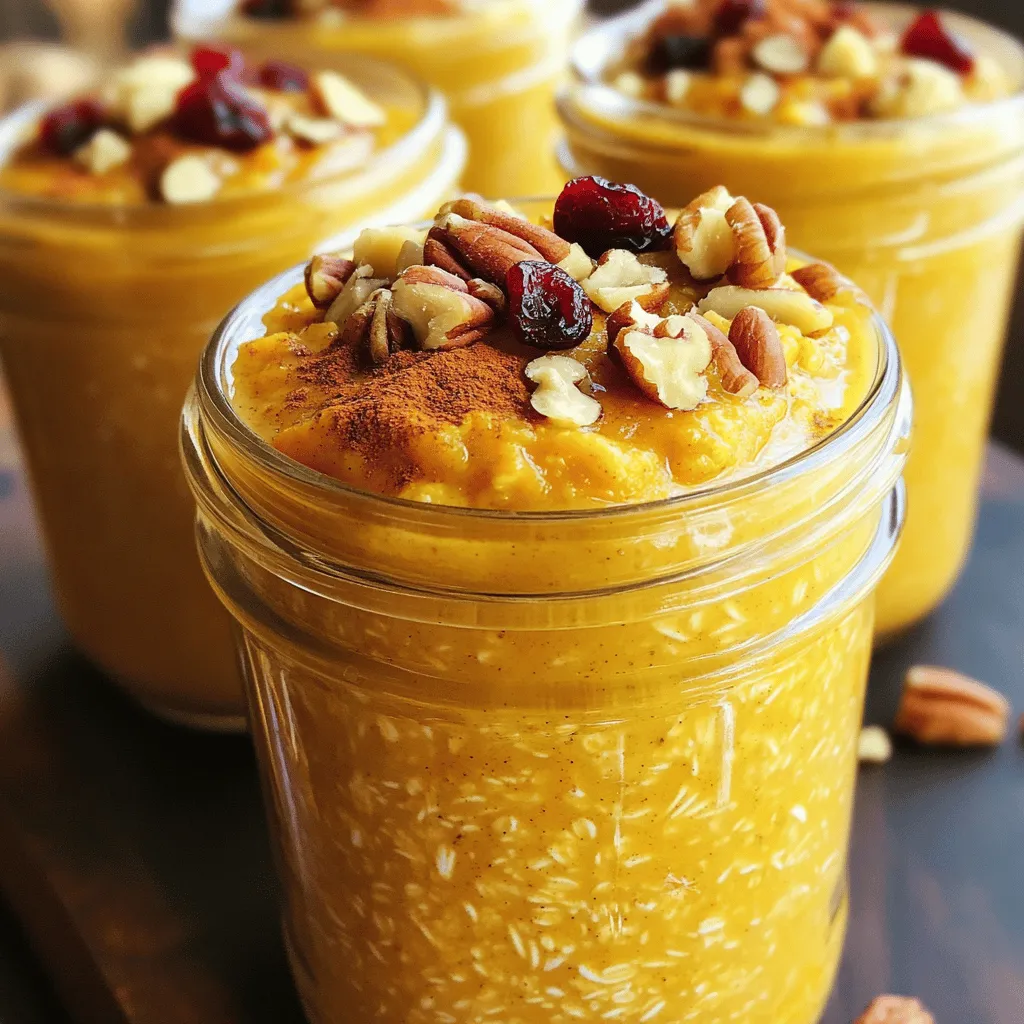
If you’re craving a warm taste of fall, these Pumpkin Spice Overnight Oats are a perfect treat. Packed with flavors
![- 1 lb Brussels sprouts, freshly trimmed and halved - 2 tablespoons extra virgin olive oil - 3 tablespoons pure honey - 2 tablespoons Sriracha sauce - 1 tablespoon low-sodium soy sauce - 2 cloves fresh garlic, finely minced - Salt and freshly cracked pepper, to taste - Sesame seeds for garnish (optional) - Green onions, thinly sliced for garnish (optional) The main ingredients for Honey Sriracha Brussels sprouts work together to create a tasty dish. Brussels sprouts are the star here. They are rich in vitamins and have a nice crunch. The honey adds sweetness, while Sriracha brings heat. The olive oil helps everything roast nicely. The soy sauce adds depth to the flavor. Garlic gives an extra kick. When you mix these ingredients, you get a blend of sweet and spicy. This balance makes every bite exciting. For garnish, sesame seeds add a nice crunch. Green onions give a fresh taste. You can skip these if you want, but they add to the look and taste. This dish is easy to make. You can follow the Full Recipe for step-by-step guidance. Enjoy the zesty flavor boost! - Preheat oven to 400°F (200°C). - Prepare Brussels sprouts by trimming and halving them. - Toss Brussels sprouts in olive oil. - Prepare honey-Sriracha glaze in a separate bowl. To make the glaze, mix honey, Sriracha, soy sauce, garlic, salt, and pepper. This mix brings sweet and spicy flavors together. You control the spice by adjusting the Sriracha. If you want it hotter, add more! - Spread Brussels sprouts on a lined baking sheet. - Roast for 20-25 minutes and garnish before serving. Halfway through roasting, stir the sprouts for even cooking. When they finish, they should be brown and tender. To serve, sprinkle with sesame seeds and green onions for a fresh touch. Enjoy your Honey Sriracha Brussels sprouts! For the complete recipe, check the [Full Recipe]. To get the best out of your Honey Sriracha Brussels sprouts, space them out on the baking sheet. This spacing allows hot air to circulate, leading to even roasting. Stir them halfway through cooking to ensure they caramelize nicely. This step helps each sprout get that golden-brown color and enhances the flavor. Adjust the Sriracha according to your taste. If you love heat, add more. For a milder dish, use less. You can also boost the sweetness with extra honey if you want. This balance makes the sprouts shine with flavor, giving you a perfect sweet and spicy bite. Serve these Brussels sprouts right after cooking for the best texture. Their crispness is key to enjoying this dish. They pair well with grilled chicken or tofu, making them a great side dish. You can also add them to salads or bowls for a zesty twist. For a full recipe, check out the Honey Sriracha Brussels Sprouts Delight. {{image_4}} - You can use maple syrup instead of honey. This makes the dish vegan. - If you want a gluten-free option, use coconut aminos in place of soy sauce. - For more heat, add crushed red pepper flakes to the glaze. - You can mix in other veggies like carrots or bell peppers for extra color and taste. These tasty changes will give your Honey Sriracha Brussels Sprouts a fresh twist. Try them out to find your favorite flavor! Don't forget to check the Full Recipe for complete details on making this dish. Store any leftover Honey Sriracha Brussels sprouts in an airtight container. They will stay fresh for up to 3 days. This helps keep their flavor and texture intact. Make sure the container seals well. This way, you avoid moisture loss and keep them tasty. To enjoy your leftovers, reheat them in the oven or air fryer. This method gives the sprouts a nice crisp texture. Heat them at 350°F (175°C) for about 10 minutes. Keep an eye on them to ensure they don’t overcook. If you're in a hurry, the microwave is a quick option. Just remember, it may make the sprouts a bit soggy. For the best experience, stick with the oven or air fryer. Try these methods for a delicious taste every time. For the full recipe, check out the [Full Recipe]. Yes, you can prep and coat the sprouts ahead of time. Just roast them right before serving for the best results. This keeps them crisp and full of flavor. If you don’t have Sriracha, you can use chili paste or another hot sauce. Adjust the amount to fit your taste. This way, you still get that spicy kick. Yes, Brussels sprouts are very healthy. They are packed with nutrients, high in fiber, and low in calories. Eating them can help you feel full and satisfied without extra calories. You’ll know the Brussels sprouts are done when they are tender and caramelized. Look for a nice brown exterior. This shows they have roasted well and developed great flavor. In this blog post, we covered a delicious recipe for Honey Sriracha Brussels sprouts. We looked at the simple ingredients, step-by-step instructions, and helpful tips for perfect results. Remember to roast these sprouts to a tasty, caramelized finish. You can customize flavors or try healthier swaps as needed. Enjoy them right away for the best texture. Cooking should be fun and simple, so get creative and enjoy your meal!](https://tastymomrecipes.com/wp-content/uploads/2025/07/3a1e863e-7390-498c-82a8-2748815b3939.webp)
Looking to spice up your vegetable game? Honey Sriracha Brussels sprouts deliver a zesty flavor boost that elevates any meal.
![To make delicious Lemon Blueberry Ricotta Pancakes, you need a few simple ingredients. Each one plays an important role in creating that light and fluffy texture. Here’s what you will gather: - 1 cup ricotta cheese - 1 cup all-purpose flour - 2 tablespoons granulated sugar - 1 teaspoon baking powder - 1/2 teaspoon baking soda - 1/4 teaspoon fine sea salt - 3/4 cup whole milk - 2 large eggs, at room temperature - Zest of 1 lemon (about 1 tablespoon) - 2 tablespoons freshly squeezed lemon juice - 1 cup fresh blueberries (preferably small and plump) - Butter or vegetable oil, for cooking These ingredients work together to create a wonderful balance of flavors. The ricotta adds creaminess, while the lemon gives a fresh zing. The blueberries burst with sweetness, making each bite a treat. You can find the Full Recipe to guide you through the steps of making these pancakes. To start, I mix the wet ingredients. In a large bowl, I add ricotta cheese, whole milk, eggs, lemon zest, and lemon juice. I use a whisk to blend these until smooth. It is very important to ensure no lumps remain in the ricotta mixture. This step helps the pancakes become light and fluffy. Next, I focus on the dry ingredients. In a different bowl, I whisk together all-purpose flour, granulated sugar, baking powder, baking soda, and fine sea salt. Measuring accurately is key here. A small mistake can change the texture of the pancakes. Now it’s time to combine the mixtures. I slowly add the dry ingredients to the ricotta mixture. I stir gently with a spatula. It’s okay if some small lumps remain. Overmixing can make the pancakes tough, so I am careful here. After mixing, I carefully fold in the fresh blueberries, keeping their shape intact. Their burst of flavor is essential. For cooking, I preheat a non-stick skillet over medium heat. I lightly grease the surface with butter or vegetable oil. For each pancake, I pour about 1/4 cup of batter onto the skillet. I cook them for 3-4 minutes. When bubbles form on the surface and the edges look set, they are ready to flip. Using a spatula, I turn the pancakes and cook for another 2-3 minutes. They should be golden brown and cooked through. I repeat this until all the batter is used. If needed, I add more oil or butter between batches. Check out the Full Recipe for more details! To make your lemon blueberry ricotta pancakes even tastier, try adding vanilla extract. Just a splash can boost the sweetness and depth of flavor. You can also experiment with spices like cinnamon or nutmeg. These spices add warmth and a hint of spice that complements the lemon and blueberries well. A key to fluffy pancakes is to avoid overmixing the batter. When you combine the wet and dry ingredients, stir gently. It is okay if a few small lumps remain. This will help keep your pancakes tender. The skillet temperature is also important. Preheat it to medium heat. Too hot, and the pancakes will burn; too cool, and they won’t cook evenly. Serve your pancakes warm with a variety of toppings. Fresh blueberries or a drizzle of maple syrup work wonders. You might also like whipped cream or a sprinkle of powdered sugar on top. For a savory twist, try serving them with crispy bacon or fresh fruit salad on the side. For the full recipe, be sure to check it out! {{image_4}} You can switch up the fruit in these pancakes. Strawberries or raspberries work great. Just chop them up and fold them in like you do with blueberries. You could also use banana slices. They add a sweet taste and nice texture. If you need gluten-free pancakes, try using alternative flours like almond or coconut flour. These flours can change the texture, so adjust the liquid as needed. For vegan pancakes, replace the eggs with flax eggs. Use almond milk or coconut milk for the dairy. You can create lemon poppy seed pancakes by adding poppy seeds to the batter. This adds a nice crunch and flavor. Another fun twist is to add chocolate chips. They melt and create a sweet surprise in every bite. For the [Full Recipe], check the main section. Enjoy experimenting with these fun variations! To store leftover pancake batter, pour it into an airtight container. Seal it tightly to keep air out. You can keep it in the fridge for up to two days. If you want to store it longer, freeze the batter. It will stay fresh for about a month in the freezer. Just remember to label the container with the date. Once you cook the pancakes, let them cool to room temperature. Place them in a single layer on a plate or baking sheet. You can refrigerate cooked pancakes for up to three days. For longer storage, stack the pancakes with parchment paper in between. Wrap them tightly in plastic wrap or foil and place them in the freezer. They will last for about two months. To reheat cooked pancakes, use the microwave for quick results. Heat them in 30-second intervals until warm. If you prefer, you can also reheat them in a toaster or a skillet. Just use low heat to avoid burning. Enjoy your delicious leftovers without losing any flavor! Yes, you can make these pancakes ahead of time. Store them in an airtight container. Place parchment paper between pancakes to prevent sticking. They can last in the fridge for up to three days. When you want to eat them, reheat in the microwave. Heat for about 30 seconds or until warm. If you don't have ricotta, use cottage cheese. Blend it to make it smoother. Cream cheese is another option, but it will change the flavor. Greek yogurt can also work; it adds tanginess. Each cheese brings a unique taste, so choose what you like best. To make fluffier pancakes, separate the egg yolks from the whites. Whip the egg whites until stiff peaks form. Fold them into the batter gently. Also, make sure your baking powder is fresh. This helps the pancakes rise better when cooking. Flipping pancakes can be tricky. Wait for bubbles to form on the surface. This means they are ready to flip. Use a wide spatula for better support. Gently slide it under the pancake. Flip quickly for a nice turn without breaking. Yes, you can freeze these pancakes. Cool them completely before freezing. Place them in a single layer on a baking sheet. Once frozen, stack them with parchment paper between each one. They can last up to two months in the freezer. To thaw, place them in the fridge overnight or microwave for a quick heat. This blog post covered how to make delicious ricotta pancakes step by step. We looked at the ingredients needed and the best methods for mixing and cooking them. I shared tips to enhance flavors and variations for different tastes. You can even store leftover batter and pancakes for later. Enjoy these fluffy pancakes, whether you stick to the main recipe or try your twist! Cooking can be fun, so get creative and enjoy every bite!](https://tastymomrecipes.com/wp-content/uploads/2025/07/2d956616-bad0-4c50-a8b5-800fea4edcc0.webp)
If you crave a breakfast that’s both simple and delicious, you need these Lemon Blueberry Ricotta Pancakes. Bursting with fresh
