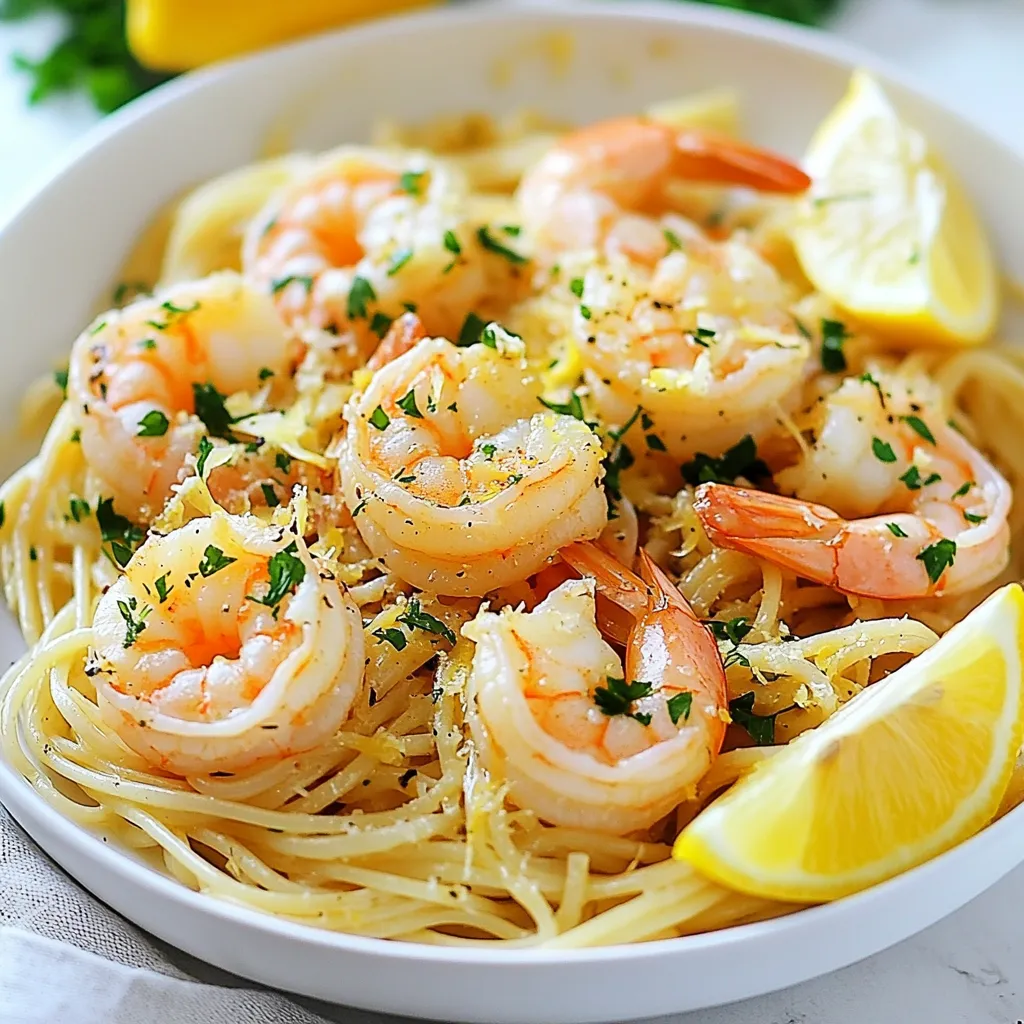
Savory Shrimp Scampi Linguine Quick and Easy Meal
Looking for a quick yet delicious meal? Shrimp Scampi Linguine is your answer! This savory dish combines tender shrimp with
Looking for a quick yet delicious meal? Shrimp Scampi Linguine is your answer! This savory dish combines tender shrimp with
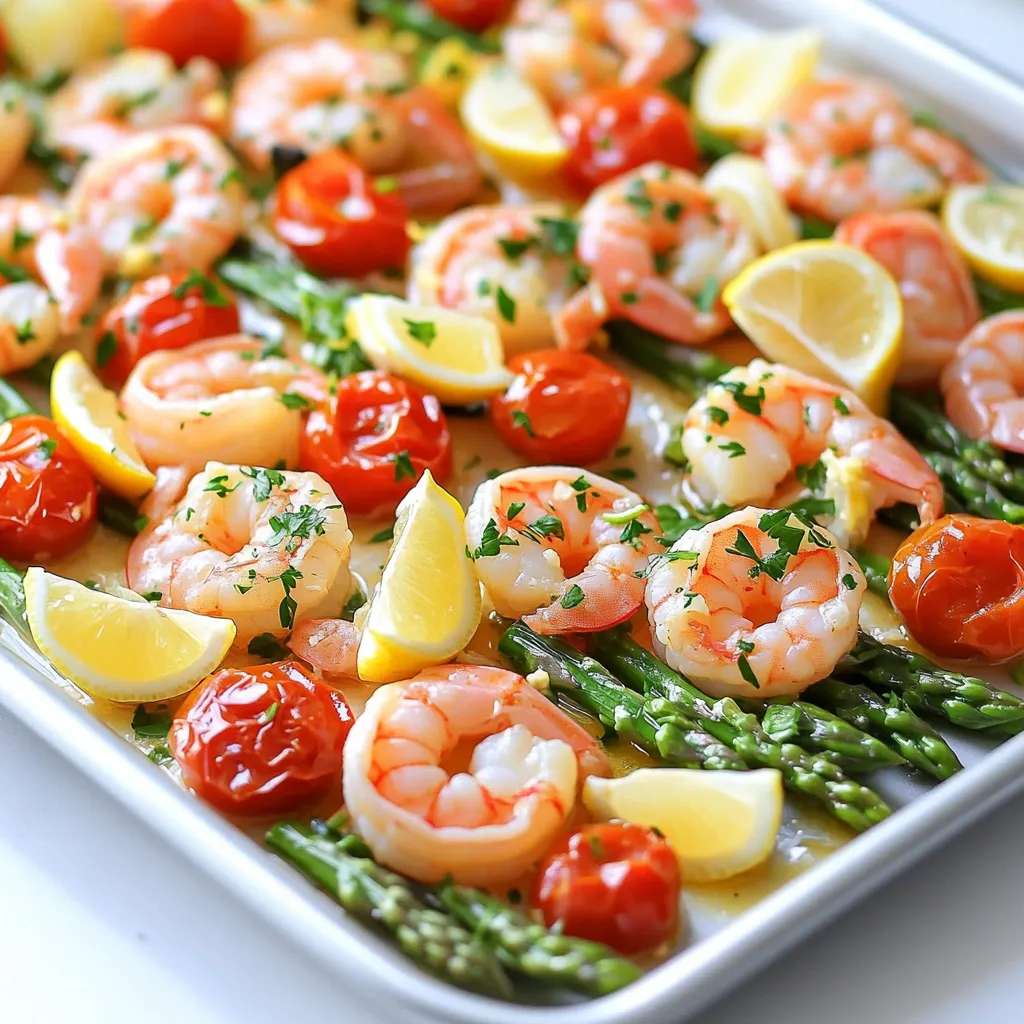
If you love quick and tasty meals, you’ll adore my Sheet Pan Lemon Garlic Shrimp Scampi Delight. This dish combines
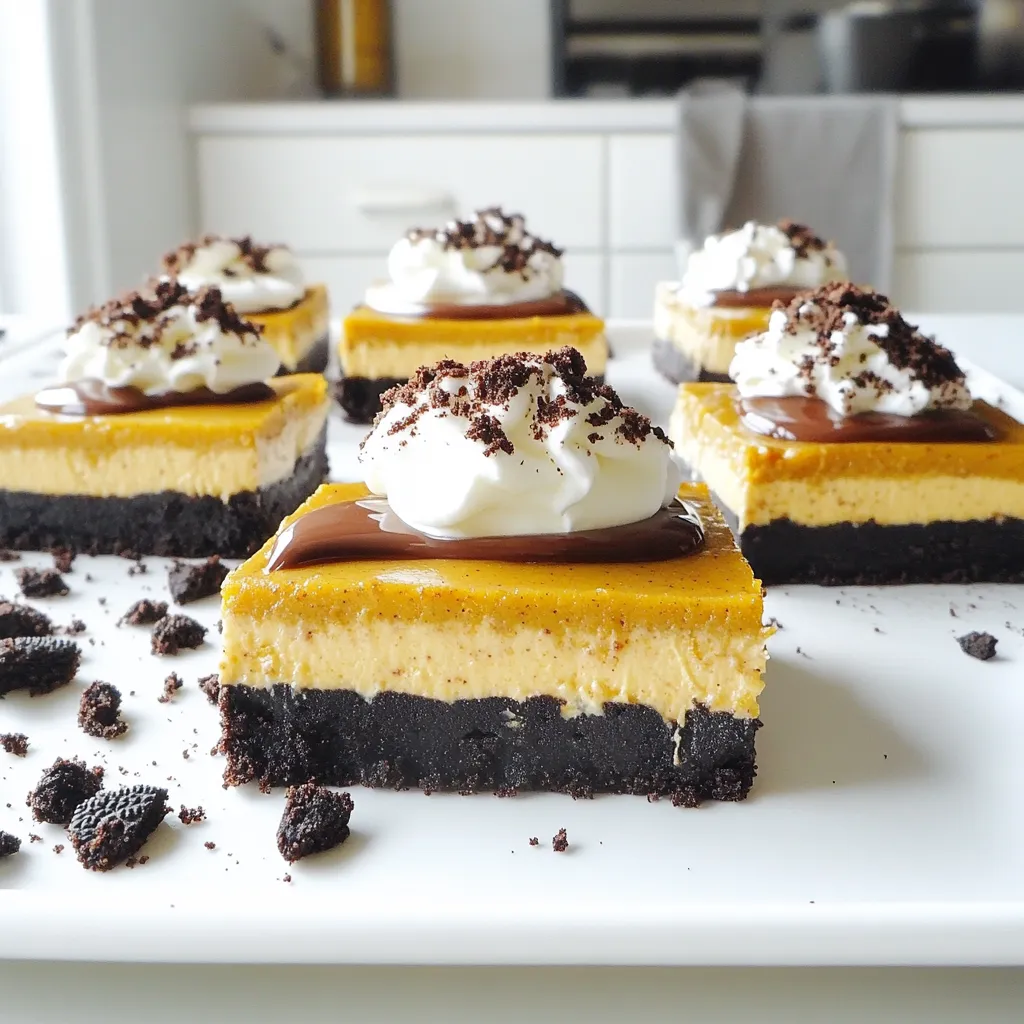
If you crave a sweet and simple autumn treat, you’ll love this No-Bake Pumpkin Oreo Cheesecake Bars recipe! These bars
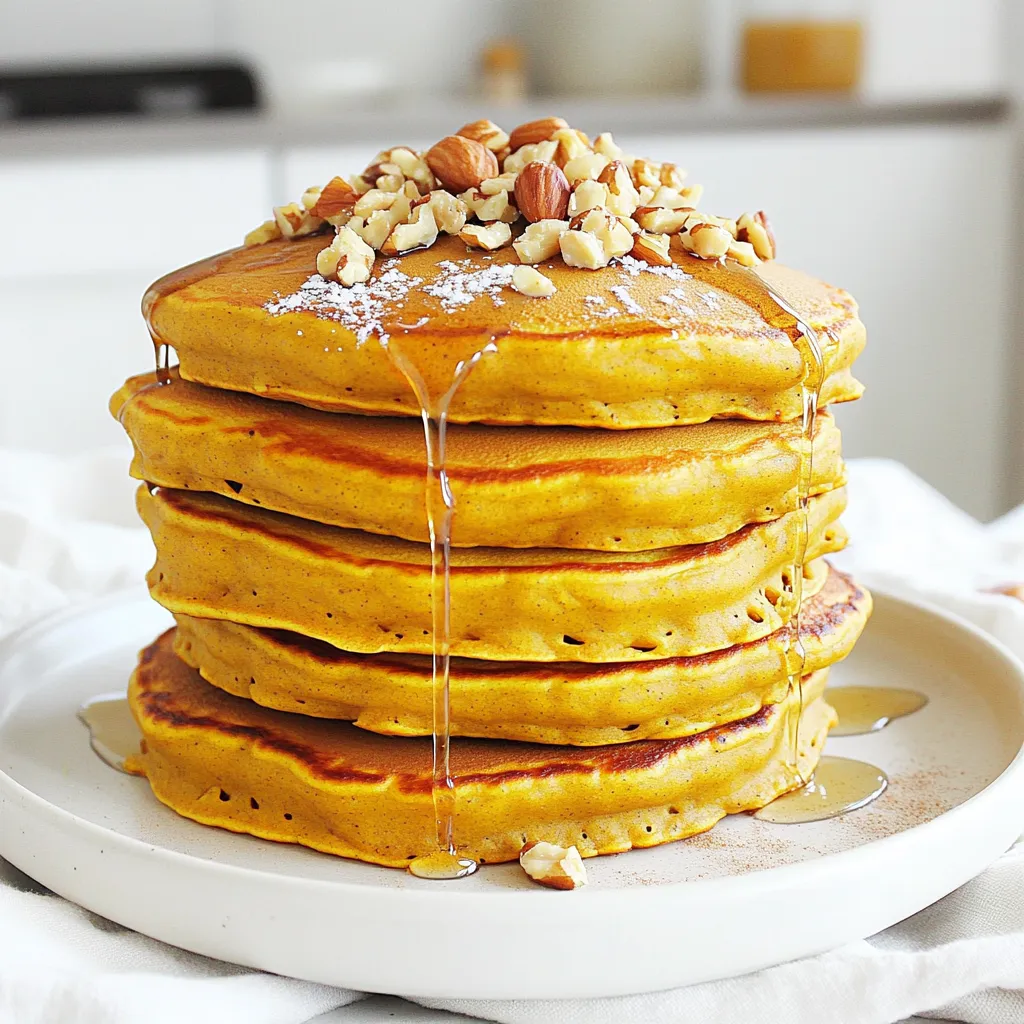
Are you craving a tasty breakfast that’s also packed with protein? Look no further! My Pumpkin Protein Pancakes are not
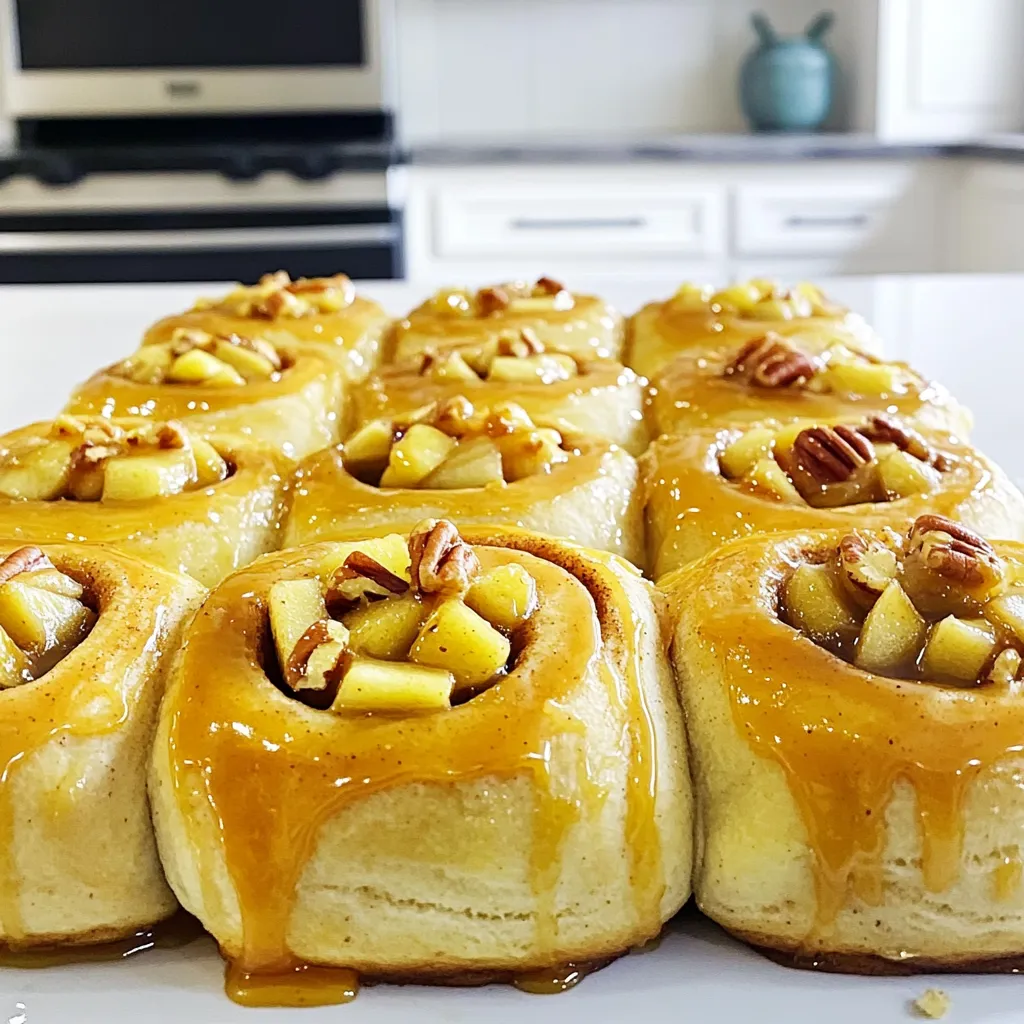
Are you ready to indulge in a sweet treat that will warm your heart? In this blog post, I’ll show
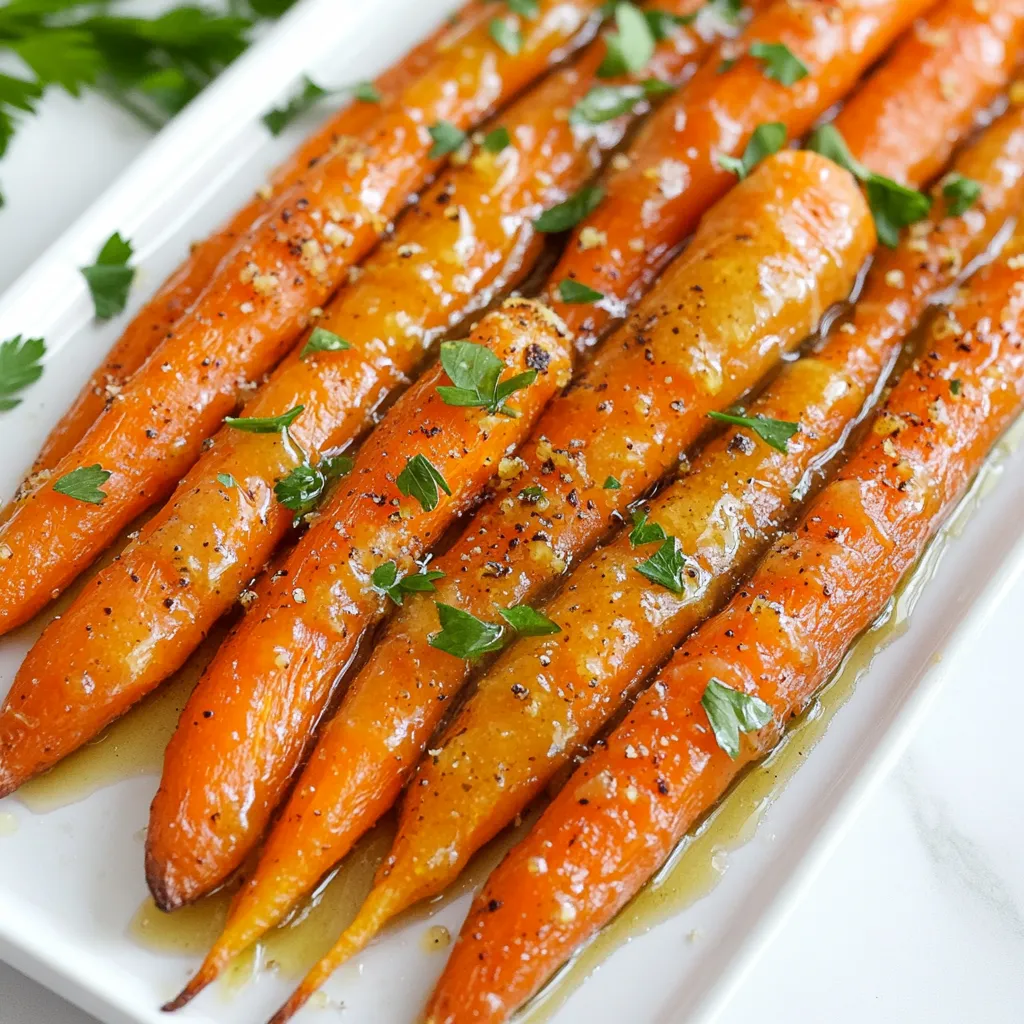
Get ready for a flavor explosion with my Roasted Honey Garlic Carrots Sheet-Pan Delight! This dish features sweet baby carrots,

Craving a delicious meal that’s quick and easy? Teriyaki chicken lettuce wraps are your answer! In just 15 minutes, you
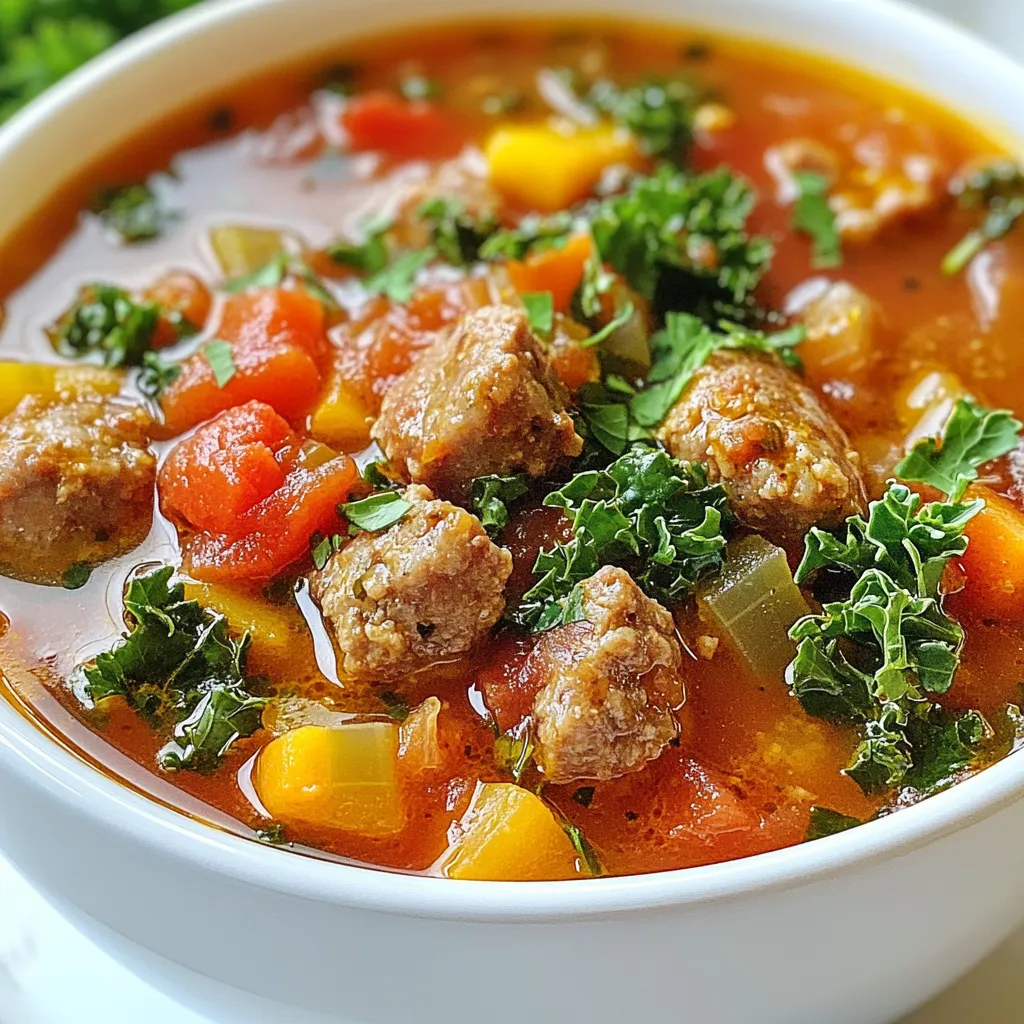
When the weather turns cold, there’s nothing like a warm bowl of Hearty Sausage Soup to lift your spirits. This

As the chill of fall settles in, nothing warms the heart like a cup of Warm Spiced Pear Mulled Cider.
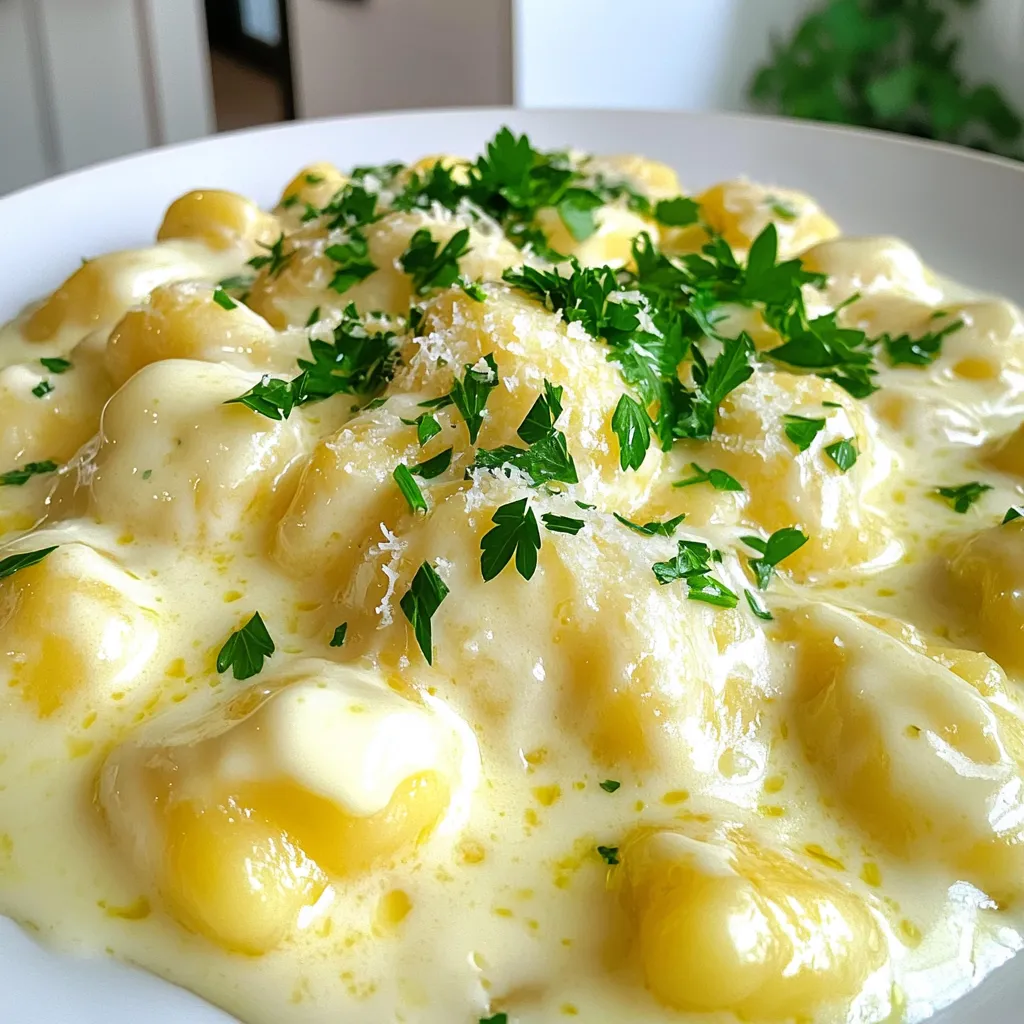
Are you craving a quick and tasty meal? Look no further! This Minute Creamy Garlic Butter Gnocchi is the perfect
