Air Fryer Zucchini Coins Crispy and Flavorful Snack
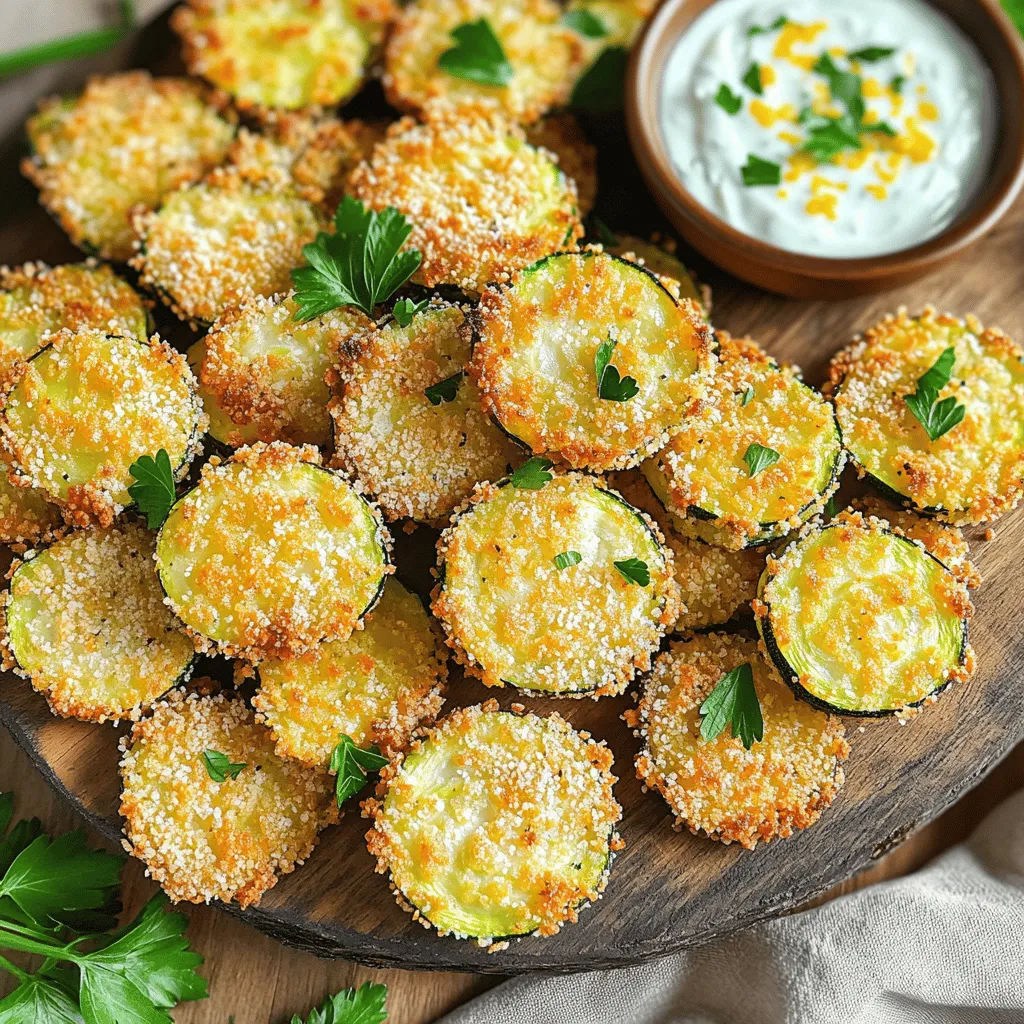
Are you ready for a snack that’s crispy and packed with flavor? Air fryer zucchini coins are your answer! With
Are you ready for a snack that’s crispy and packed with flavor? Air fryer zucchini coins are your answer! With

Summer is here, and there’s nothing like a bowl of fresh chowder to celebrate! This Savory Summer Squash and Corn

Peach pie is a beloved classic that brings back sweet summer memories. With juicy peaches, a flaky crust, and simple

Ready to add a fresh twist to your dinner table? This Garden Fresh Zucchini Salsa brings delightful flavors and vibrant
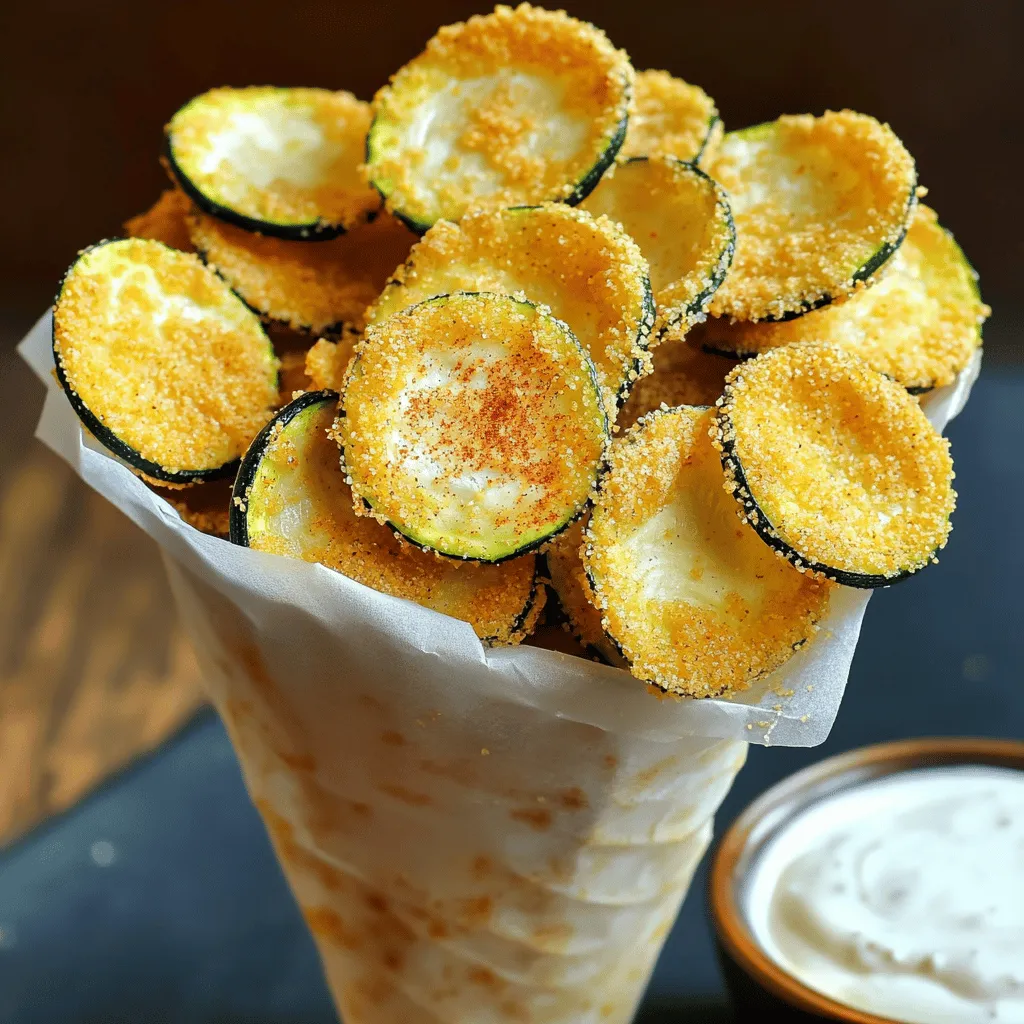
Looking for a tasty and healthy snack? Crispy Cornmeal Zucchini Chips are your answer! These delightful bites blend fresh zucchini
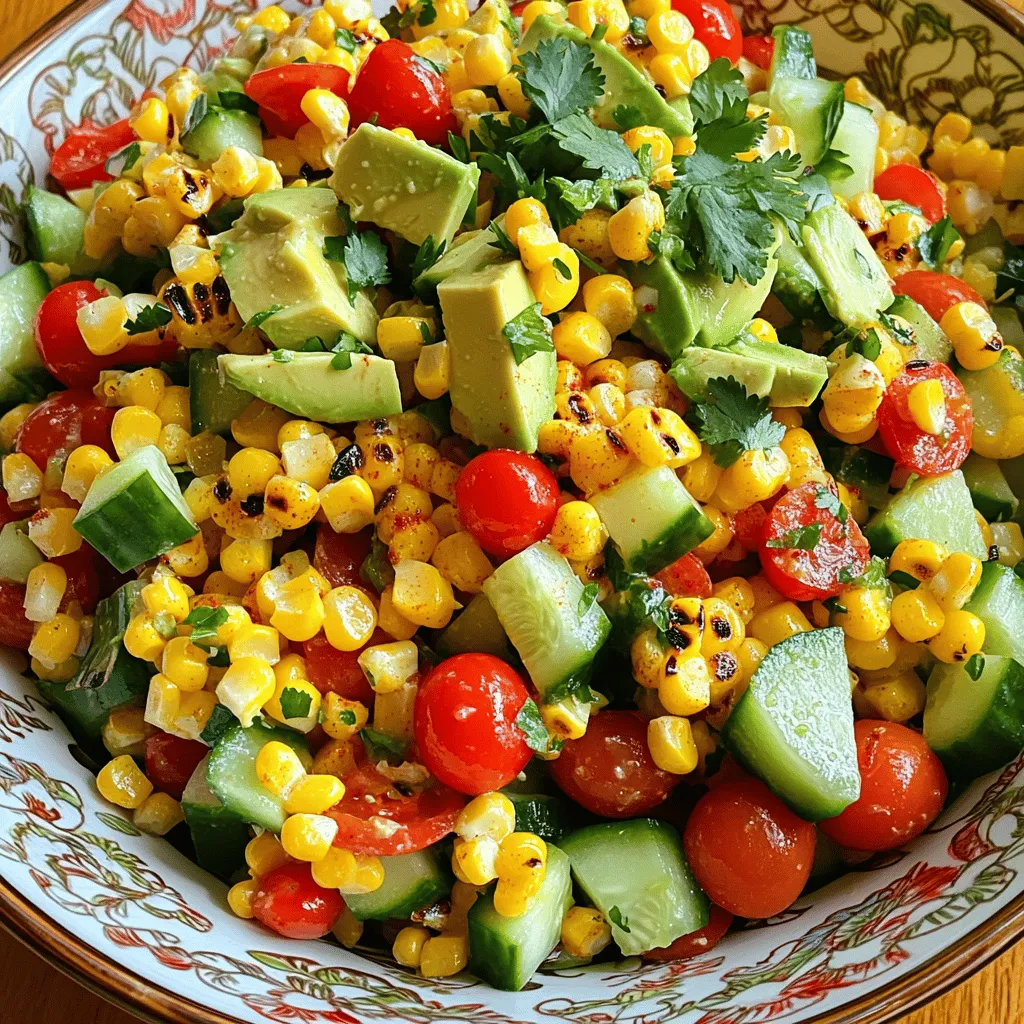
If you’re looking for a fresh and tasty side dish, try this Grilled Corn Salad. This vibrant salad bursts with

Are you ready to dive into a fun, tasty treat? Loaded Veggie Nachos are your go-to for flavor and ease!

Are you ready to dive into a deliciously wholesome twist on a classic dish? Zucchini Noodle Alfredo offers that creamy,
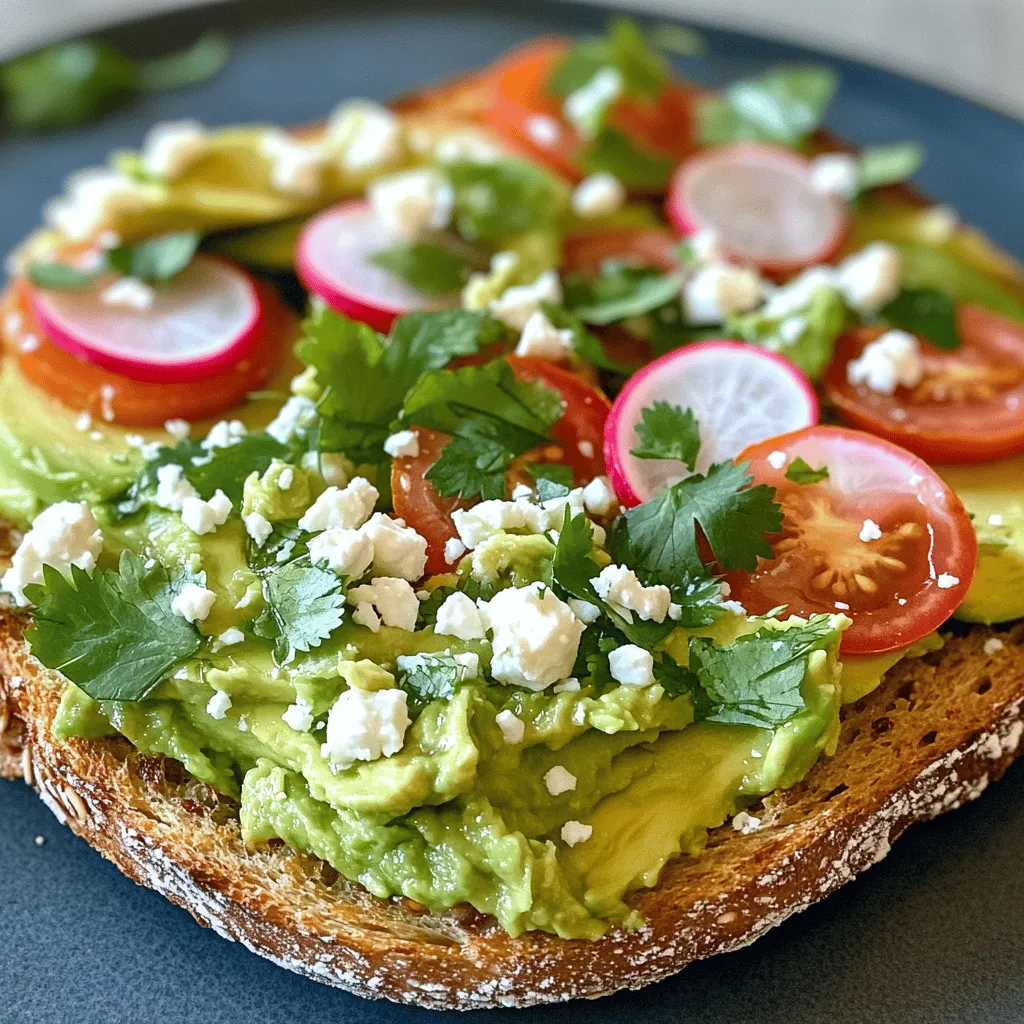
If you love quick, tasty meals, you’ll adore my Smashed Avocado Toast recipe. This simple dish combines creamy avocados with
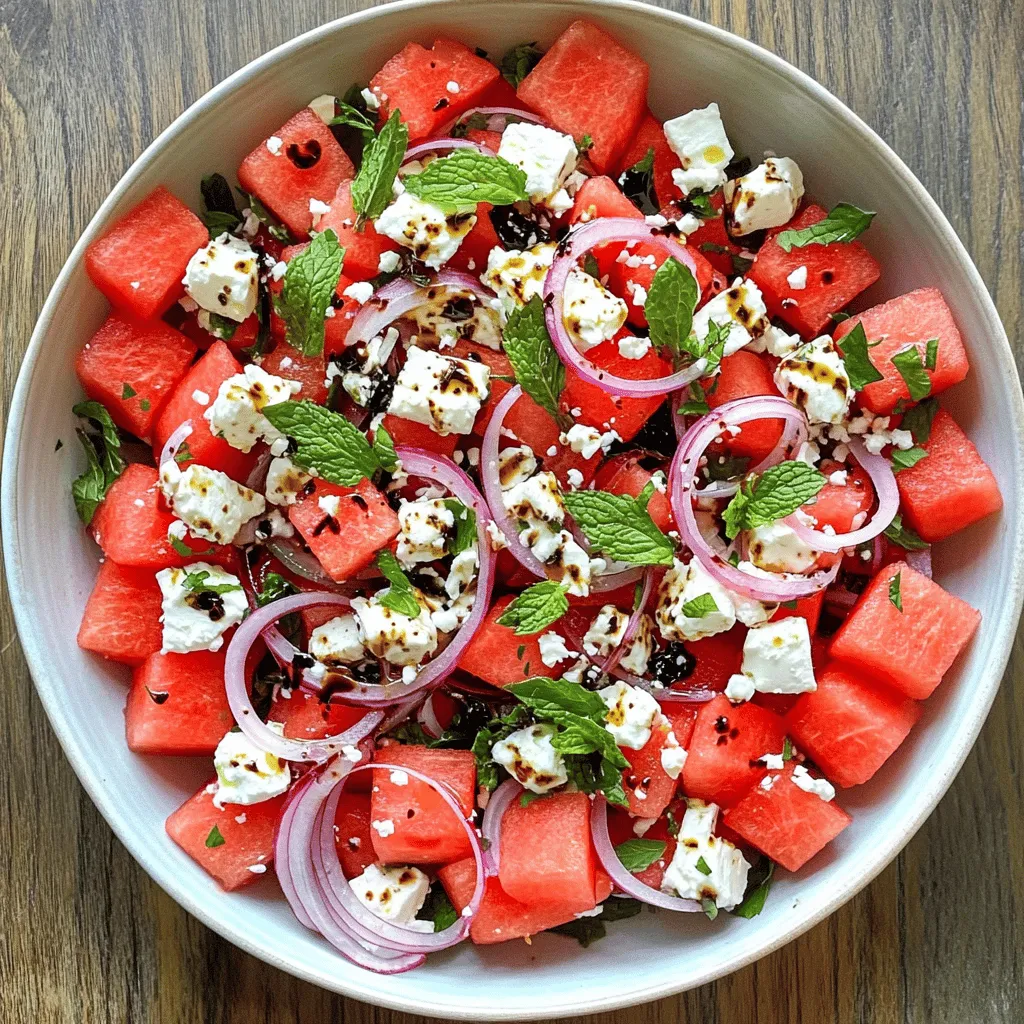
Looking for a refreshing summer treat? This Fresh Watermelon Feta Salad is the perfect answer! Bursting with juicy watermelon, tangy
