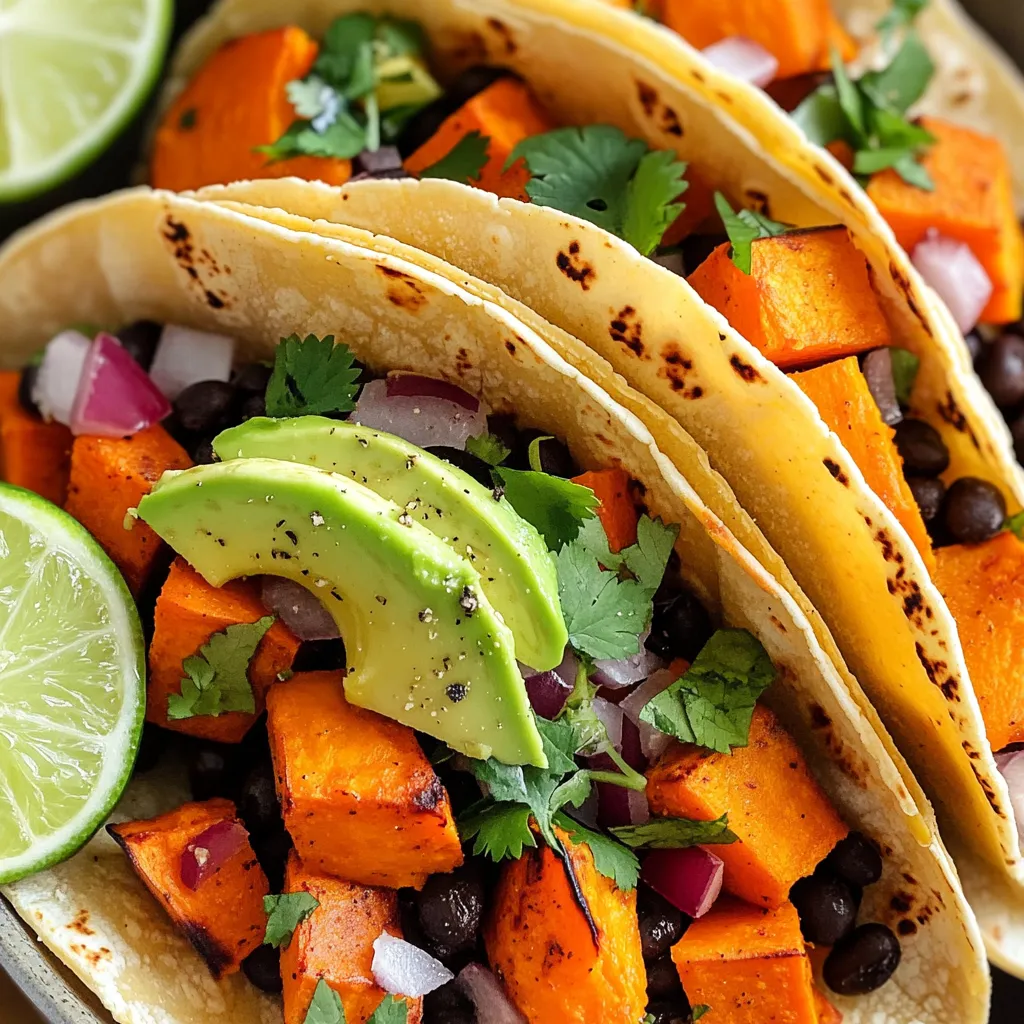
Savory Sweet Potato Black Bean Tacos Sheet Pan Delight
Are you ready to spice up your dinner routine? These Savory Sweet Potato Black Bean Tacos are a game-changer! With
Are you ready to spice up your dinner routine? These Savory Sweet Potato Black Bean Tacos are a game-changer! With

Are you ready to elevate your chicken wing game? My Air Fryer Garlic Chicken Wings are a savory and crispy

Craving a cozy drink that wraps you in warmth? You’re in the right place! This Pumpkin Spice White Hot Chocolate
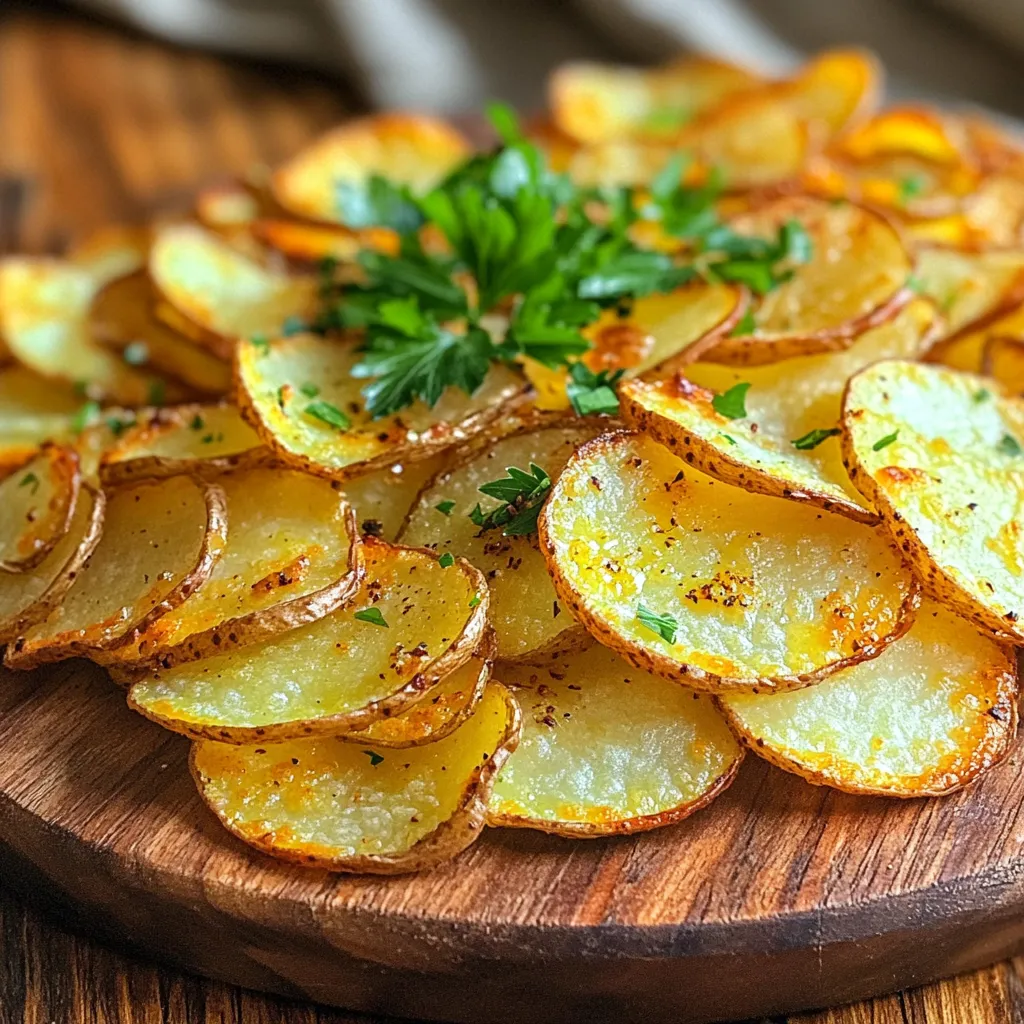
Craving a crunchy snack that’s bursting with flavor? You’ve come to the right place! In this post, I’ll show you
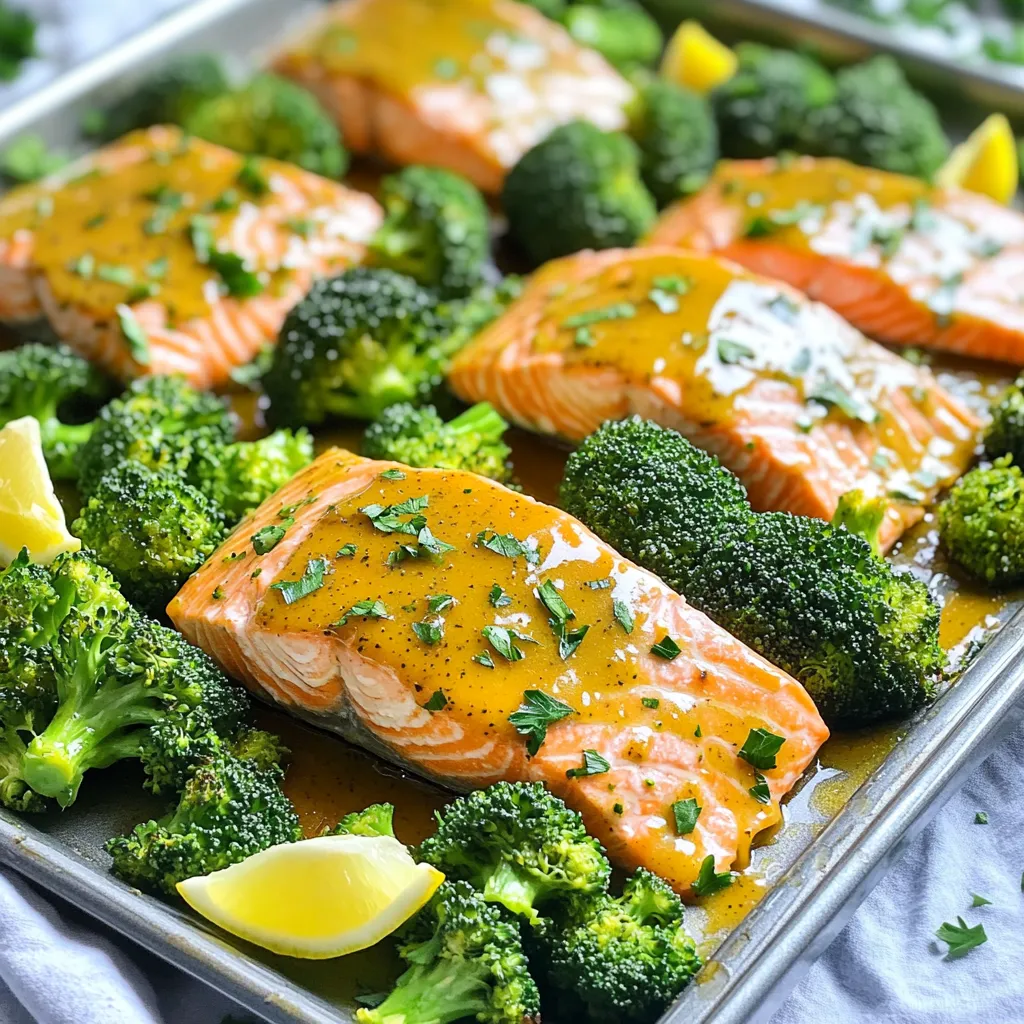
Looking for a simple yet tasty dinner? You’ll love this Sheet Pan Honey Mustard Salmon Broccoli Delight! This easy recipe
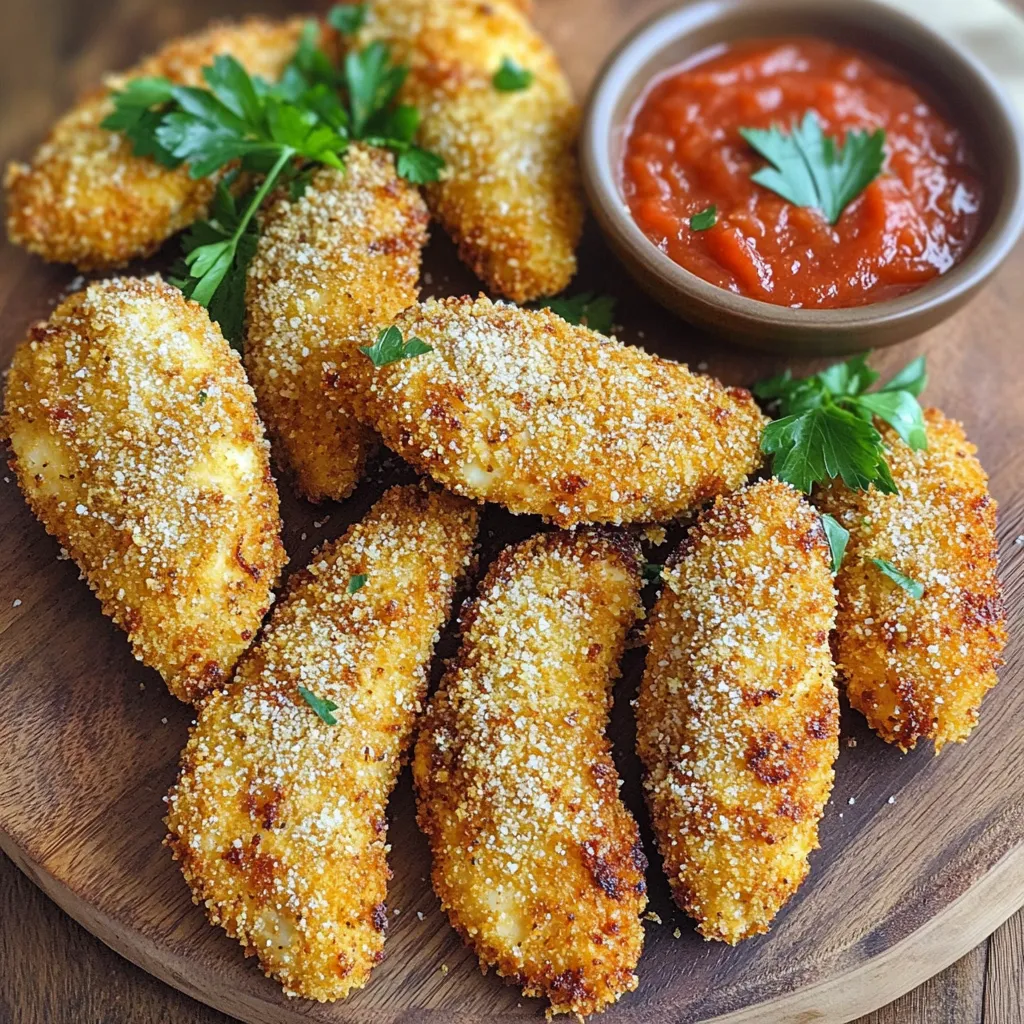
Ready to make dinner fun and easy? Air Fryer Garlic Parmesan Chicken Tenders are your new go-to! These tasty bites
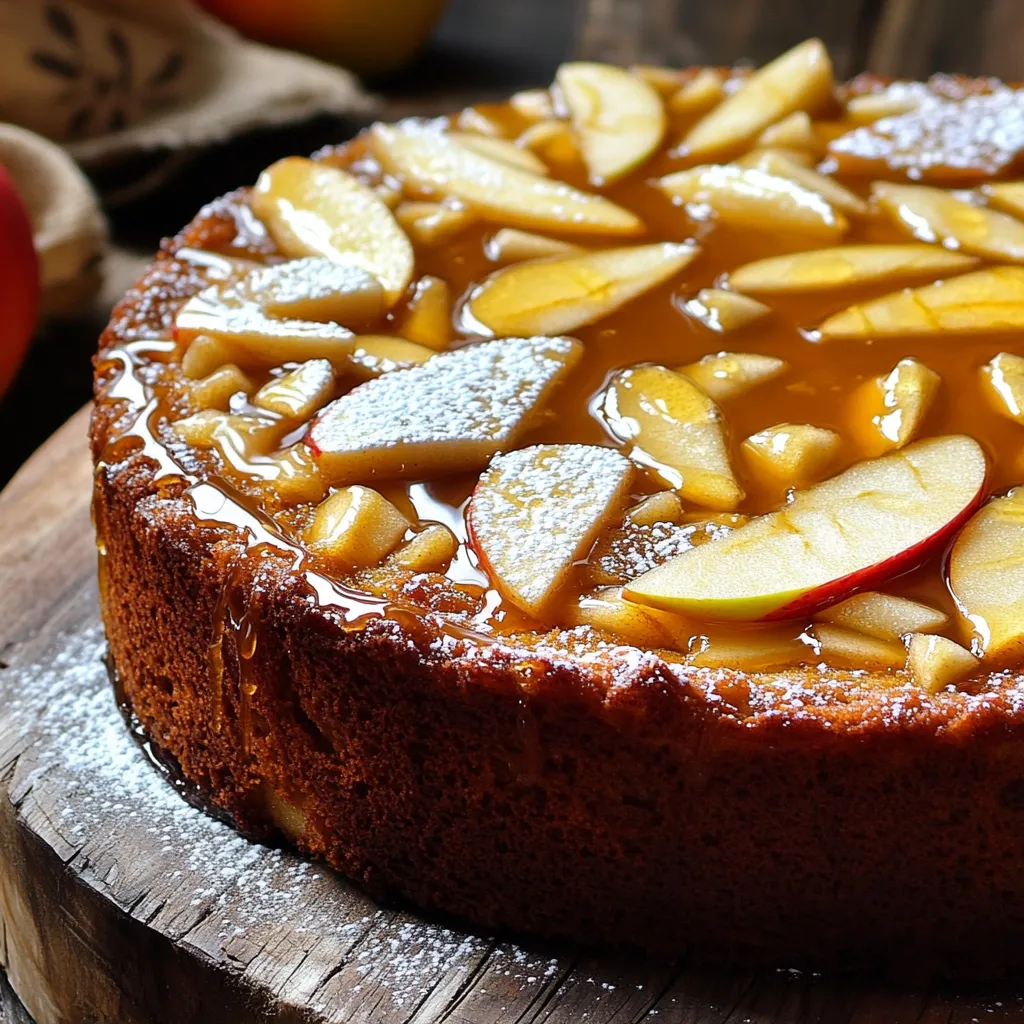
Get ready to warm your kitchen with my Irresistible Apple Cider Cake with Maple Glaze recipe! This cake bursts with

Get ready to fill your kitchen with the warm, sweet scent of fall! In this article, I’ll show you how
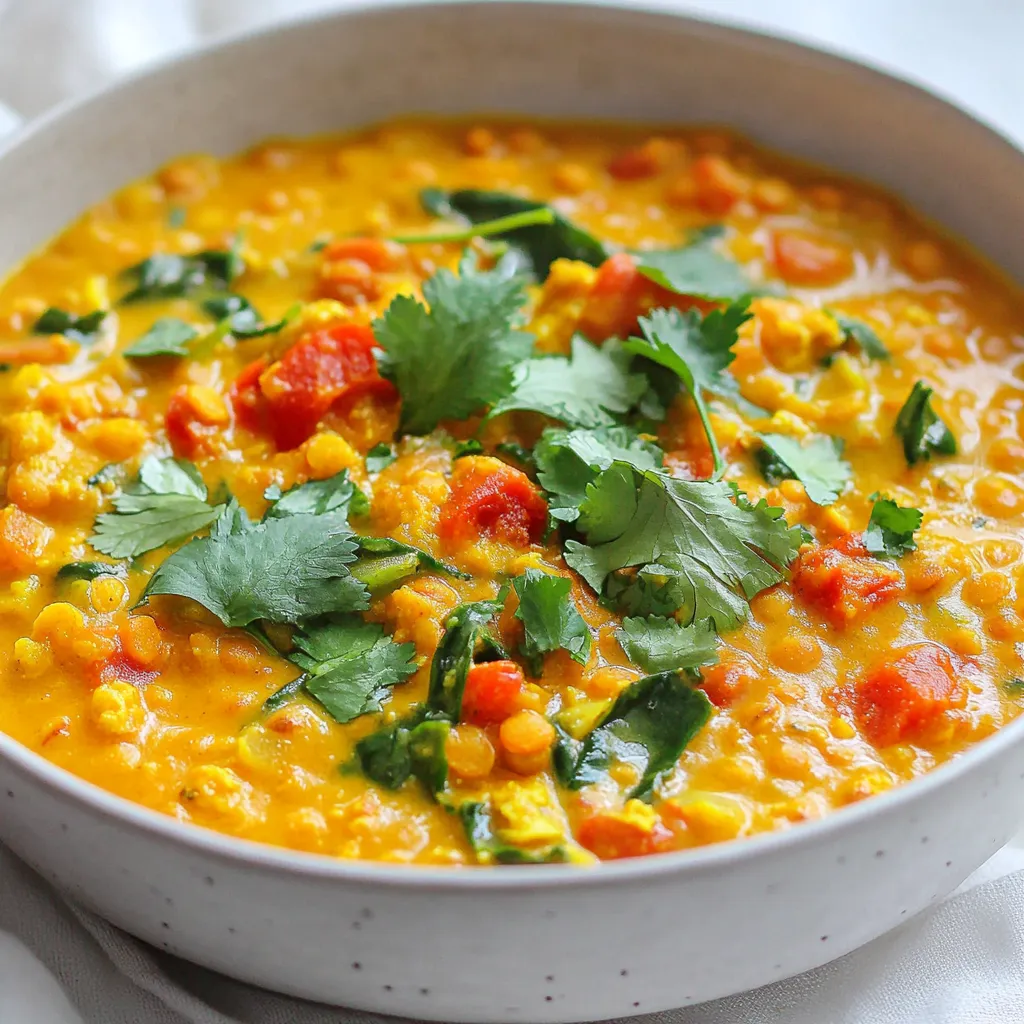
Welcome to my kitchen! Today, we’re diving into a delightful Creamy Red Lentil Curry that warms you from the inside

Craving a sweet treat without the hassle of baking? Try these Chocolate Peanut Butter Oatmeal Cookies! This no-bake recipe combines
