
Lemon Garlic Roasted Chicken Simple Juicy Delight
If you crave a juicy and flavorful dinner, you’ll love this Lemon Garlic Roasted Chicken recipe. You can impress your
If you crave a juicy and flavorful dinner, you’ll love this Lemon Garlic Roasted Chicken recipe. You can impress your

Are you craving a warm, cheesy bowl of comfort? My easy Broccoli Cheddar Soup recipe will quickly become your go-to
![- 2 medium zucchini, sliced into fry-shaped pieces - 1 cup panko breadcrumbs - 1/2 cup freshly grated Parmesan cheese - 2 large eggs - 1 teaspoon garlic powder - 1 teaspoon smoked paprika - 1/2 teaspoon fine sea salt - 1/2 teaspoon freshly cracked black pepper - Olive oil spray - Parchment paper When I make oven-baked zucchini fries, I start with fresh zucchini. It adds a nice crunch and flavor. Next, I use panko breadcrumbs instead of regular ones. They give the fries a crispier texture. I also mix in freshly grated Parmesan cheese. This adds a salty, savory taste that pairs well with the zucchini. For the egg wash, I beat two large eggs. This helps the breadcrumbs stick better. I then season the mixture with garlic powder, smoked paprika, sea salt, and black pepper. These spices bring out the best flavors in the fries. I always line my baking sheet with parchment paper. This prevents sticking and makes cleanup easy. I finish by lightly spraying the coated fries with olive oil. It helps them become golden and crispy in the oven. You can find the full recipe at the top of the article. 1. Preheat the oven: Begin by preheating your oven to 425°F (220°C). This temperature helps the fries get nice and crispy. 2. Line the baking sheet with parchment paper: Place parchment paper on a baking sheet. This step makes cleanup easy and prevents sticking. 1. Mix breadcrumb and seasoning mixture: In a shallow bowl, combine 1 cup of panko breadcrumbs, 1/2 cup of grated Parmesan cheese, 1 teaspoon of garlic powder, 1 teaspoon of smoked paprika, 1/2 teaspoon of sea salt, and 1/2 teaspoon of black pepper. Stir until all ingredients blend well. 2. Beat the eggs: In another bowl, whisk 2 large eggs until they are smooth and frothy. This frothiness helps the breadcrumbs stick better to the zucchini. 1. Coat zucchini strips: Take each zucchini fry and dip it into the beaten eggs. Make sure it’s coated but let any extra egg drip off. Then, roll the fry in the breadcrumb mixture, pressing gently for even coating. Place the coated fries on the prepared baking sheet in a single layer. 2. Apply olive oil: Once all your zucchini fries are coated, lightly spray them with olive oil. This step helps achieve that wonderful crispy texture. 3. Baking time and flipping technique: Place the baking sheet in the oven. Bake for about 20-25 minutes. Flip the fries halfway through for even browning. They should turn golden brown and become delightfully crunchy. Follow these steps for a perfect batch of crispy oven-baked zucchini fries that everyone will love. For the complete recipe, check out the Full Recipe. To make your zucchini fries super crispy, use panko breadcrumbs. They add a wonderful crunch that regular breadcrumbs simply can't match. Adjust your oven temperature to 425°F (220°C). This hot setting helps the fries crisp up quickly and evenly, creating that perfect texture. Pair your zucchini fries with dipping sauces like marinara or garlic aioli. These flavors complement the fries and add extra fun. For a pop of color, sprinkle fresh parsley on top before serving. It makes your dish look even more inviting. You can prep the zucchini fries in advance. Slice and coat them, then store them in the fridge for a few hours or overnight. If you want to freeze uncooked fries, lay them on a baking sheet and freeze them until solid. Then, transfer them to a bag. When you're ready, bake them straight from the freezer. This method saves time and keeps your fries fresh. For the full recipe, check out the detailed steps. {{image_4}} You can make your zucchini fries even tastier. Adding fresh herbs like oregano or basil gives a nice touch. These herbs add a burst of flavor without much effort. You can also spice things up. A sprinkle of cayenne or chili powder adds a fun kick. Adjust the amount based on your heat preference. If you need gluten-free options, don’t worry! You can use almond flour or gluten-free breadcrumbs. Both work great and keep the fries crunchy. For a different texture, try using crushed cornflakes. They add a unique crunch and flavor that is hard to resist. Zucchini is great, but you can switch it up. Eggplant makes a nice alternative. Cut it into fry shapes, coat, and bake just like zucchini. Carrots are another good choice. They offer a sweeter taste and a satisfying crunch when cooked. Each vegetable brings its unique flavor and texture to your snack. For the complete recipe, you can check the Full Recipe link for more details. After enjoying your zucchini fries, store any leftovers right away. Allow them to cool first. Place the uneaten fries in an airtight container. This keeps the fries fresh and prevents them from getting soggy. You can store them in the fridge for up to three days. When it’s time to enjoy your fries again, reheat them correctly. Preheat your oven to 400°F (200°C). Spread the fries out on a baking sheet. Bake them for about 10 minutes. This helps them regain their crispiness. Avoid using the microwave, as this can make them soggy. If you have extra zucchini fries, you can freeze them. Lay the uncooked fries on a baking sheet and freeze them for a couple of hours. Once frozen, move them to a freezer-safe bag. They can last for up to three months. To cook, simply bake them straight from the freezer. Adjust the time by a few extra minutes for perfect fries. Yes, you can use regular breadcrumbs. However, panko gives a better crunch. Regular breadcrumbs are finer and won’t provide the same light, crispy texture. For a snack that feels gourmet, stick with panko. Zucchini fries are a great choice! Zucchini has fewer calories than regular fries. It is high in vitamins A and C, plus it has fiber. This makes zucchini fries a tasty and nutritious snack. They keep the crunch without the guilt. To avoid soggy fries, follow these tips: - Slice them thin: Thin fries cook better and stay crisp. - Remove moisture: Pat the zucchini slices dry with a towel to absorb excess water. - Coat well: Use enough breadcrumbs to create a solid layer. - Bake high and hot: At 425°F (220°C), they crisp up well. For the full recipe, check [Full Recipe]. Enjoy your crispy, flavorful snack! In this post, we covered how to make delicious oven-baked zucchini fries. You learned about the main ingredients, seasonings, and helpful cooking aids you need. We detailed each step from preparation to baking. I also shared tips for crispy fries and suggested serving ideas. Remember, you can add flavors or try other veggies too. These fries are easy to store and reheat, making them a great snack. Enjoy your cooking adventure, and I hope you savor every crunchy bite!](https://tastymomrecipes.com/wp-content/uploads/2025/06/72444782-fa7a-402e-be9e-d41750989d2c.webp)
Looking for a snack that’s both crispy and healthy? Try my oven-baked zucchini fries! These tasty bites pack crunch and
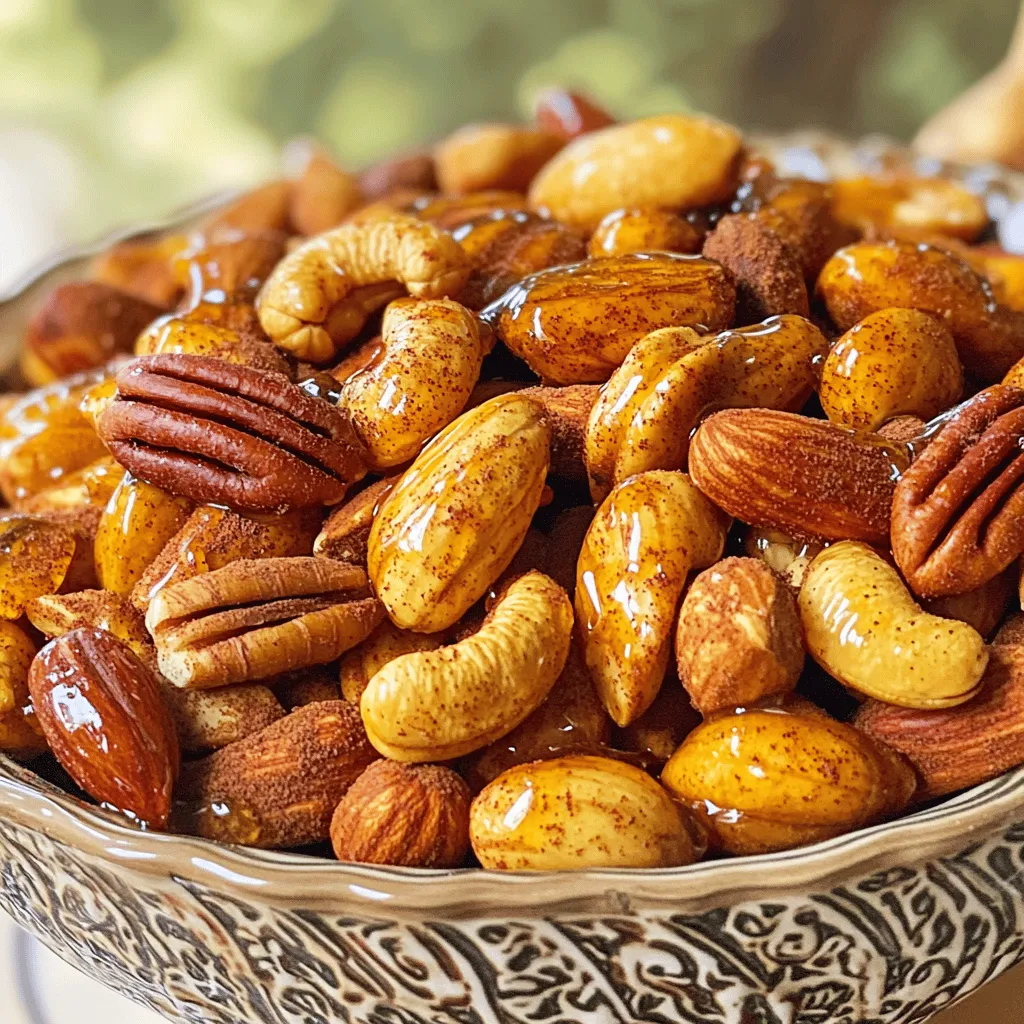
Looking for a snack that balances sweet and spicy flavors? You’ve come to the right place! My Sweet and Spicy
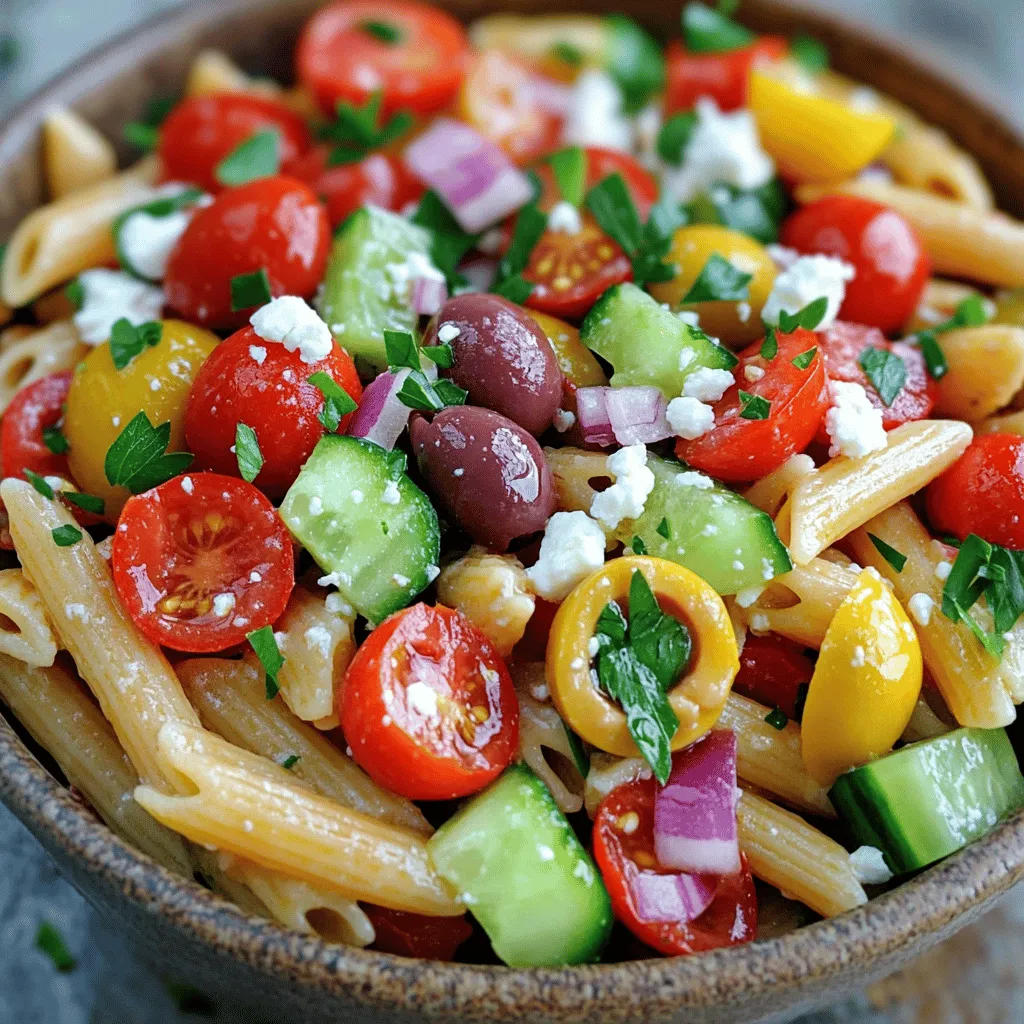
If you’re craving a fresh and tasty dish, look no further than my Greek Pasta Salad. This delightful recipe blends

Are you ready to spice up your weeknight dinners with a delicious Coconut Chicken Curry? This easy recipe guide will
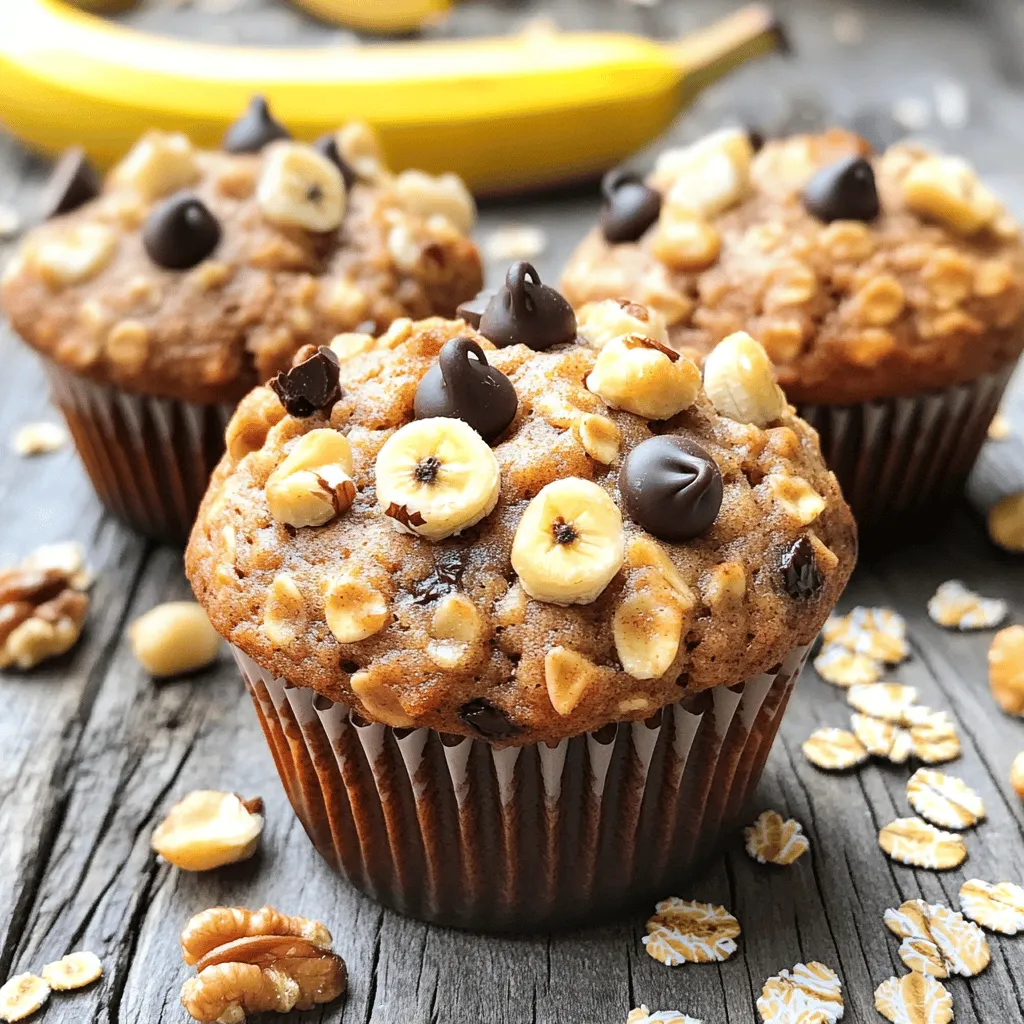
Are you ready for a delicious treat that’s both tasty and healthy? Banana Oatmeal Muffins are perfect for breakfast or

Are you ready to transform your dinner routine? This Vegetable Pad Thai packs a punch of flavor and nutrition in
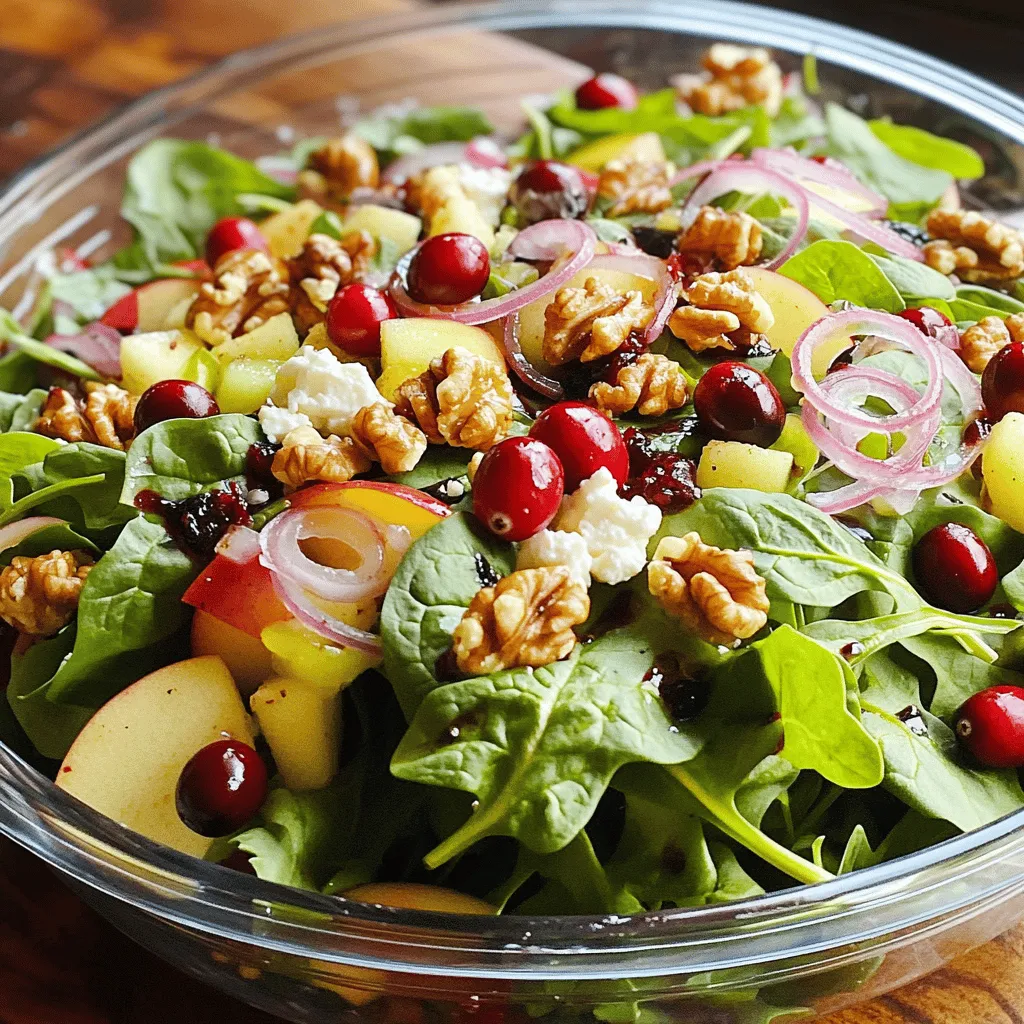
Welcome to the world of fresh flavors! Today, I’m excited to share my Cranberry Walnut Salad. This vibrant dish combines

Get ready to elevate your breakfast game with my Smashed Avocado Toast recipe! This dish is tasty, easy to whip
