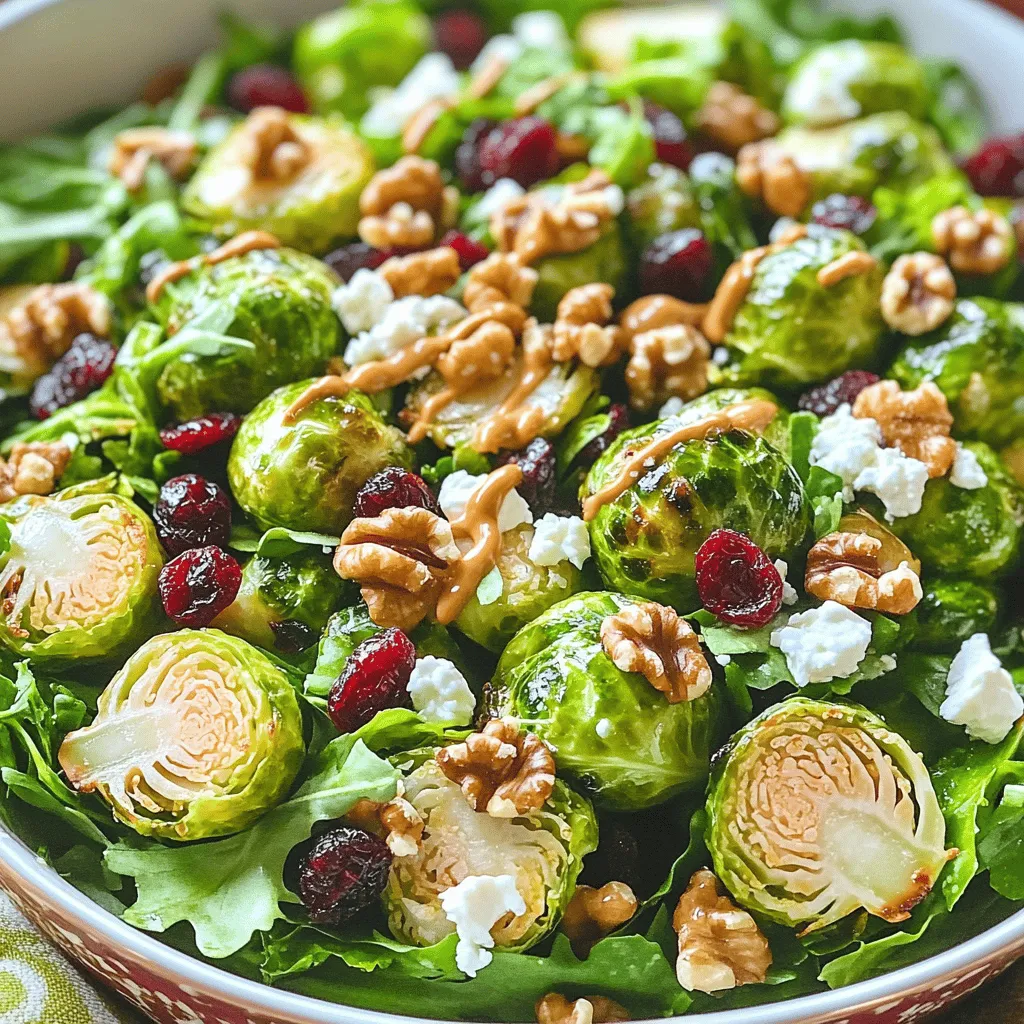
Honey Mustard Brussels Sprout Salad Fresh and Simple
Craving a fresh, vibrant salad? Let me introduce you to my Honey Mustard Brussels Sprout Salad! This dish combines the
Craving a fresh, vibrant salad? Let me introduce you to my Honey Mustard Brussels Sprout Salad! This dish combines the

Get ready to indulge in a creamy, spicy dish with my Buffalo Chicken Mac and Cheese Slow Cooker Delight! This
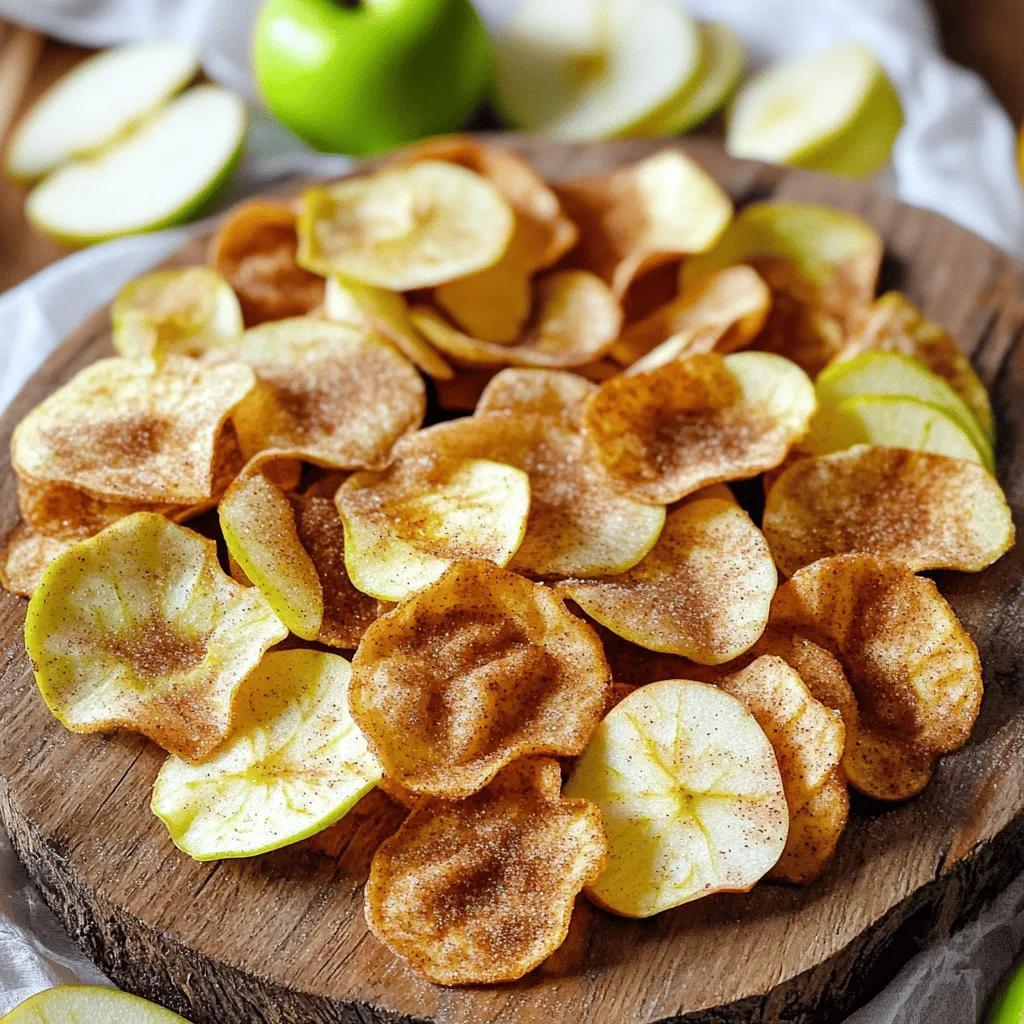
Looking for a quick, healthy snack that satisfies your sweet tooth? Air Fryer Cinnamon Apple Chips are just the thing!
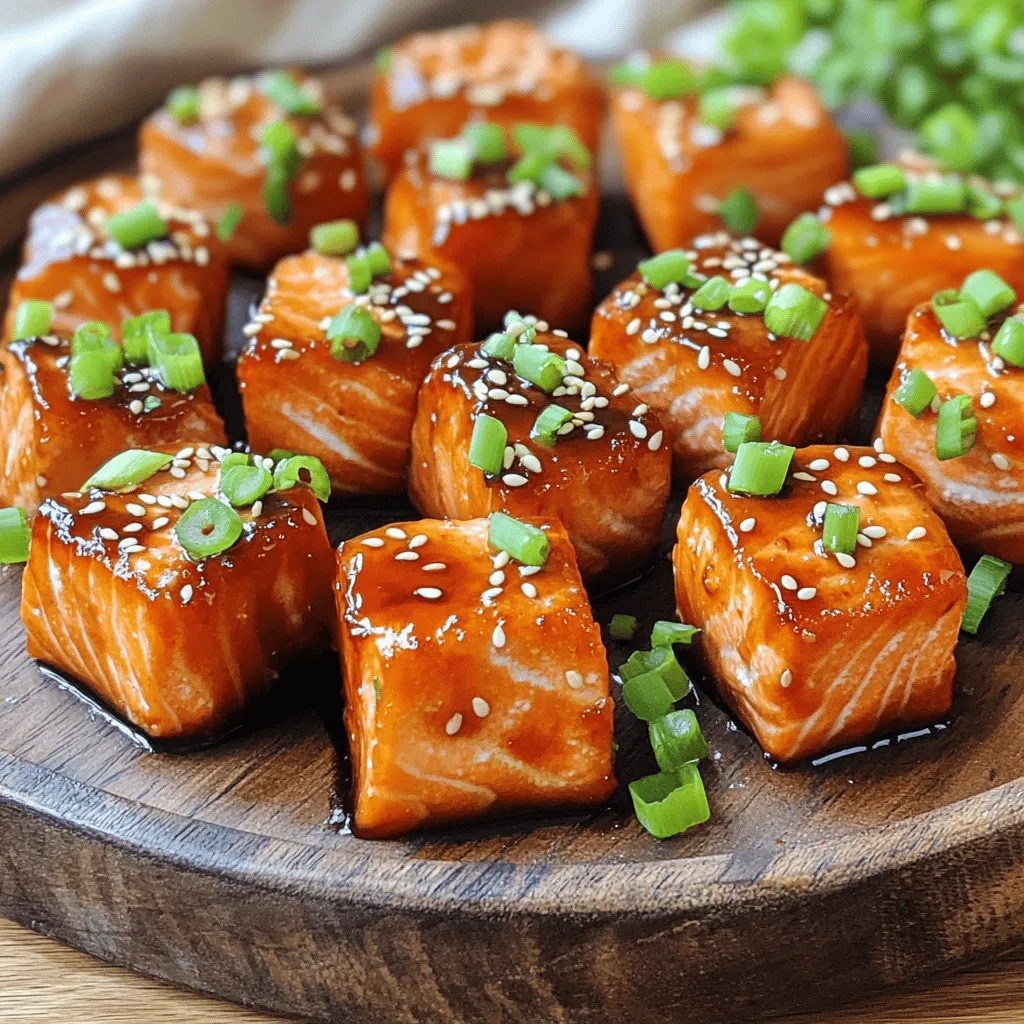
Ready to savor a mouthwatering and easy meal? In this post, I’ll show you how to make Air Fryer Teriyaki

Craving a vibrant, delicious meal that’s easy to make? Look no further! My Mango Avocado Salsa Chicken Bowls are perfect
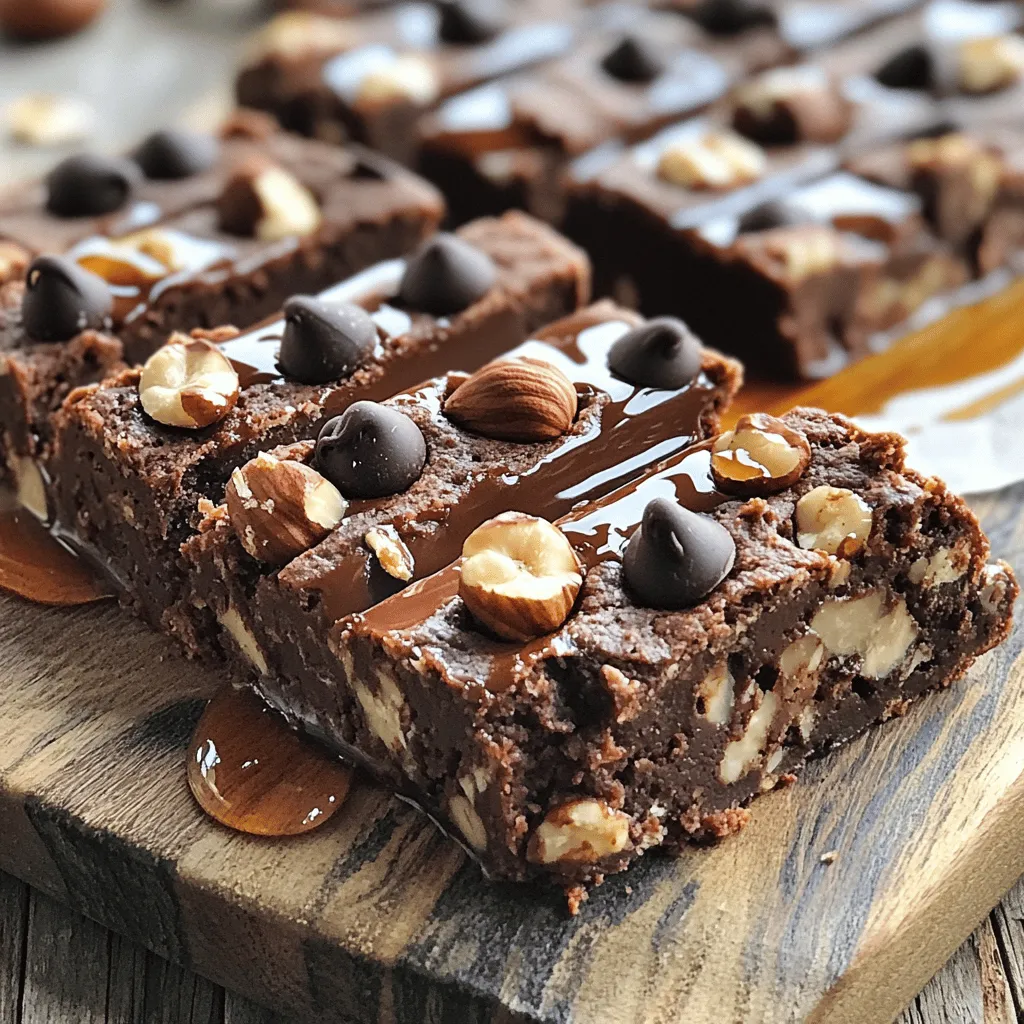
Looking for a healthy snack that satisfies your sweet tooth? These Chocolate Hazelnut Oat Bars are here to save the

Get ready to elevate your baking with my Apple Cider Cupcakes with Maple Frosting Delight! These moist, spiced cupcakes bring

Are you ready to impress your family with a rich and creamy dinner? This Creamy Garlic Shrimp Gnocchi is a
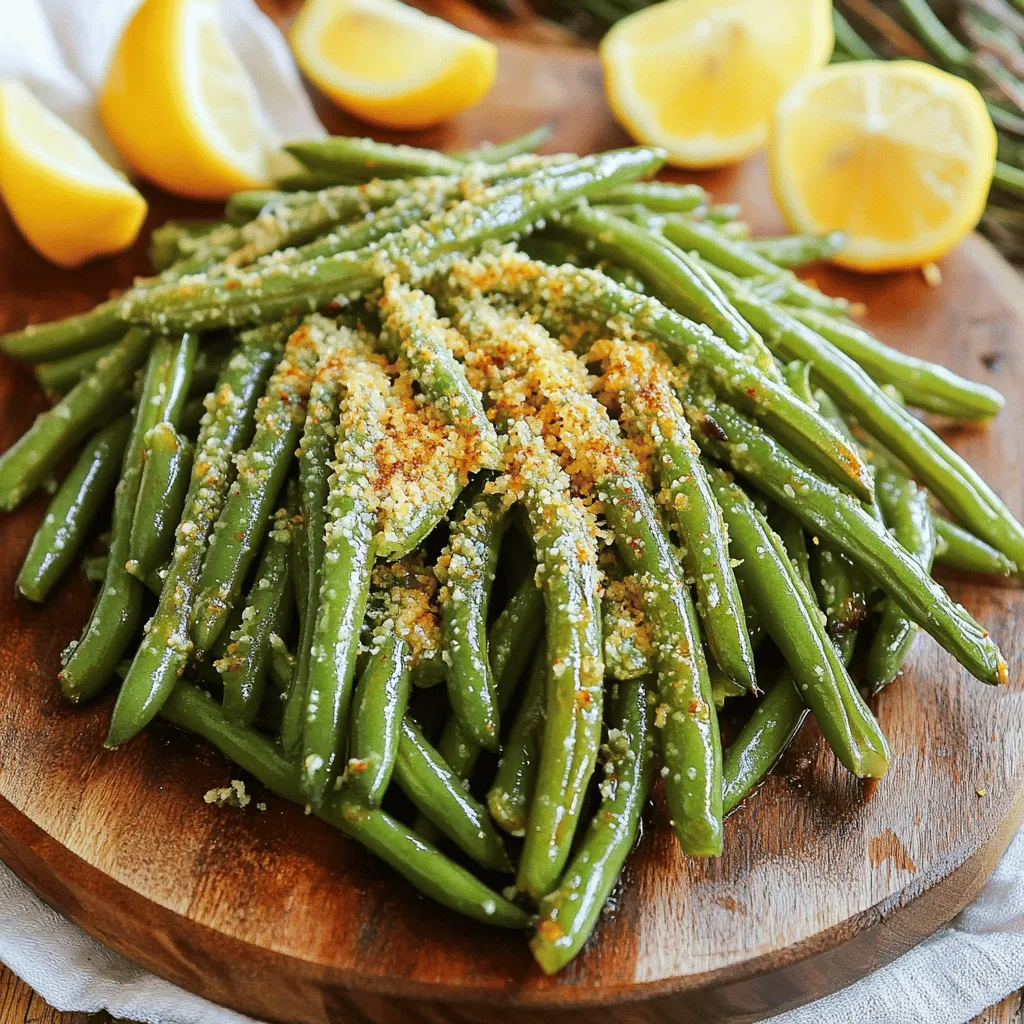
Are you ready to enjoy a crunchy, cheesy snack that is both healthy and delicious? My Air Fryer Parmesan Green
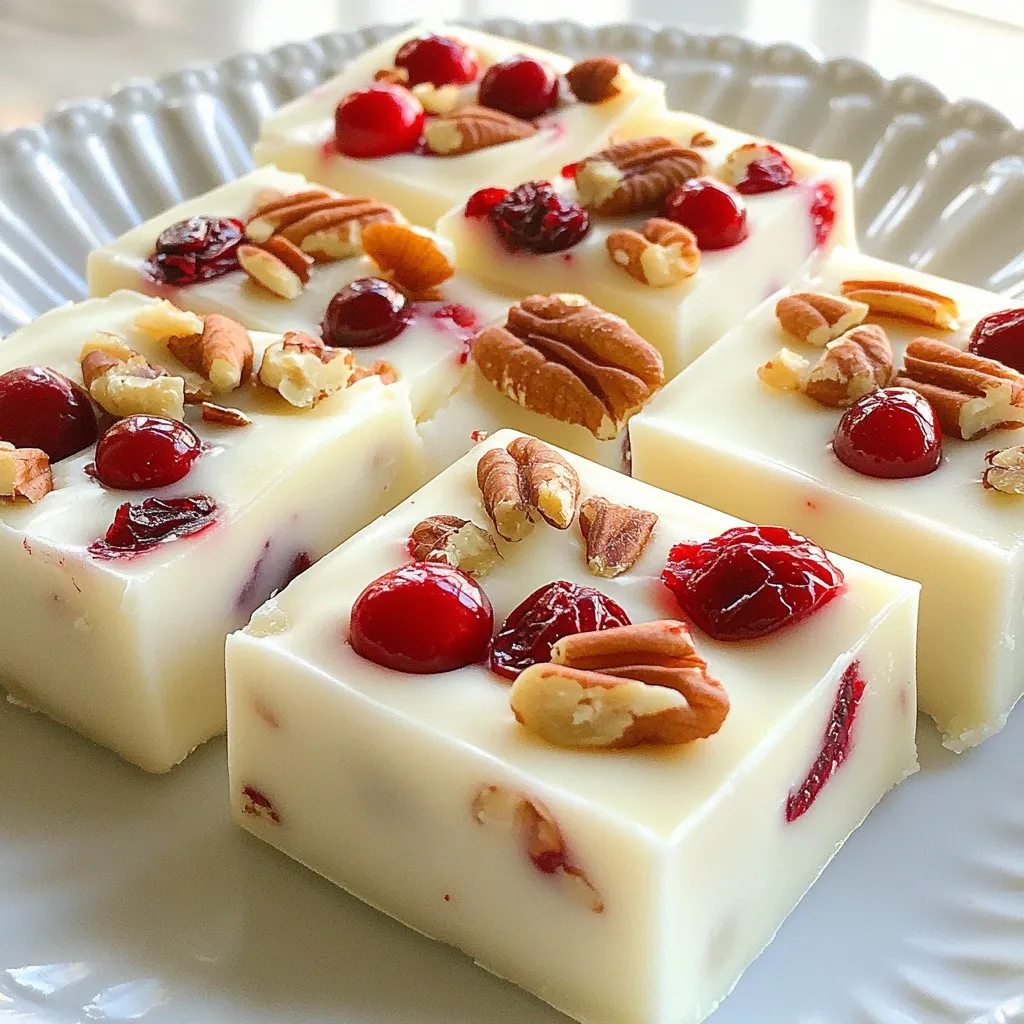
Looking for an easy and delicious treat? You’ve found it with this White Chocolate Cranberry Fudge recipe! With just a
