![- 1 sheet of puff pastry, thawed - 3 medium onions, thinly sliced - 2 tablespoons olive oil - 1 tablespoon balsamic vinegar - 1 teaspoon sugar - 4 ounces goat cheese, crumbled - 1 tablespoon fresh thyme leaves (or 1 teaspoon dried thyme) - Salt and freshly ground black pepper to taste - 1 egg, beaten (for egg wash) - Honey drizzle - Fresh thyme sprigs - Salad pairings - Use feta or ricotta cheese instead of goat cheese - Try different herbs like rosemary or oregano - Choose vegan pastry options for a plant-based tart - Set oven to 400°F (200°C). This heat helps the tart bake well. - Slice onions and gather other ingredients. You will need puff pastry, goat cheese, and thyme. - Cooking method and timing for caramelization: Heat olive oil in a pan. Add sliced onions and a pinch of salt. Cook for about 25 minutes. Stir often to prevent sticking. - Tips for achieving deep golden color: Add balsamic vinegar and sugar after onions soften. This step adds flavor and color. Look for a rich brown hue to know they are done. - Rolling out puff pastry and fitting it into the pan: Roll pastry on a floured surface. Aim for a circle that fits your tart pan. - Spreading onion mixture and topping with goat cheese: Spread the caramelized onions over the pastry. Sprinkle crumbled goat cheese on top. Season with salt and pepper to taste. Follow these steps closely, and your caramelized onion and goat cheese tart will shine! For the complete preparation, check the Full Recipe. To get the best puff pastry, you must keep it flat. Use a fork to prick the bottom. This helps it stay down while baking. An egg wash is key for color and shine. Brush the edges with a beaten egg. It gives your tart a lovely golden look. You can adjust the seasoning to fit your taste. If you like it spicy, add some red pepper flakes. Fresh herbs can also boost flavor. Consider adding a sprinkle of fresh chives or basil. These pair well with the goat cheese. Serve the tart warm or at room temperature. For a great look, garnish with thyme sprigs. You can also drizzle honey on top for a sweet touch. This pairs well with a simple salad or a glass of white wine. Enjoy your delicious creation with friends or family! {{image_4}} If you want a twist on your tart, try using different cheeses. Feta cheese gives a salty flavor. It pairs well with the sweetness of caramelized onions. Ricotta can add a creamy texture. You can blend it with herbs for extra taste. These cheeses provide a new and exciting experience. You can also make your tart heartier. Adding spinach brings a fresh taste and bright color. Sautéed mushrooms add earthiness and depth. If you want protein, cooked chicken works great, too. Just chop it up and mix it in with the onions. These additions make the tart more filling and flavorful. Herbs and spices can change the flavor profile of your tart. Try adding fresh basil or oregano for a Mediterranean twist. A sprinkle of red pepper flakes can add heat. You can also use a touch of garlic for added depth. Play around with flavors to create your perfect dish. Each change can make your tart unique and delightful. For the complete recipe, check out the [Full Recipe]. To keep your tart fresh, store leftovers in an airtight container. Place it in the fridge. The tart will stay good for about three days. Let it cool completely before sealing it. This helps maintain its taste and texture. Avoid stacking other items on top to prevent damage. For the best taste, reheat your tart in the oven. Set it to 350°F (175°C). Place the tart on a baking sheet. Heat for about 10-15 minutes. This helps keep the puff pastry crispy and the cheese melty. Microwaving can make it soggy, so use this method only if you're in a hurry. You can freeze the tart before or after baking. If freezing before baking, wrap it tightly in plastic wrap and foil. This prevents freezer burn. When ready to bake, cook it from frozen, adding about 10 minutes to the baking time. If freezing after baking, cool it completely first. Wrap it well and store for up to two months. Caramelizing onions takes about 25-30 minutes. Start by slicing three medium onions. Heat two tablespoons of olive oil in a skillet over medium heat. Add the onions and a pinch of salt. Stir them often. After about 5 minutes, they will soften. Then, add one tablespoon of balsamic vinegar and one teaspoon of sugar. Cook for another 20-25 minutes until they turn a deep golden-brown. For the best results, keep the heat low and stir regularly. Yes, you can make this tart ahead of time. Prepare the caramelized onions and store them in an airtight container in the fridge for up to three days. You can also roll out the puff pastry and place it in the tart pan. Cover it with plastic wrap. When you are ready, assemble the tart before baking. This way, you save time on busy days. Bake it fresh and enjoy the warm, delicious flavors. Yes, the tart is suitable for vegetarians. The main ingredients are puff pastry, onions, and goat cheese, all of which are vegetarian-friendly. If you want to make it vegan, you can swap the goat cheese for a plant-based cheese. You can also use a vegan puff pastry. Just check the labels to ensure all ingredients are vegan. This way, everyone can enjoy this tasty dish! The caramelized onion and goat cheese tart is a delight for any gathering. It takes about 50 minutes to make and serves six people. 1. Preheat your oven to 400°F (200°C). 2. In a skillet, heat two tablespoons of olive oil over medium heat. Add three sliced onions and a pinch of salt. Cook for about 5 minutes until they soften. 3. Stir in one tablespoon of balsamic vinegar and one teaspoon of sugar. Cook for 20-25 minutes until the onions turn a deep golden brown. Add one tablespoon of fresh thyme leaves before removing from heat. 4. Roll out one sheet of puff pastry on a floured surface until it's about 10-12 inches wide. Place it in a tart pan. 5. Prick the bottom of the pastry with a fork to prevent puffing. Brush the edges with a beaten egg. 6. Spread the caramelized onion mixture evenly on the pastry. Top with four ounces of crumbled goat cheese. 7. Season with salt and black pepper. Bake for 25-30 minutes until the pastry is golden. 8. Let the tart cool for a few minutes before slicing. This tart is rich and satisfying. Each serving contains about: - Calories: 280 - Fat: 18g - Protein: 6g - Carbohydrates: 24g The combination of flavors and textures is truly special. Enjoy this tart warm or at room temperature for the best experience. This blog post covered how to create a delicious onion tart. You learned about essential ingredients and helpful tips for caramelizing onions. We explored variations, such as different cheeses and added vegetables. Storing leftovers and reheating methods were also discussed to keep your tart fresh. Making this dish is simple and fun. Try adding your twist to make it truly yours. Enjoy the process and impress your guests with your tasty creation.](https://tastymomrecipes.com/wp-content/uploads/2025/05/bcc00ae5-200e-4e51-8dc9-0fe5c6fe0b89.webp)
Caramelized Onion and Goat Cheese Tart Delight
Are you ready to awaken your taste buds? The Caramelized Onion and Goat Cheese Tart Delight brings together sweet, rich
Are you ready to awaken your taste buds? The Caramelized Onion and Goat Cheese Tart Delight brings together sweet, rich

If you’re craving a sweet treat that’s both tangy and fresh, you’re in for a delight. This Lemon Blueberry Muffins

If you’re craving a warm, cheesy treat, you’re in the right place! Savory herb and cheese scones are easy to
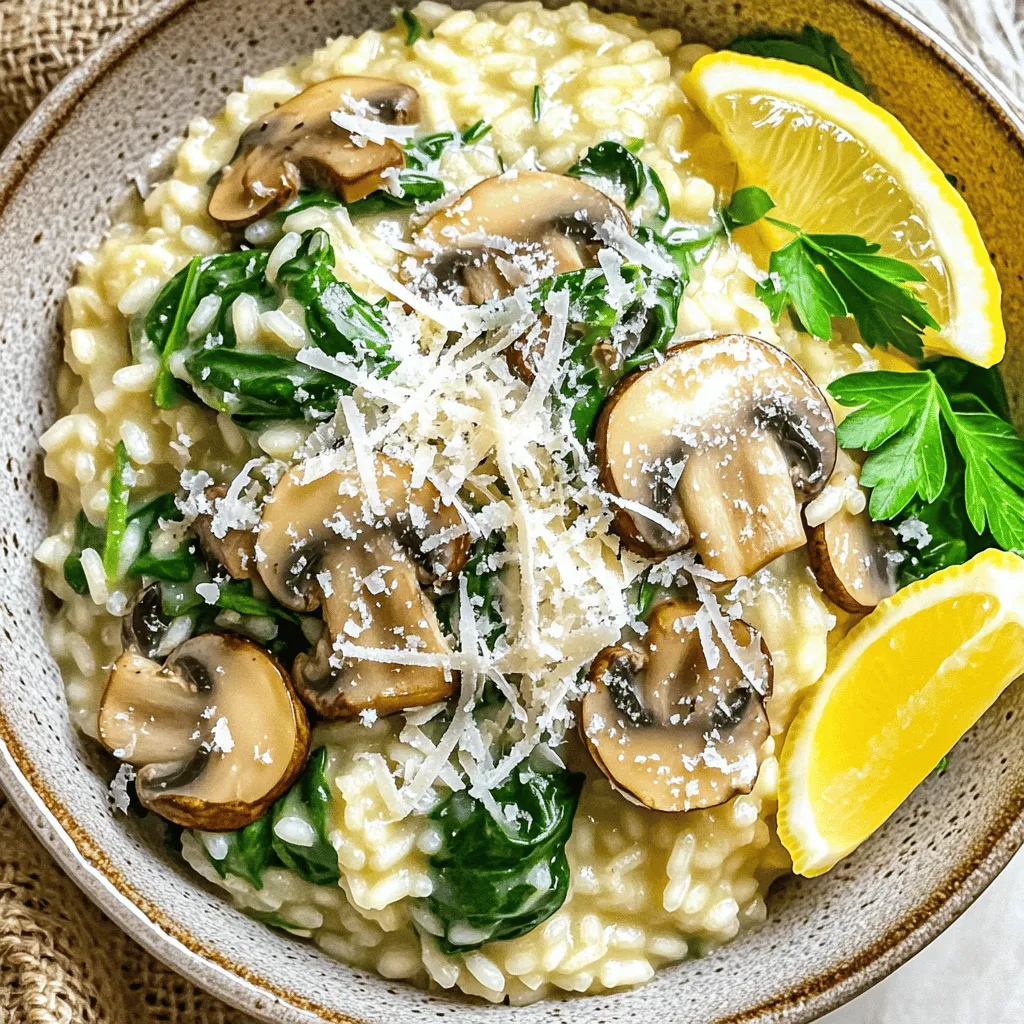
Welcome to the world of creamy mushroom risotto! This simple and flavorful recipe will impress your family and friends. Made
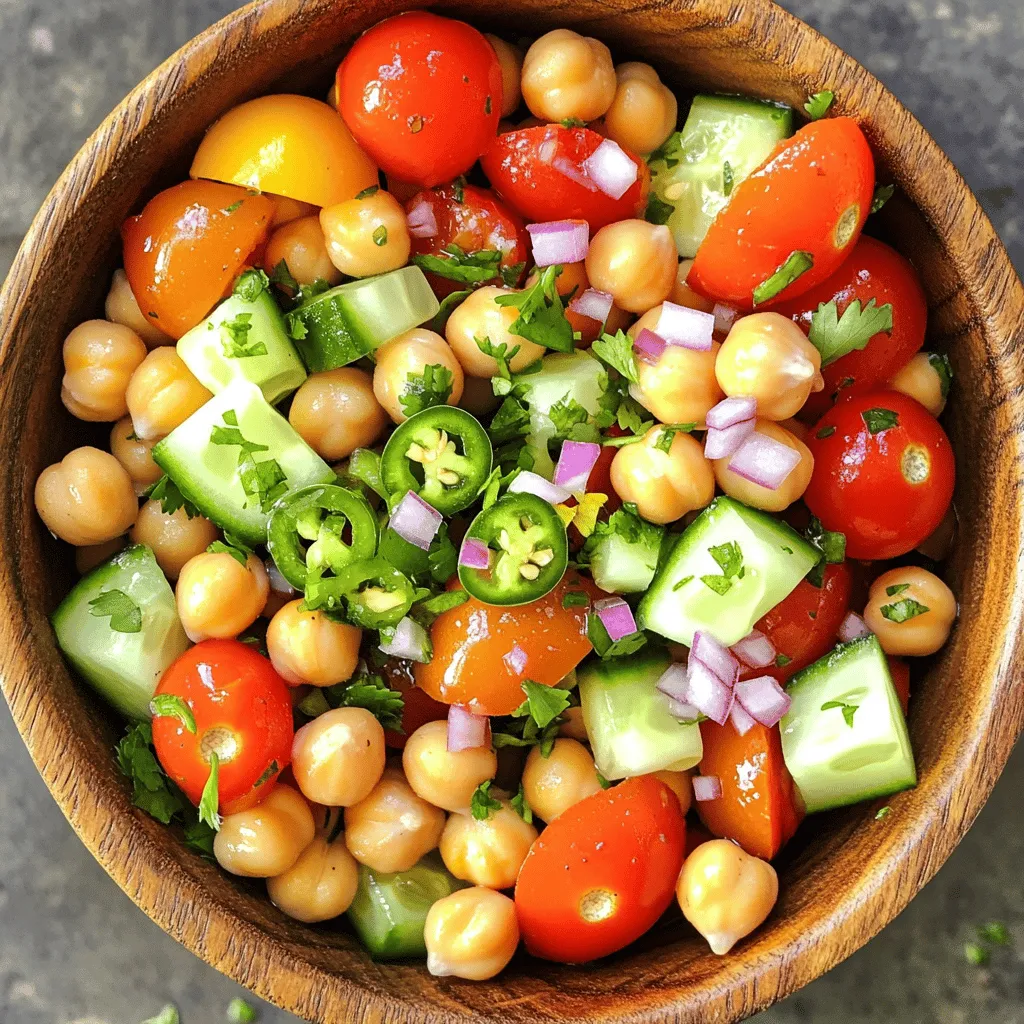
Are you ready to spice up your salad game? This Spicy Chickpea Salad combines bold flavors with fresh ingredients, making
![- 1 cup rolled oats - 1 cup almond milk - 1 medium apple, diced - 1 tablespoon chia seeds - 1 tablespoon maple syrup - 1 teaspoon ground cinnamon - 1/2 teaspoon vanilla extract - A pinch of salt - Sliced almonds - Raisins - Additional apple slices When you prepare Apple Cinnamon Overnight Oats, the ingredients are simple but packed with flavor. The rolled oats serve as a base and provide a hearty texture. I like to use almond milk, but feel free to choose any milk you enjoy. Dicing a medium apple adds sweetness and a fresh crunch. Chia seeds are my secret ingredient for added nutrition. For flavor, I use maple syrup, ground cinnamon, vanilla extract, and a pinch of salt. Together, they create a warm, comforting taste. If you want to take it up a notch, consider adding some optional toppings. Sliced almonds, raisins, or more apple slices make it visually appealing and add texture. This recipe is not just tasty; it is also healthy. You can find the full recipe above. Enjoy making these oats your way! - Gather all ingredients and tools needed. - You will need: - 1 cup rolled oats - 1 cup almond milk - 1 medium apple, diced - 1 tablespoon chia seeds - 1 tablespoon maple syrup - 1 teaspoon ground cinnamon - 1/2 teaspoon vanilla extract - A pinch of salt - Dice the apple into small pieces. - Measure out the oats and liquids carefully. - Add all ingredients to a bowl or jar. - Pour in the almond milk and add the diced apple. - Add chia seeds, maple syrup, ground cinnamon, vanilla extract, and salt. - Mix thoroughly to combine all flavors and textures. - Make sure the oats are well-coated in the liquid. - Cover and refrigerate overnight. - This helps the oats absorb the milk. - In the morning, stir the oats well. - If they seem thick, add a splash of almond milk. - Serve in bowls and add optional toppings. - Try sliced almonds, raisins, or more apple slices. For the complete recipe, check out the [Full Recipe]. Let the mixture soak for at least 4-6 hours. This time helps the oats absorb the almond milk. The oats will soften and become creamy. You can also adjust sweetness to your taste with maple syrup. More syrup gives it a sweet kick, while less keeps it light. If you want a creamier consistency, use more milk. Adding extra milk makes the oats smooth and delightful. You can also try different types of oats. Steel-cut oats give a chewier bite, while quick oats make it softer. Layer your oats in clear jars for a pretty look. It shows off the apples and oats nicely. For extra creaminess, add yogurt on top. This adds flavor and makes it more filling. These simple tips will make your breakfast look as good as it tastes! You can find the full recipe here. {{image_4}} You can easily switch things up with your Apple Cinnamon Overnight Oats. Here are some fun ideas to keep breakfast exciting: - Swap the apple for pears or bananas. These fruits add a sweet twist. - Try dried fruits like cranberries or apricots for a chewy texture. - Add nutmeg or ginger to change the spice mix. These spices bring warm notes. - Incorporate nut butter, like almond or peanut, for a creamy richness. - Use plant-based milk, like oat or soy, to make it vegan. This keeps it light and tasty. - Adjust portions or choose gluten-free oats to suit your diet needs. These variations make your breakfast fun and keep it fresh! For more ideas, check out the Full Recipe for Apple Cinnamon Overnight Oats. Store your apple cinnamon overnight oats in airtight containers. This helps keep them fresh. You can keep them in the fridge for up to 5 days. Make sure to stir well before serving. If the oats seem thick, add a little almond milk to adjust the texture. If you want a quick breakfast, freeze individual portions. This makes mornings easy and fast. To enjoy, simply thaw them in the refrigerator overnight before serving. This way, you will have a tasty and nutritious meal ready when you wake up. Typically, Apple Cinnamon Overnight Oats last up to 5 days in the fridge. This makes them a great option for meal prep. You can prepare several jars at once and grab them each morning. Yes, you can make these oats vegan. Just use plant-based milk and maple syrup as your sweetener. This way, you keep the dish tasty while making it suitable for a vegan diet. Overnight oats are rich in fiber and protein. They support digestion and help maintain energy levels throughout the day. This makes them a smart choice for breakfast. Yes, you can enjoy Apple Cinnamon Overnight Oats warm. Just pop them in the microwave for a cozy breakfast. This adds a comforting touch, especially on chilly mornings. To adjust the recipe for more servings, simply multiply the ingredient quantities by the number of servings you want. This makes it easy to serve a group or family without any hassle. For the full recipe, check out the detailed instructions above. In this post, we explored making delicious apple cinnamon overnight oats. You learned the main ingredients, plus how to enhance flavor and texture. We shared tips for perfect oats and creative variations. Finally, I provided storage tips to keep your oats fresh. These oats are easy, healthy, and fun to tweak. Try out your favorites and enjoy a tasty breakfast!](https://tastymomrecipes.com/wp-content/uploads/2025/05/a1074bd7-0cda-4229-94c1-99e997cf1949.webp)
Looking for a quick and tasty breakfast? Apple Cinnamon Overnight Oats are your answer! They are simple to make and
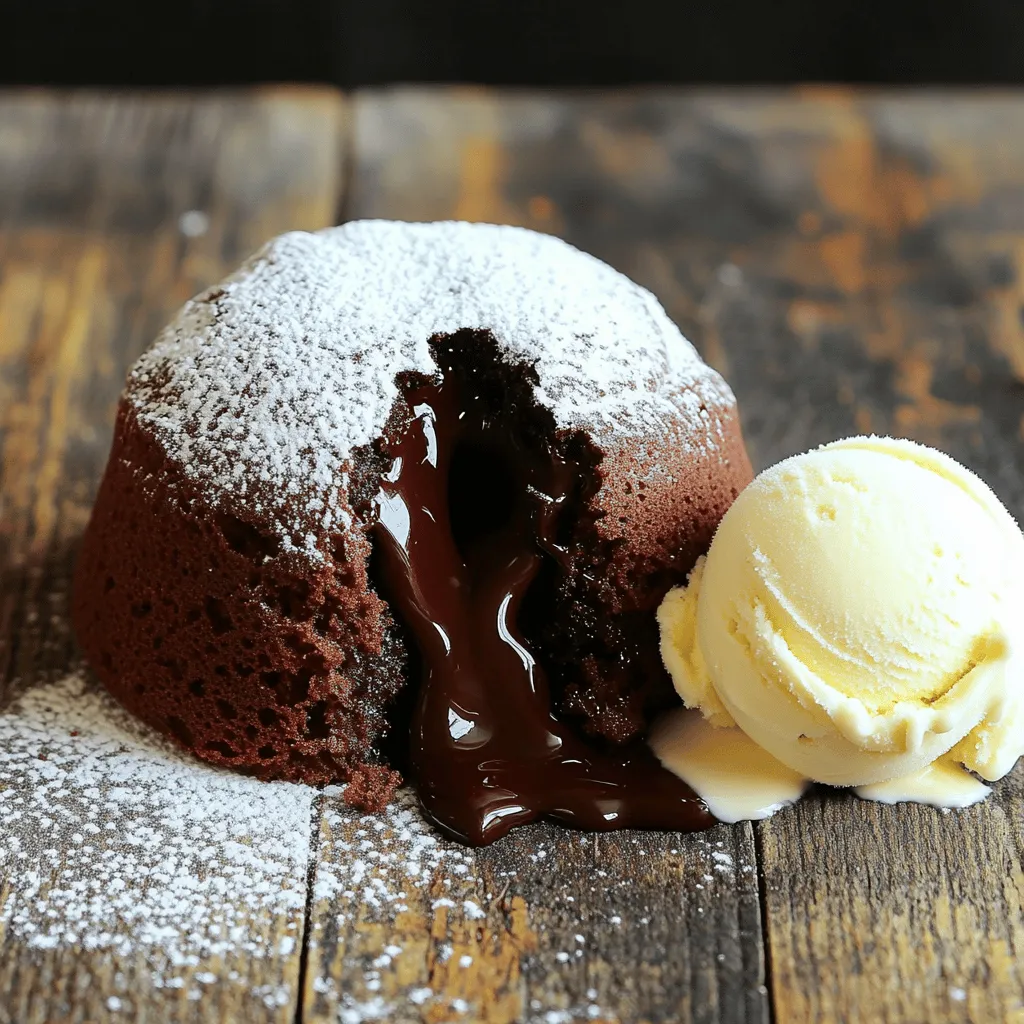
Welcome to your new favorite dessert! This Easiest Chocolate Lava Cake is a simple, rich treat that anyone can make.
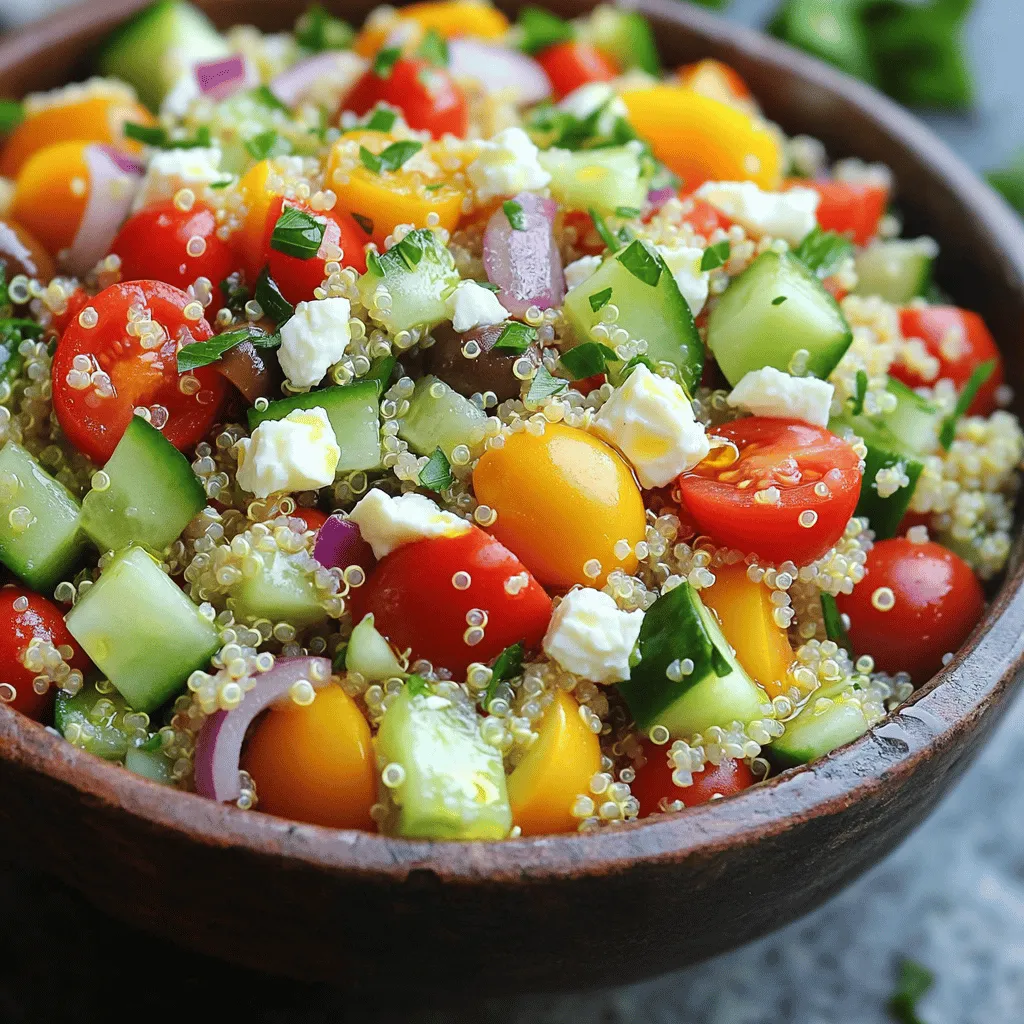
Looking for a fresh and flavorful dish? My Mediterranean Quinoa Salad is packed with vibrant ingredients and bound to impress.
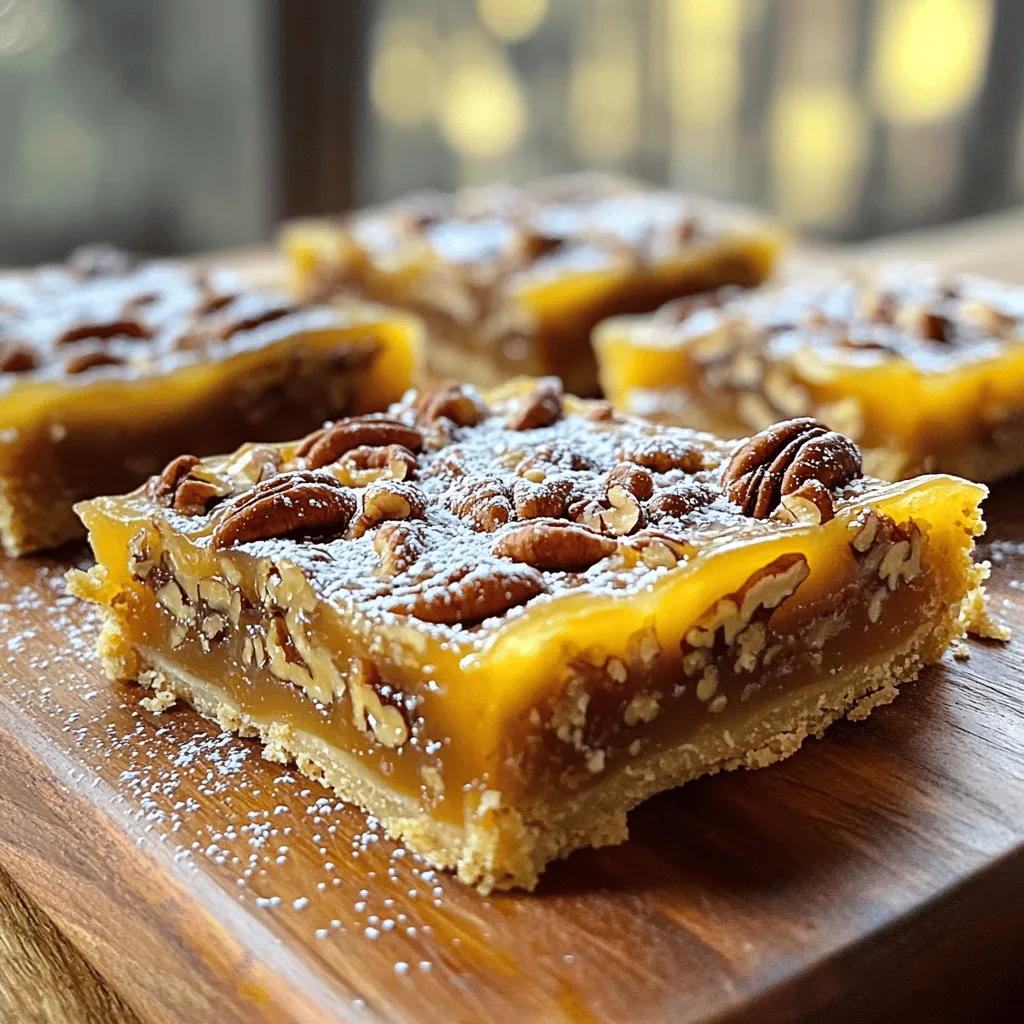
If you love sweet treats with a twist, you’ll adore my Maple Pecan Pie Bars! These bars combine rich maple

If you crave flavor-packed chicken wings, you’ve found the right recipe! My Sweet and Spicy Chicken Wings blend the perfect
