
No Yeast Dinner Buns Soft and Fluffy Recipe Guide
Looking for a quick and easy way to make soft and fluffy dinner buns without yeast? You’ve come to the
Looking for a quick and easy way to make soft and fluffy dinner buns without yeast? You’ve come to the
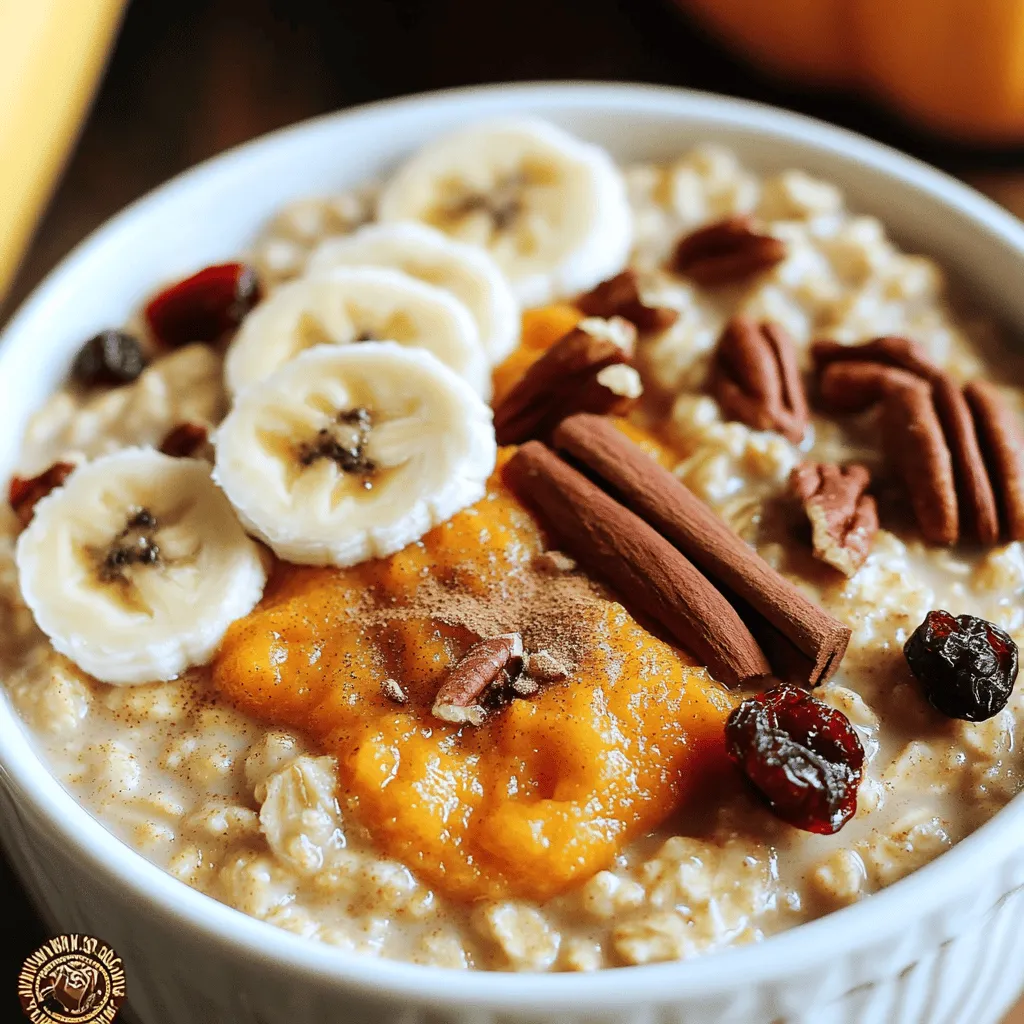
Ready to start your day with a warm and creamy treat? My Slow Cooker Pumpkin Oatmeal is the perfect breakfast

Get ready to savor the flavors of my Sheet Pan Garlic Honey Chicken Thighs! This easy recipe combines juicy chicken
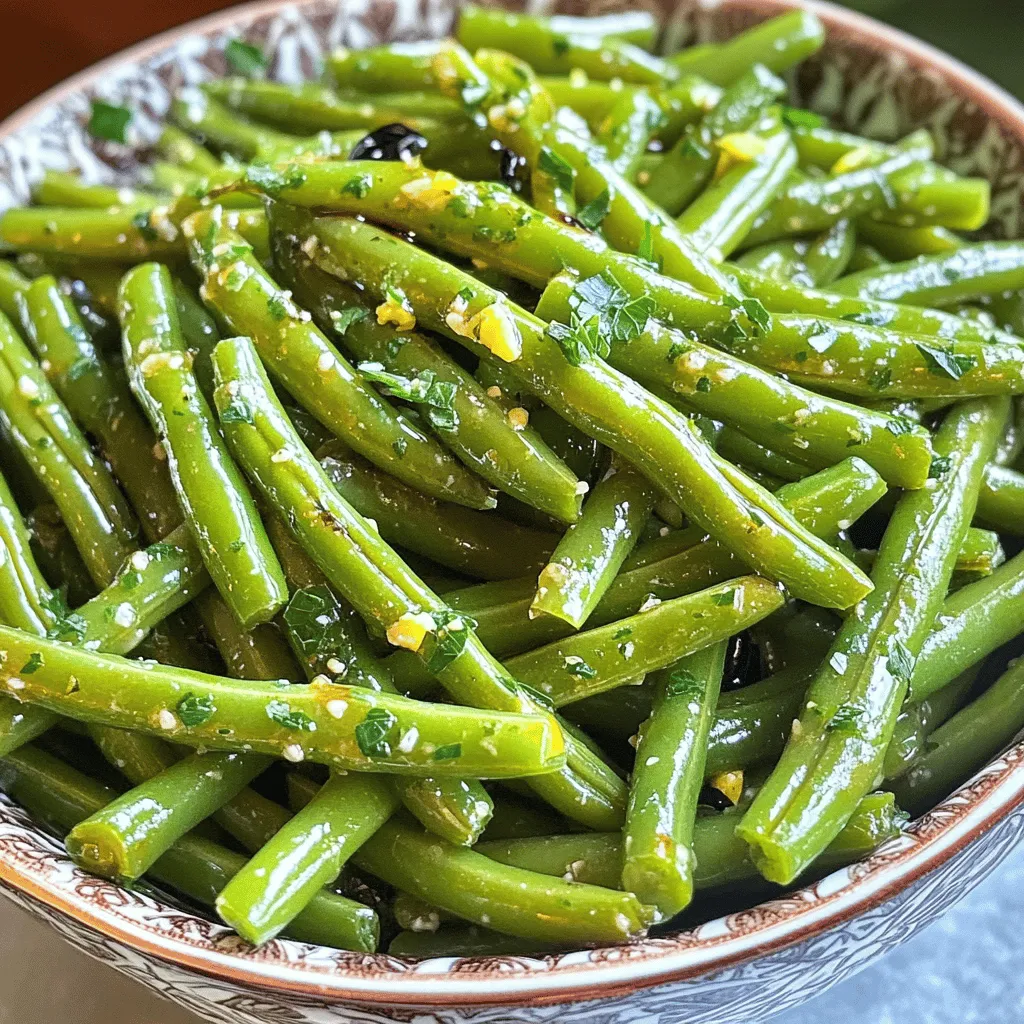
Looking for a quick, delicious side dish? Air Fryer Garlic Butter Green Beans fit the bill perfectly! Tossed in garlic
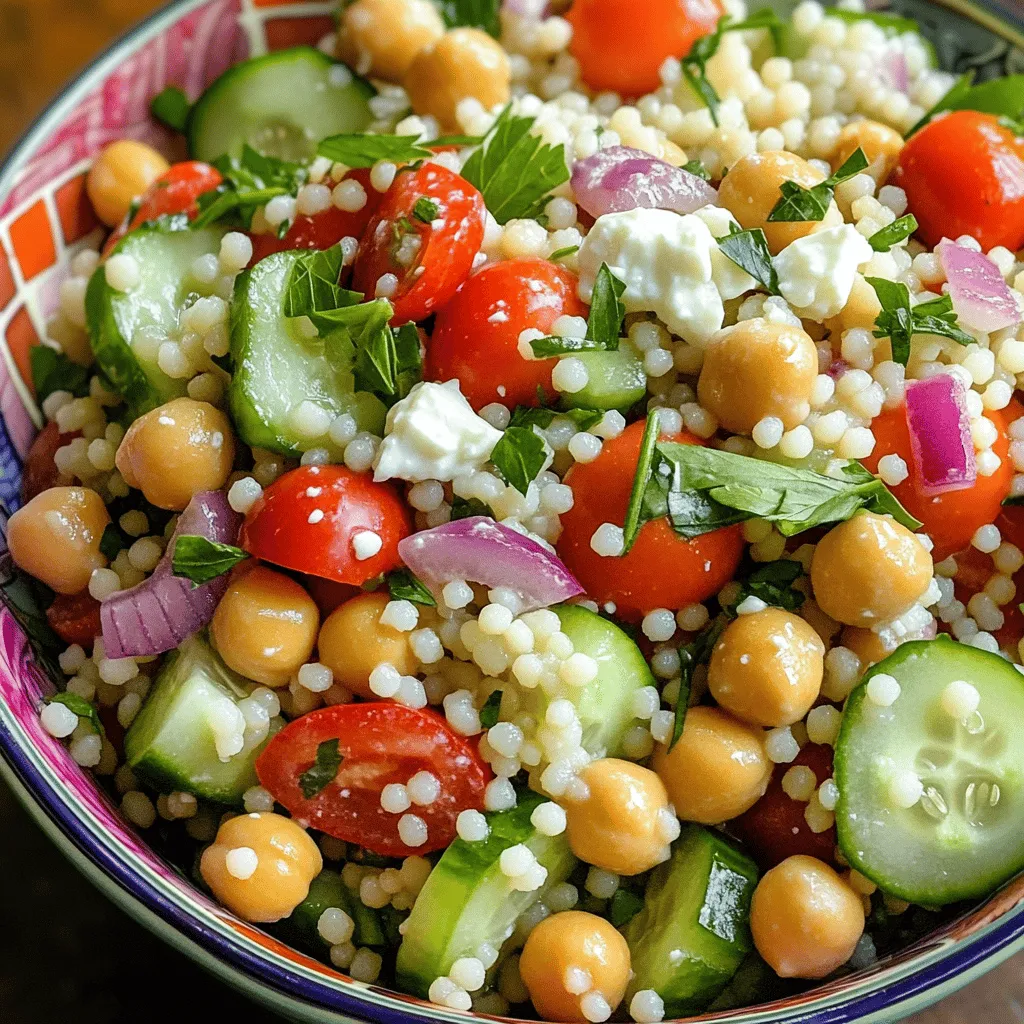
Are you ready to delight your taste buds? Our Mediterranean Couscous Salad with Tahini packs a punch of flavor in
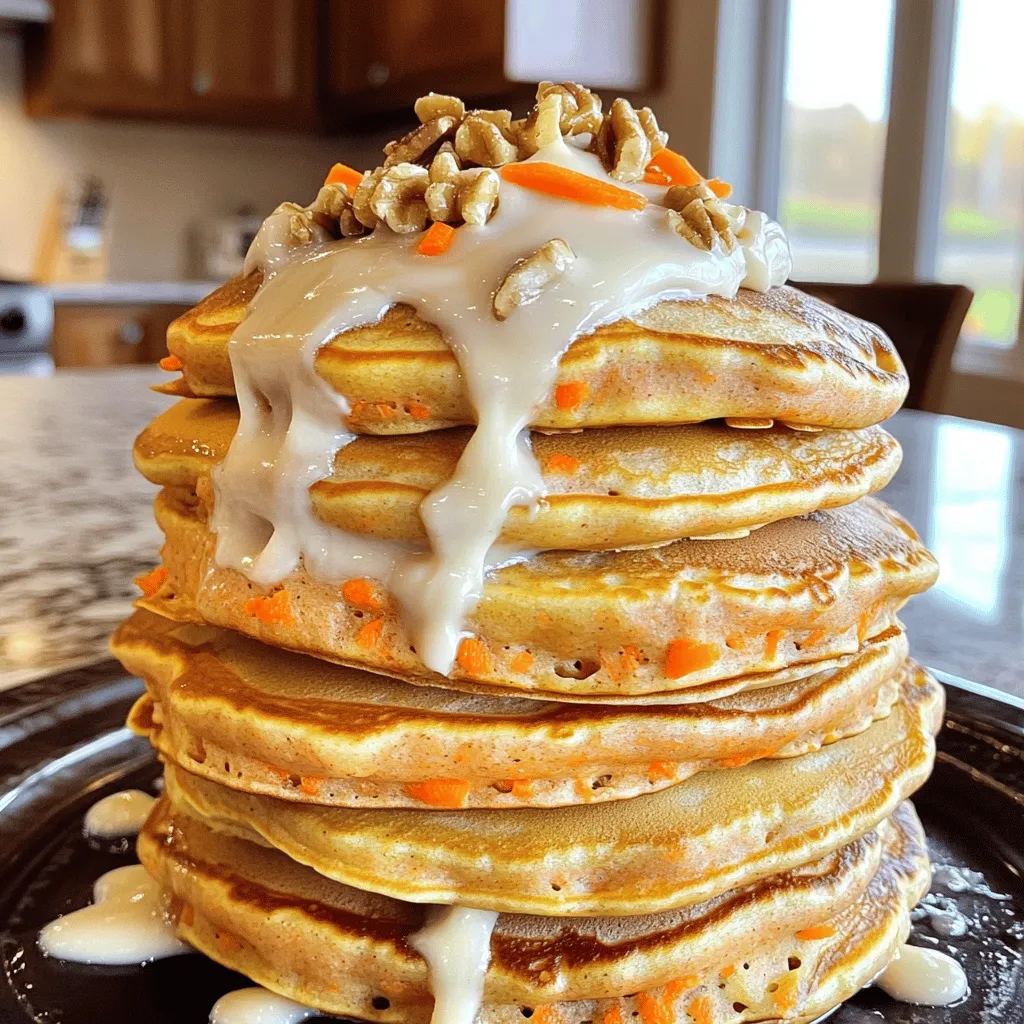
Do you crave a breakfast that feels like dessert? Look no further! These Carrot Cake Pancakes with Cream Cheese Glaze
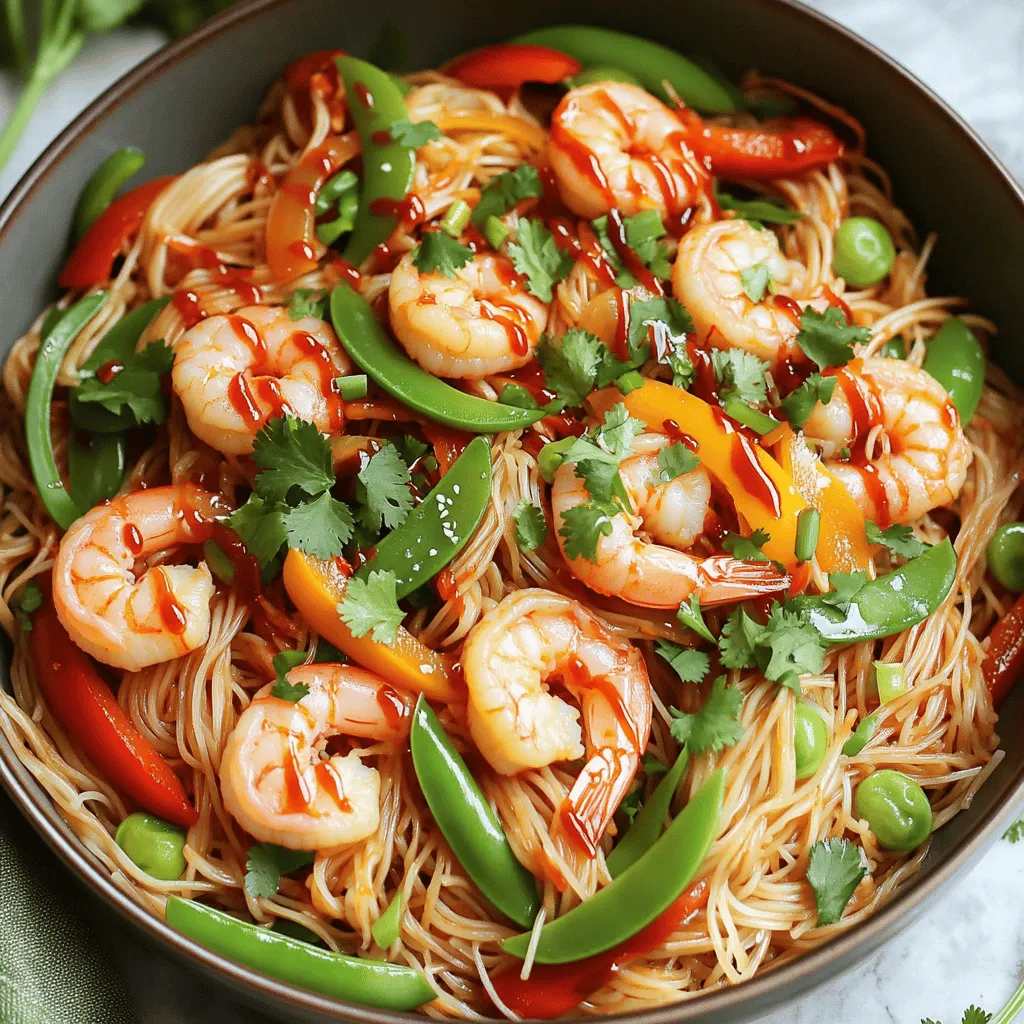
Craving a quick and tasty meal? Let me introduce you to Chili Garlic Shrimp Noodles! This dish bursts with flavor
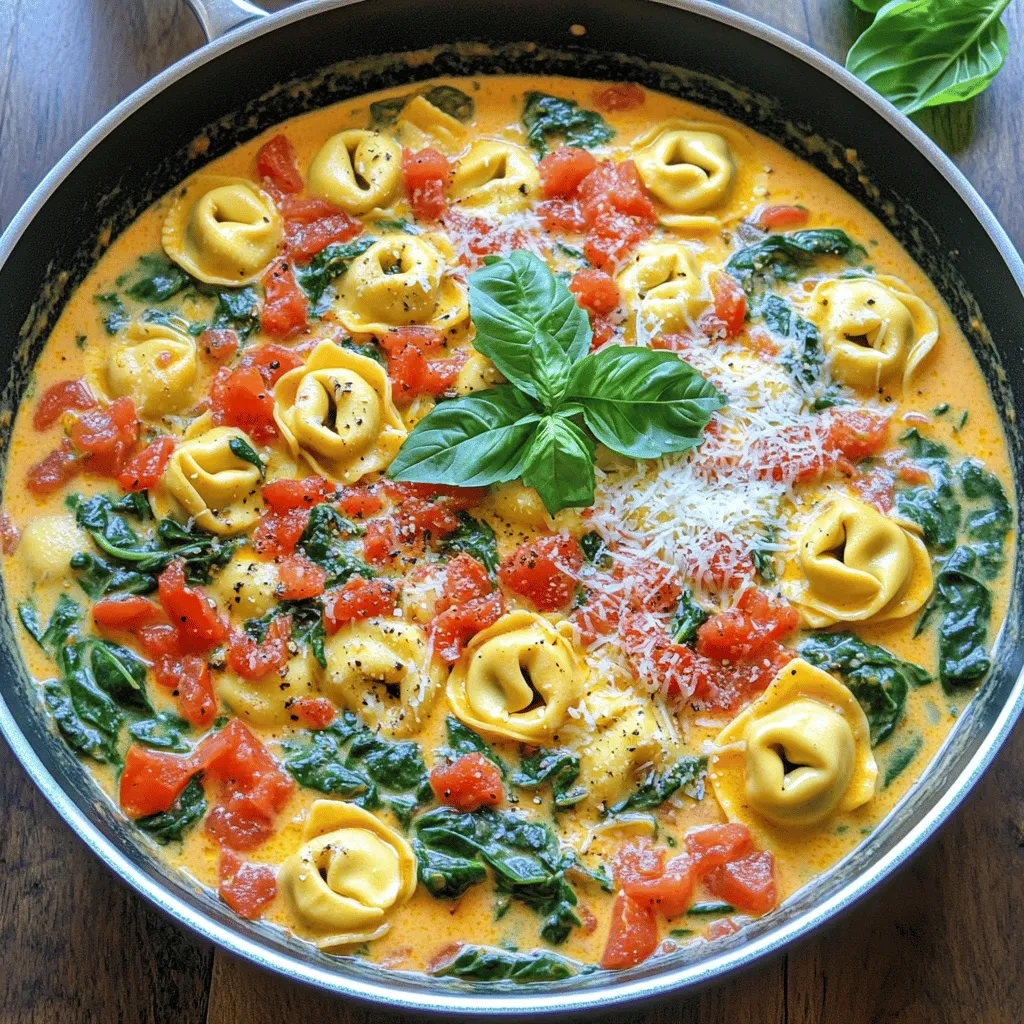
Looking for a delicious meal that comes together in one pan? Let me introduce you to my One-Pan Tomato Spinach
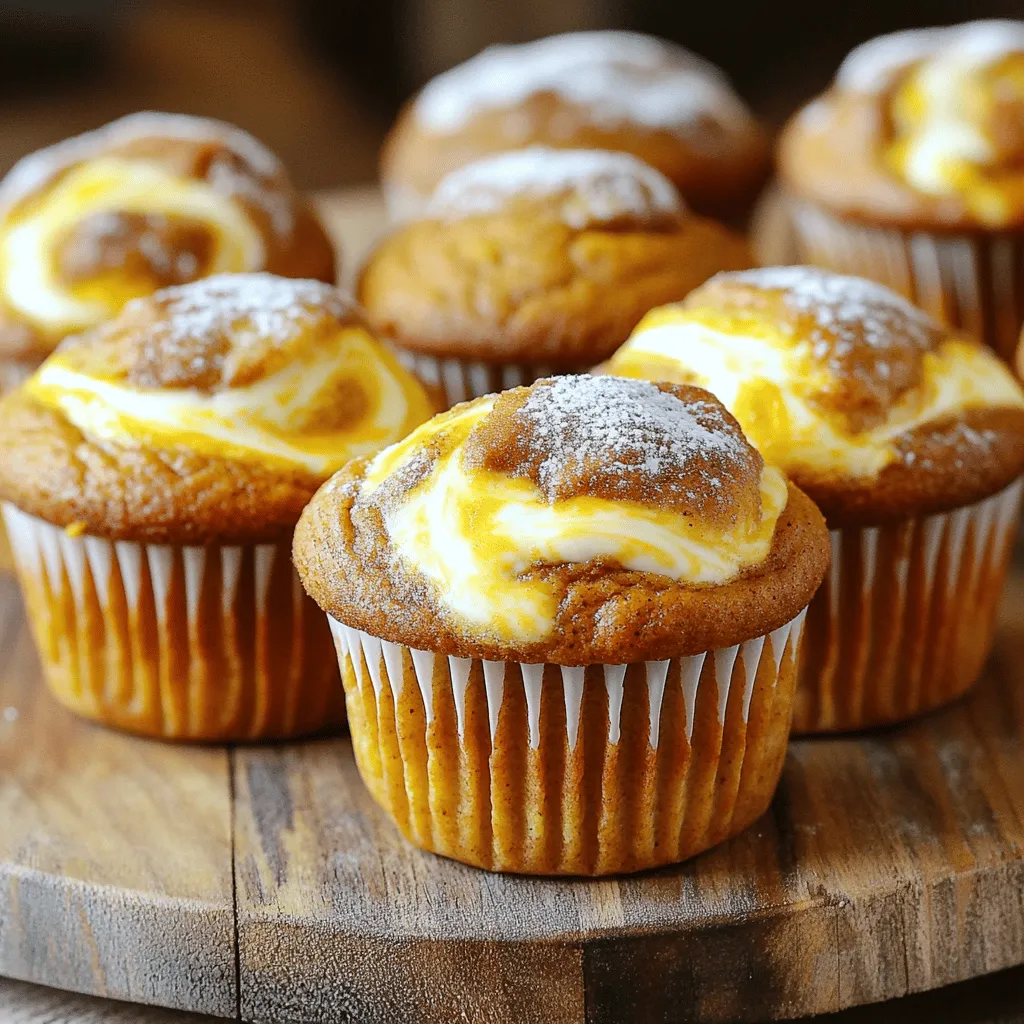
Fall is here, and that means it’s time for warm, cozy treats! Pumpkin Cream Cheese Muffins blend rich pumpkin flavors
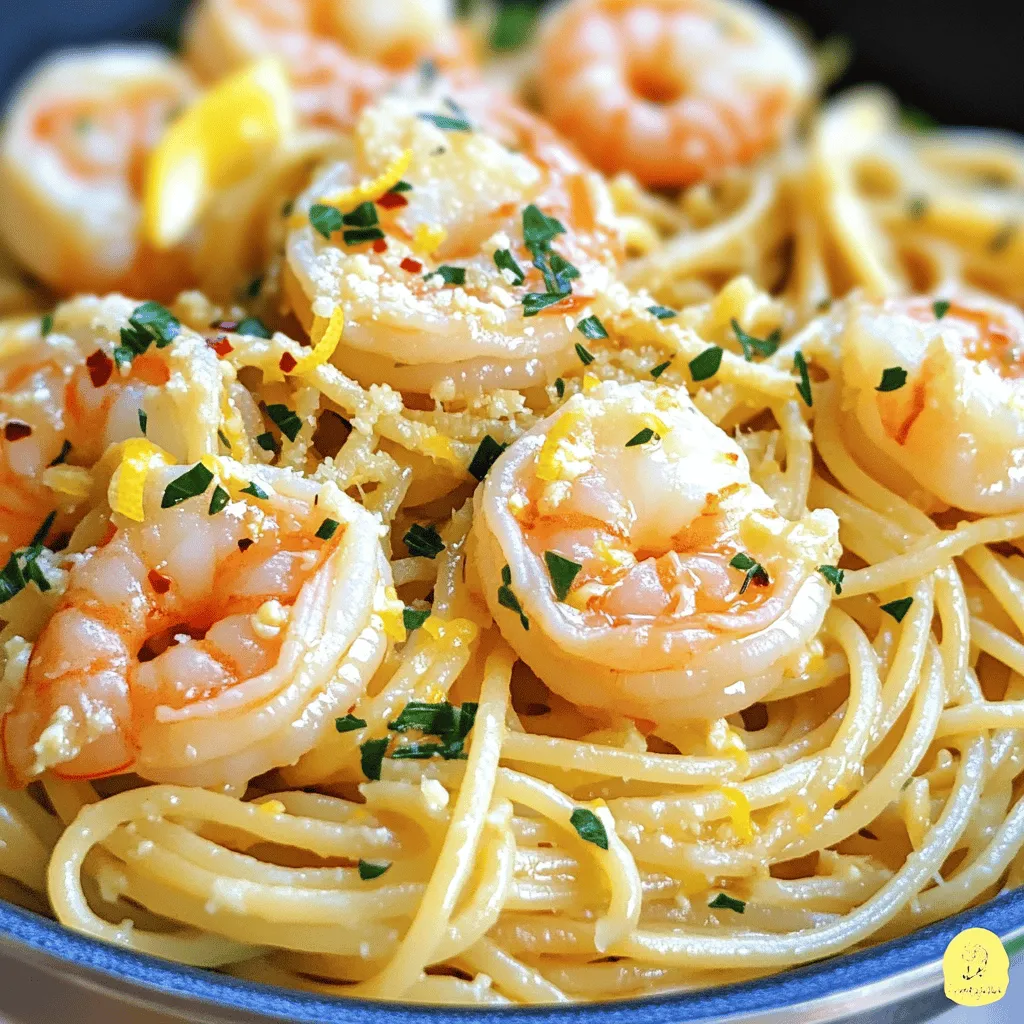
Looking for a dish that’s both simple and bursting with flavor? Garlic butter shrimp pasta is your answer. This delightful
