Honey Garlic Chicken Thighs Sheet Pan Delightful Meal
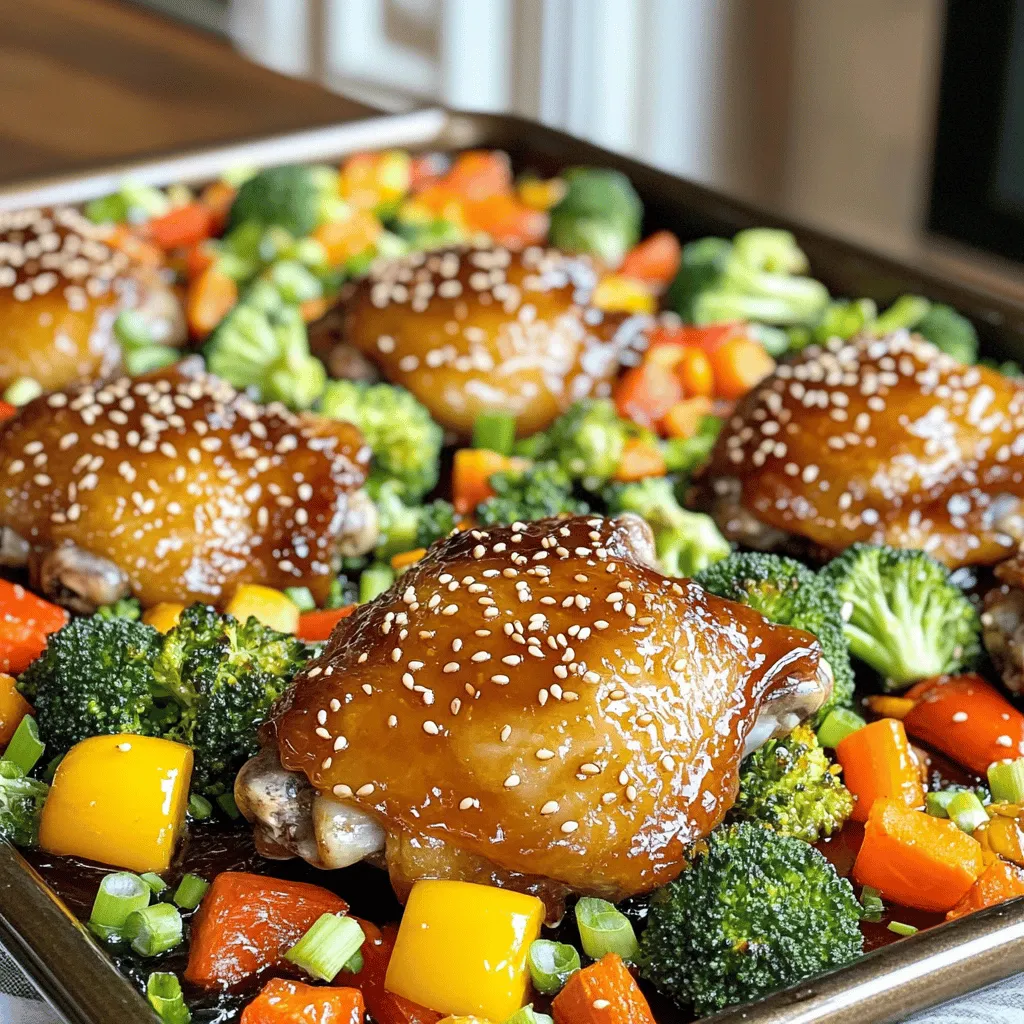
Are you ready for a meal that’s both simple and delicious? I’m excited to share my Honey Garlic Chicken Thighs
Are you ready for a meal that’s both simple and delicious? I’m excited to share my Honey Garlic Chicken Thighs
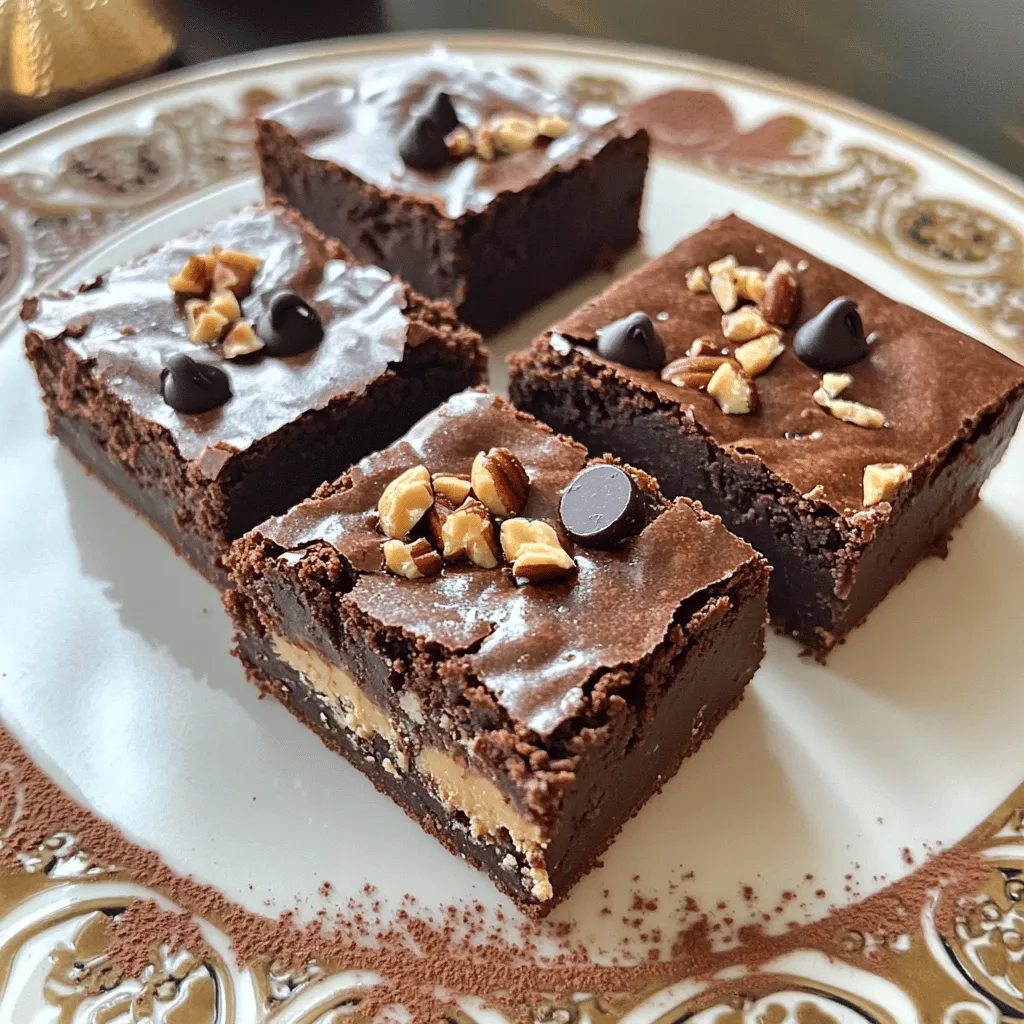
If you’re searching for a deliciously unique treat, you’ve found it! These Cottage Cheese Peanut Butter Brownies combine creamy cottage
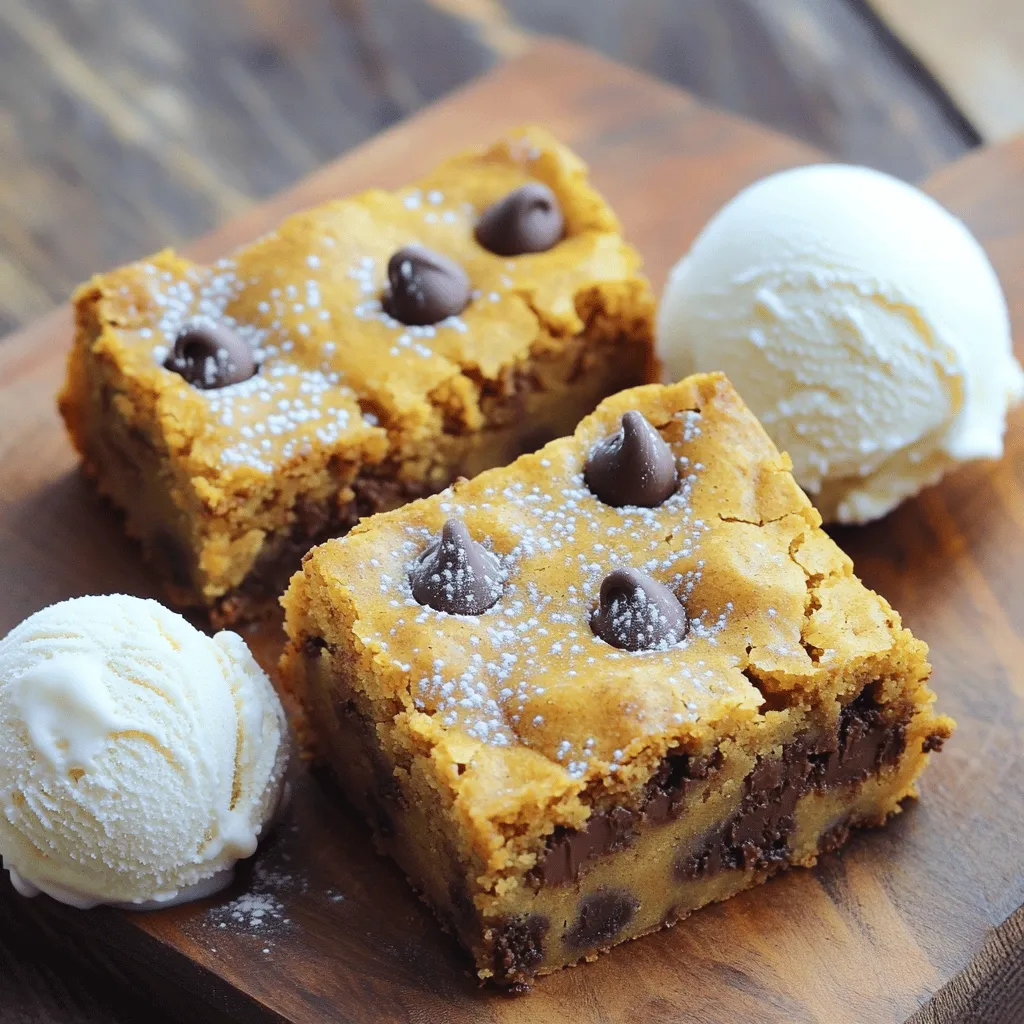
Get ready to savor the flavors of fall with my easy Pumpkin Chocolate Chip Blondie Bars! These simple bars mix
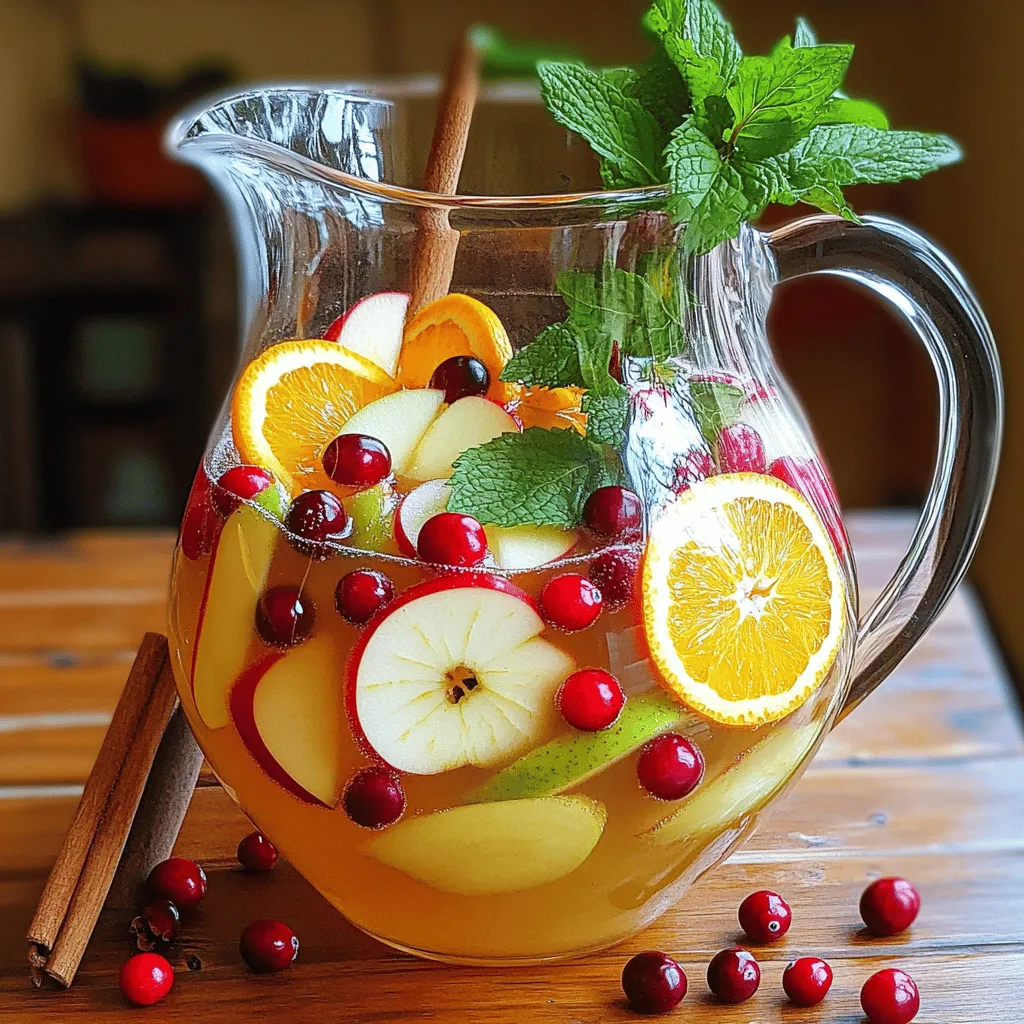
If you’re looking for a fun drink, try my Apple Cider Sangria with Cranberries! This recipe gives a cool twist
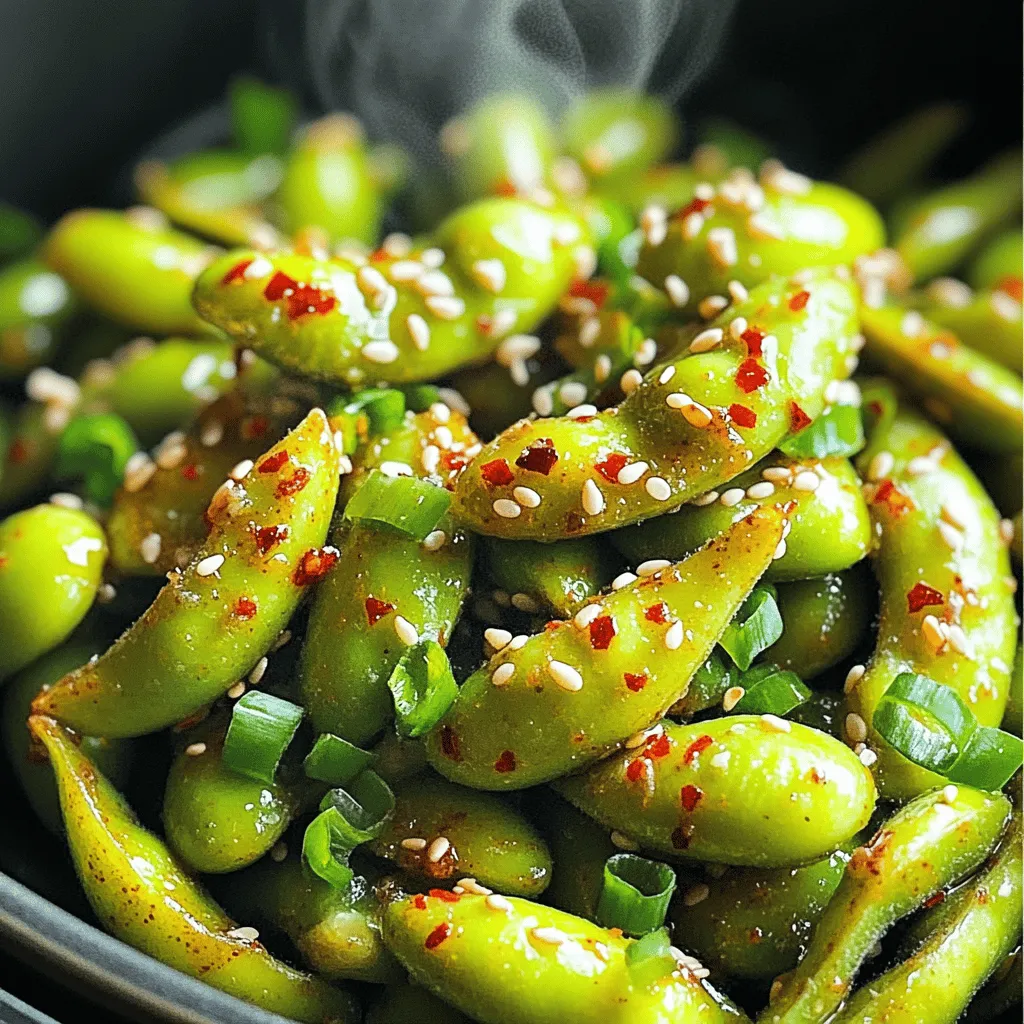
Looking for a tasty snack that packs a punch? Let me introduce you to Air Fryer Spicy Garlic Edamame! This
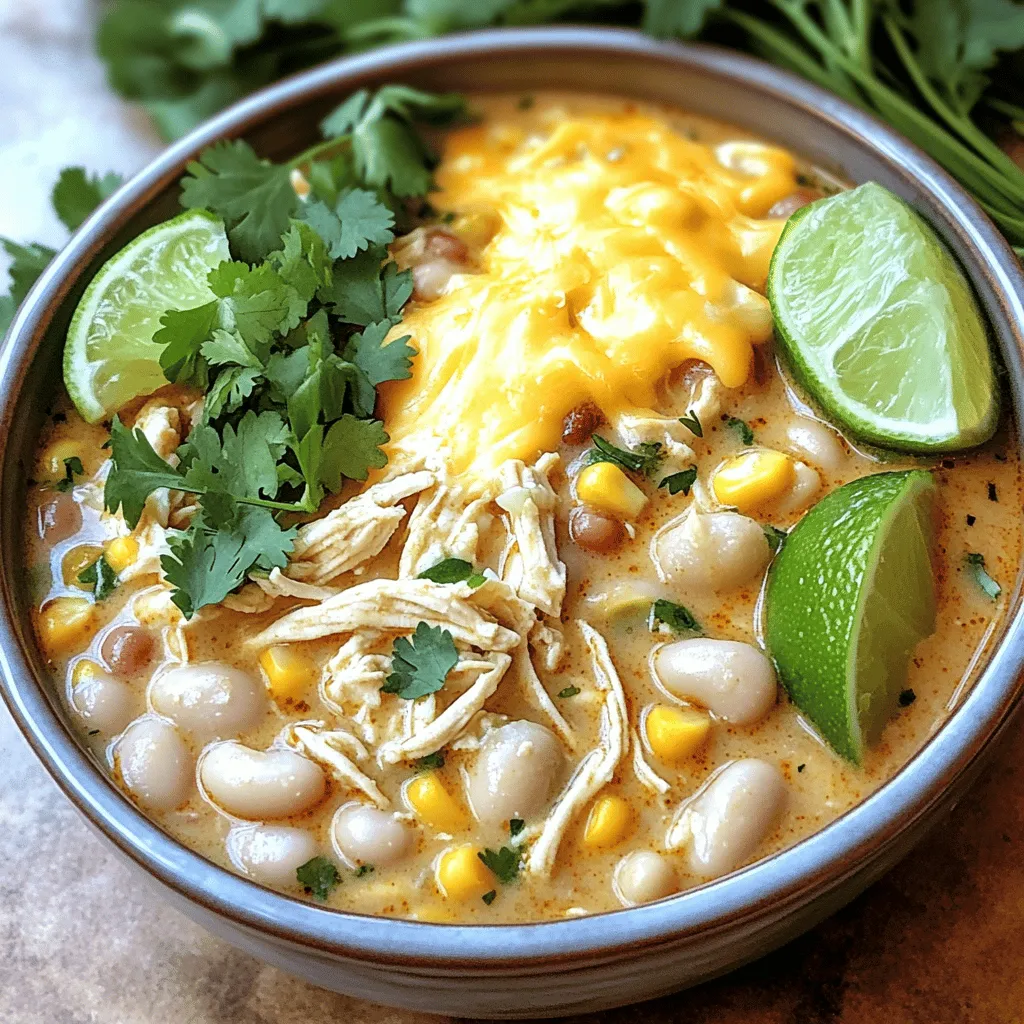
Are you ready to dive into a warm bowl of comfort? This Slow Cooker Creamy White Chicken Chili is rich
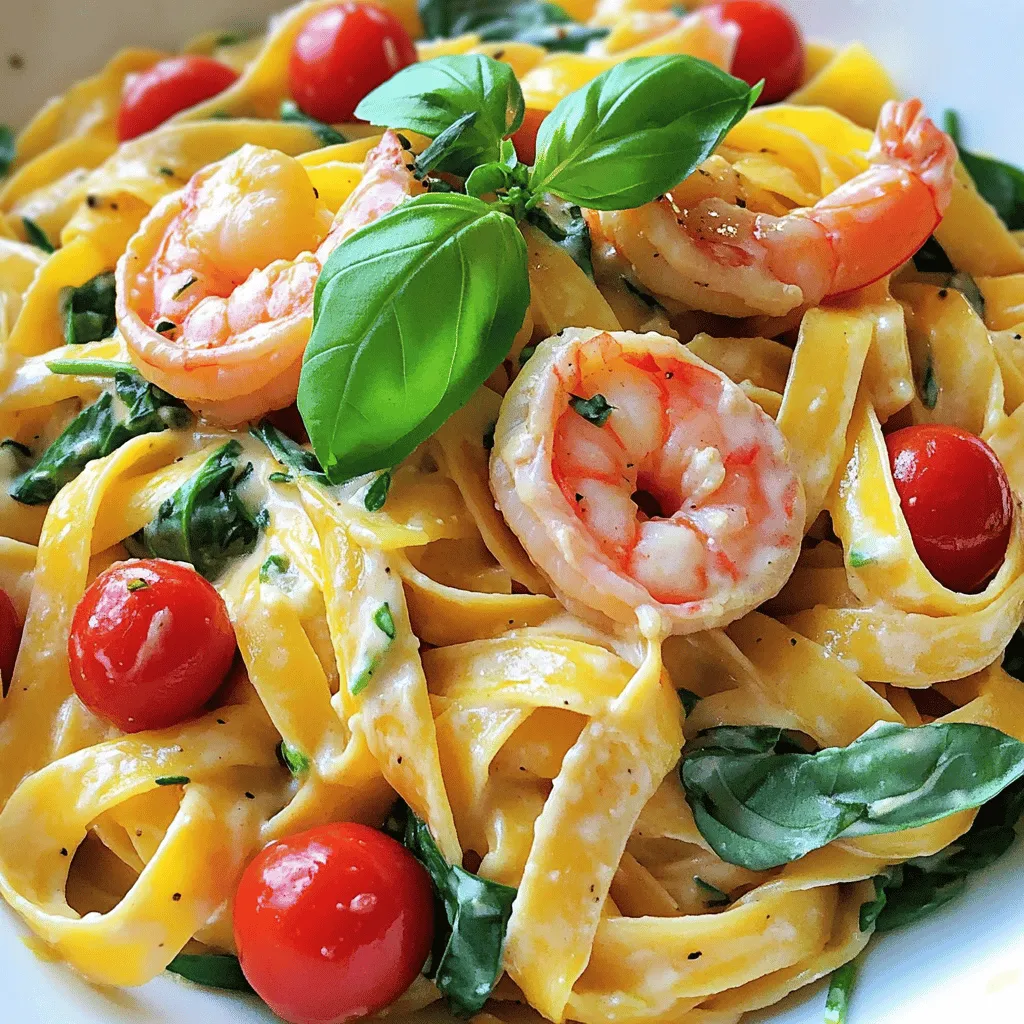
Ready to indulge in a bowl of comfort? This Creamy Tuscan Shrimp Pasta is not just easy to make; it’s

Fall has arrived, and it’s time to indulge in some pumpkin spice goodness! If you love cheesecake and the warm

Are you ready to cool off with something unique this summer? Our Mango Chili Lime Sorbet is a refreshing and
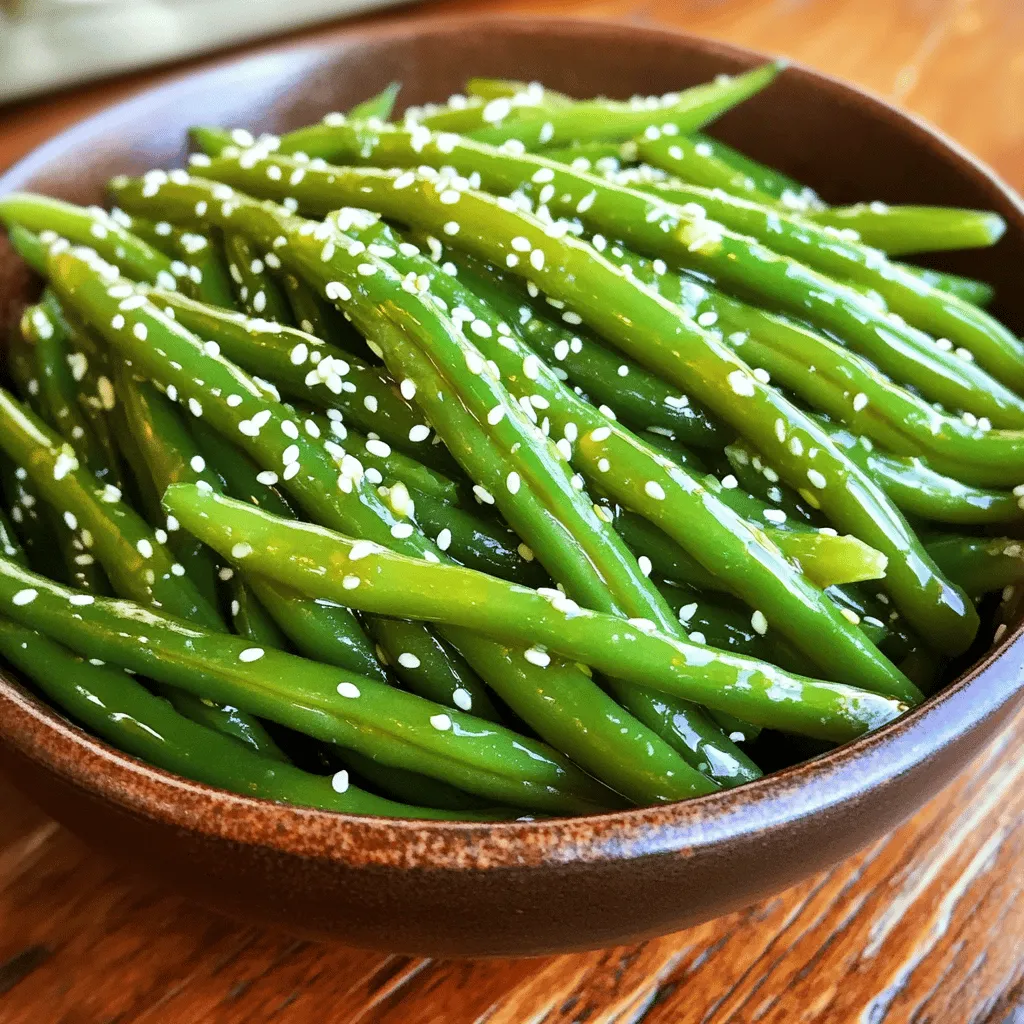
If you’re looking for a quick and tasty side dish, Ginger Soy Glazed Green Beans are a winner! This dish
