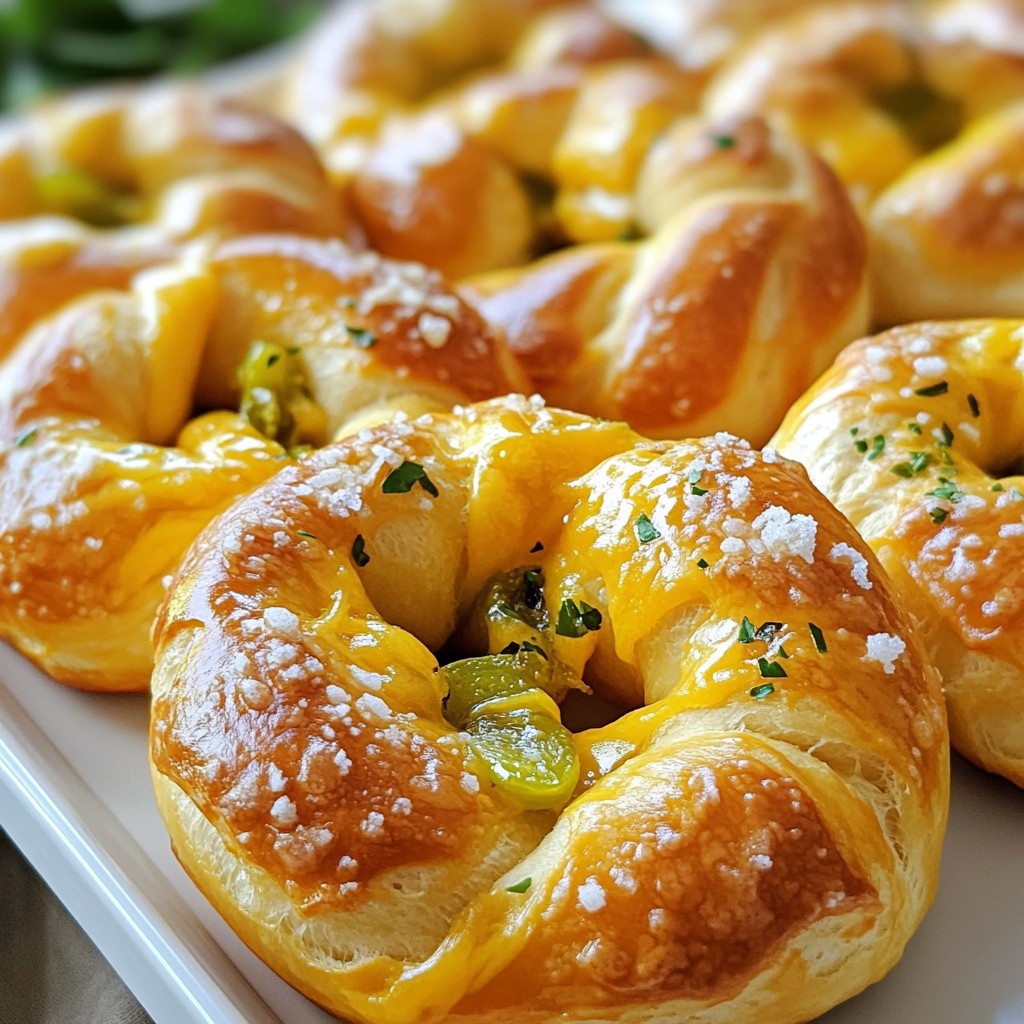
Are you ready to impress your family and friends with a simple, mouthwatering treat? Cheesy Garlic Breadsticks are the perfect mix of gooey cheese and rich garlic flavor. This delightful recipe is easy to make, even for beginners. I’ll guide you through each step. You'll be amazed at how quickly they disappear! Let’s dive into the ingredients and get started on this tasty journey!
Why I Love This Recipe
- Delicious Flavor Combination: The blend of garlic and cheese creates an irresistible flavor that pairs perfectly with any meal.
- Easy to Make: This recipe requires simple ingredients and straightforward steps, making it accessible for cooks of all levels.
- Perfect for Sharing: These breadsticks are not only tasty but also great for gatherings, ensuring everyone has a delicious snack to enjoy.
- Customizable: You can easily adjust the cheese types or add spices to suit your personal taste preferences.
Ingredients
Required Ingredients
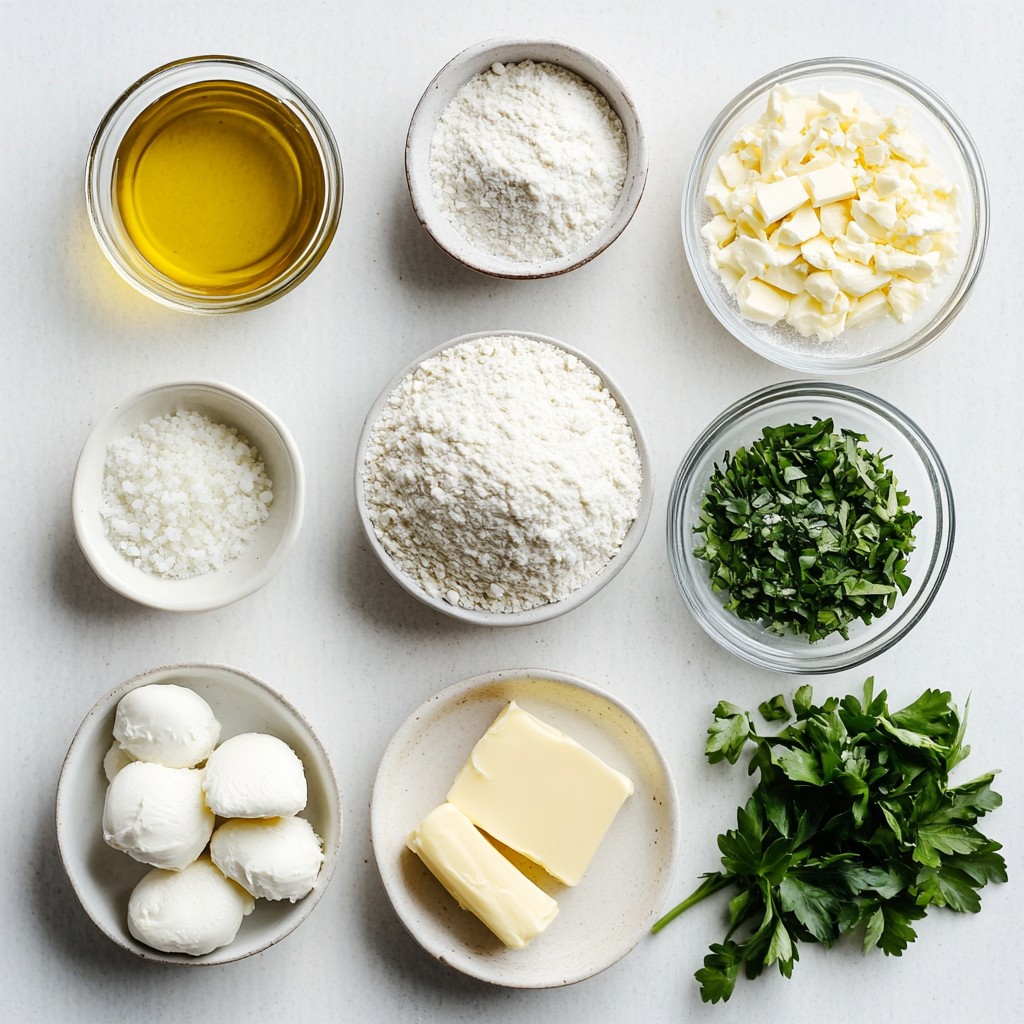
- 2 cups all-purpose flour
- 1 teaspoon instant yeast
- 1 teaspoon garlic powder
- 1 teaspoon salt
- 1 tablespoon olive oil
- 3/4 cup warm water
- 1 cup shredded mozzarella cheese
- 1/2 cup grated Parmesan cheese
- 2 tablespoons fresh parsley
- 2 tablespoons unsalted butter
To make cheesy garlic breadsticks, you need simple ingredients. This recipe uses all-purpose flour and instant yeast to create a tasty dough. Garlic powder adds flavor, while salt enhances the taste. You blend the dry mix with olive oil and warm water to form your dough.
Mozzarella and Parmesan cheese make these sticks cheesy and rich. Fresh parsley gives a pop of color and flavor. Finally, melted butter adds a lovely finish.
Optional Add-ins
- Additional herbs (e.g., Italian seasoning)
- Different types of cheese (e.g., cheddar)
You can customize your breadsticks with optional add-ins. Adding herbs like Italian seasoning can boost the taste. Mixing in different cheeses, like cheddar, gives a fun twist. Feel free to play with flavors to find your favorite combination.
Step-by-Step Instructions
Preparing the Dough
- In a large bowl, mix together 2 cups of all-purpose flour, 1 teaspoon of instant yeast, 1 teaspoon of garlic powder, and 1 teaspoon of salt. Whisk them until they blend well.
- Make a well in the center of the dry mix. Pour in 1 tablespoon of olive oil and 3/4 cup of warm water. Stir gently with a spoon until a shaggy dough forms.
- Turn the dough out onto a floured surface. Knead it for about 5 minutes. The dough should feel smooth and elastic. If it's sticky, sprinkle a bit more flour.
Letting the Dough Rise
- Place the kneaded dough into a lightly greased bowl. Cover it with a clean kitchen towel.
- Let it rise in a warm area for 30-40 minutes. It should double in size and feel airy. A warm, draft-free spot works best.
Shaping and Preparing for Baking
- Once the dough has risen, gently punch it down to release air. Roll it out into a rectangle about 1/2 inch thick.
- Transfer the rolled dough onto a baking sheet lined with parchment paper. Cut it into strips that are about 1 inch wide.
- Brush the top of the dough strips with melted butter. Spread 1 cup of shredded mozzarella and 1/2 cup of grated Parmesan cheese evenly over the dough.
Baking Process
- Preheat your oven to 425°F (220°C). This ensures even baking.
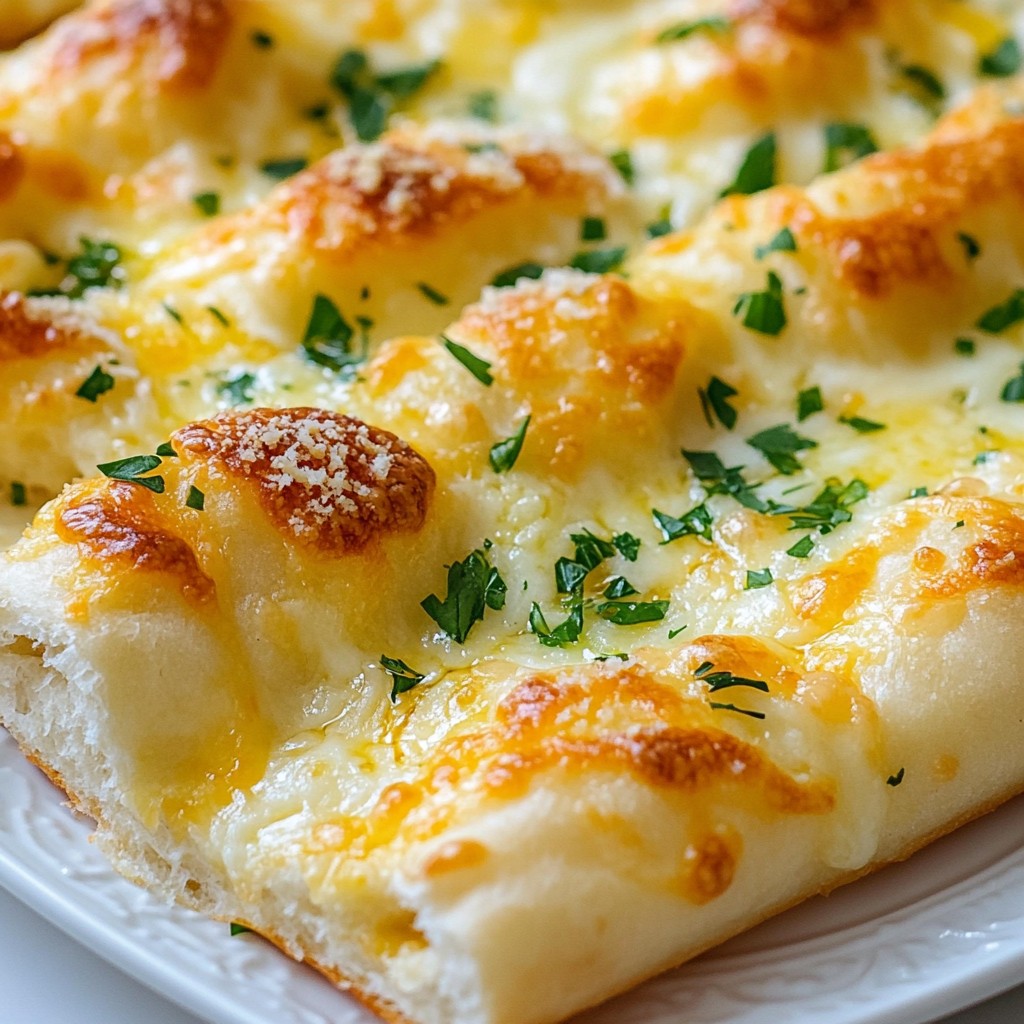
- Bake the breadsticks for 12-15 minutes. Look for melty cheese and golden edges.
- When done, take them out and let them cool slightly before serving. Enjoy those cheesy garlic breadsticks!
Tips & Tricks
Achieving the Perfect Texture
To get the best texture in your breadsticks, kneading is key. Knead the dough for about five minutes. This helps develop gluten, giving the breadsticks a nice chew. If the dough feels sticky, add a bit more flour. You want it to be soft and smooth.
Understanding dough elasticity is also important. When you stretch the dough, it should bounce back slightly. This means your gluten is working well. If it tears easily, keep kneading a bit longer.
Flavor Enhancements
To boost flavor, use fresh herbs. Chopped parsley adds a bright touch. You might also try basil or oregano. They can make your breadsticks taste even better.
Adjusting cheese types can change the flavor, too. While mozzarella is classic, you could mix in cheddar for a sharper taste. Experiment with your favorites to find the perfect blend.
Serving Suggestions
Serve your garlic breadsticks warm. They look great on a rustic wooden board or in a bread basket. For extra fun, pair them with marinara sauce. The tangy sauce complements the cheese and garlic very well. You can even try them with ranch dressing for a different dip.
Pro Tips
- Use Fresh Garlic: For an extra burst of flavor, use freshly minced garlic instead of garlic powder. It will elevate the taste of the breadsticks significantly.
- Experiment with Cheeses: While mozzarella and Parmesan are classic choices, try adding other cheeses like cheddar or gouda for a unique twist.
- Perfecting the Dough: If the dough is too sticky, add a little more flour while kneading, but be careful not to overdo it, as too much flour can lead to dry breadsticks.
- Serving Suggestions: Serve the breadsticks warm with marinara sauce or garlic butter for dipping to enhance the eating experience.
Variations
Garlic Herb Breadsticks
You can make your breadsticks even better by adding fresh herbs. Try basil, oregano, or thyme. These herbs give a nice flavor boost. You can also use infused oils. Garlic-infused olive oil adds a rich taste. Just drizzle it over the top before baking.
Cheesy Breadsticks with a Twist
Want to mix things up? Incorporate different cheeses. Cheddar, gouda, or feta can change the flavor. For a spicy kick, add red pepper flakes. This will give your breadsticks extra heat. Experiment with cheese blends for unique tastes.
Gluten-Free Option
If you need a gluten-free option, use a gluten-free flour mix. This will keep your breadsticks light and fluffy. You may need to adjust the yeast and rising methods. Follow the pack instructions for the best results. This way, everyone can enjoy cheesy garlic breadsticks!
Storage Info
Storing Leftovers
To keep your cheesy garlic breadsticks fresh, store them in the fridge. Place them in an airtight container. This helps keep moisture in and prevents them from drying out. You can also wrap them tightly in plastic wrap.
Reheating Instructions
To reheat breadsticks without losing taste, use the oven. Preheat it to 350°F (175°C). Place the breadsticks on a baking sheet. Heat them for about 5-7 minutes. This will warm them up nicely without making them hard. You can also use a microwave for quick reheating. Heat in 15-second bursts, checking often. This keeps them soft and cheesy.
Freezing Options
To freeze baked breadsticks, let them cool completely first. Then, wrap them in foil or plastic wrap. Place them in a freezer bag for extra protection. When ready to enjoy, take them out and let them thaw in the fridge overnight. Reheat as mentioned earlier. This way, you maintain their cheesy goodness!
FAQs
How long do cheesy garlic breadsticks last?
Cheesy garlic breadsticks can last for about 3 days in the refrigerator. Store them in an airtight container. If you want to keep them longer, freeze them. They can last up to 3 months in the freezer. Wrap them tightly in plastic wrap and then in foil.
Can I make the dough ahead of time?
Yes, you can make the dough ahead of time. After kneading, place it in a bowl and cover it. You can store it in the fridge for up to 24 hours. Let it sit at room temperature for 30 minutes before you shape it. This way, it will rise better.
What if my dough doesn’t rise?
If your dough does not rise, check the yeast. Make sure it is fresh. If the water was too hot, it could kill the yeast. The water should be warm, around 110°F (43°C). If the dough is too cold, place it in a warmer spot.
Can I use different types of cheese?
Absolutely! You can mix and match cheeses. Cheddar, gouda, or even feta work great. Each cheese adds a unique flavor. You can also combine cheeses for a richer taste. Just keep the same total amount of cheese.
You learned how to make tasty garlic breadsticks from scratch. We covered essential ingredients, simple steps, and useful tips for the perfect bake. Remember, you can customize your breadsticks with herbs or cheese. Store leftovers wisely, and don't hesitate to freeze for later. Enjoy the fun of baking and the delight of sharing with friends and family. With practice, you'll make these breadsticks a favorite in your home.