Are you ready to whip up a fun and tasty treat? Chocolate Covered Strawberry Bark is both simple and delicious. You only need a few ingredients and some easy steps. I promise it will be a hit at any gathering. In this article, I’ll break down the whole process, from melting chocolate to serving your beautiful creation. Let’s dive in and get started on this yummy snack!
Why I Love This Recipe
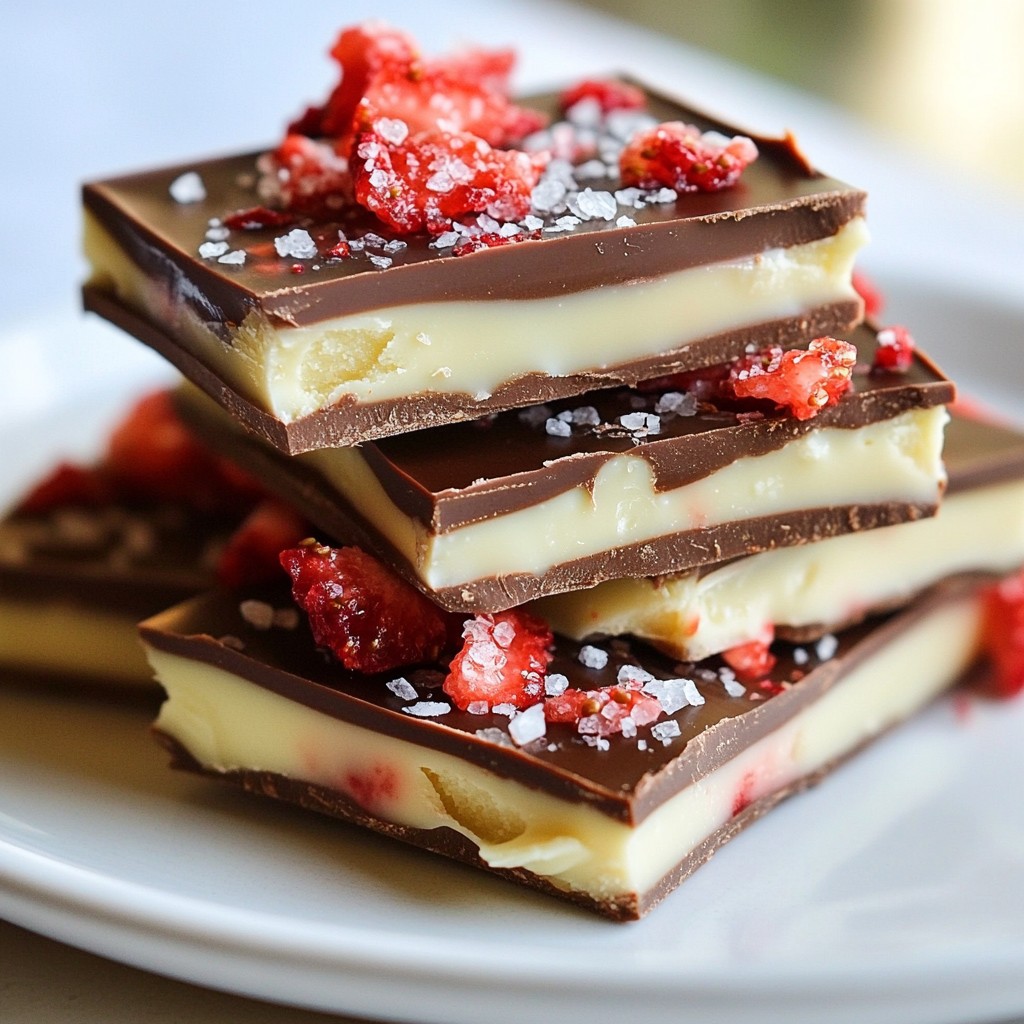
- Decadent Flavor: This chocolate-covered strawberry bark combines rich dark chocolate with sweet white chocolate, creating a delightful contrast that is hard to resist.
- Visual Appeal: The marbled effect and vibrant freeze-dried strawberries make this bark not only delicious but also a stunning centerpiece for any gathering.
- Easy to Make: With just a few simple ingredients and straightforward steps, this recipe can be whipped up in no time, making it perfect for last-minute treats.
- Customizable: You can easily swap out the freeze-dried strawberries for your favorite fruits or nuts, allowing you to tailor the bark to suit your taste.
Ingredients
Total Ingredients List
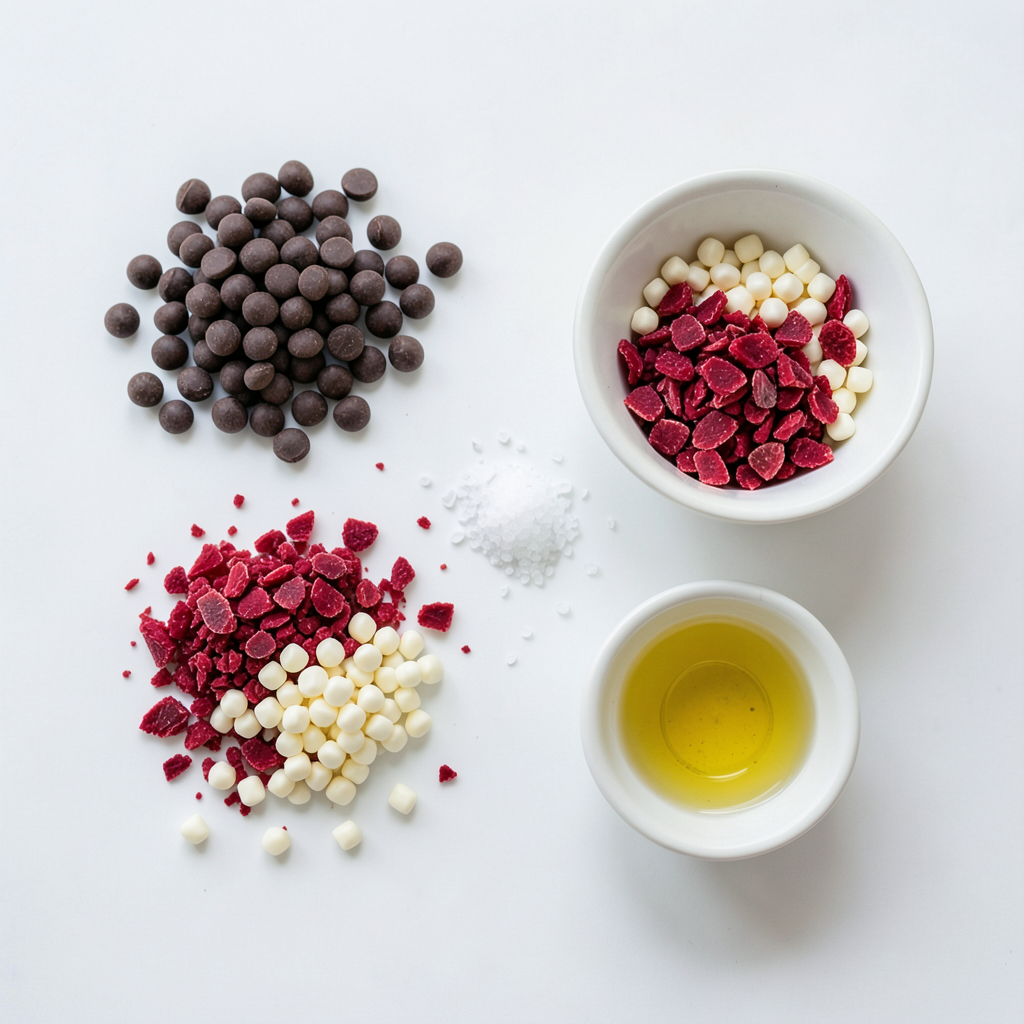
- 1 cup dark chocolate chips
- 1 cup white chocolate chips
- 1 cup freeze-dried strawberries, crushed
- 1 tablespoon coconut oil (optional)
- Sea salt, for finishing
Optional Ingredients
- Coconut oil helps make the chocolate smoother.
- You can skip it if you prefer.
Key Ingredients Explained
- Dark chocolate chips: They give a rich, bold flavor. They melt well and form the base.
- White chocolate chips: These add sweetness and creaminess. They also make a nice contrast to dark chocolate.
- Freeze-dried strawberries: They provide a fruity crunch. They are easy to use and add bright color.
- Coconut oil: This ingredient improves the texture of melted chocolate. It helps the chocolate set smoothly.
- Sea salt: A sprinkle of salt enhances the flavors. It balances the sweetness and adds depth.
Using these ingredients, you can create a simple yet tasty treat. Each ingredient plays a role in flavor and texture for your chocolate-covered strawberry bark.
Step-by-Step Instructions
Preparing the Workspace
Start by getting your tools ready. Line a baking sheet with parchment paper. This paper helps the bark come off easily later. Make sure you have enough room to work. Gather all your ingredients and tools, too. You will need bowls, spatulas, and a microwave.
Melting the Dark and White Chocolate
Grab a microwave-safe bowl. Add the dark chocolate chips and coconut oil if you want. Heat this in the microwave. Do it in 30-second bursts. Stir well after each time. Keep going until the chocolate is smooth. In another bowl, repeat this with the white chocolate chips. Follow the same method. Stir until it is fully melted.
Assembling the Bark
Pour the dark chocolate onto the lined baking sheet. Use a spatula to spread it evenly. Make sure it is the same thickness all over. Next, drizzle the white chocolate in a zigzag pattern on top. This adds a nice look. Take a skewer or toothpick and swirl the chocolates together gently. Don't mix too much; you want to see both colors. Now, sprinkle the crushed freeze-dried strawberries all over the chocolate. This gives a fruity taste in every bite. Finish with a sprinkle of sea salt for extra flavor. Finally, put the baking sheet in the fridge. Chill it for 30 to 45 minutes. Once the chocolate is hard, break it into pieces or cut it into squares. Enjoy your tasty treat!
Tips & Tricks
Achieving Smooth Chocolate
To get smooth chocolate, use a microwave-safe bowl. Combine dark chocolate chips with coconut oil if you want. The oil helps the chocolate melt well. Heat it in 30-second bursts. Stir each time until smooth. This method keeps chocolate from burning. You can also use a double boiler for melting. Just be sure to keep the water below boiling.
Perfecting the Marbled Effect
To create a beautiful marbled look, drizzle melted white chocolate over the dark layer. Use a spatula to spread dark chocolate evenly first. Then, drizzle white chocolate in a zigzag. Take a skewer or toothpick to swirl them together gently. Don’t overmix, or you’ll lose the pretty marbled design. This technique makes your bark eye-catching and fun.
Serving and Presentation Ideas
For a great presentation, place the chocolate bark on a nice plate. You can cut it into squares for clean edges. Or, break it into rustic pieces for a more casual look. Add some freeze-dried strawberries around the edges for color. A light sprinkle of sea salt on top makes it pop. These small touches will impress your guests!
Pro Tips
- Use High-Quality Chocolate: Choose good quality dark and white chocolate for a richer flavor and smoother texture in your bark.
- Customize Your Toppings: Feel free to experiment with other toppings like nuts, seeds, or dried fruits for a unique twist on the classic recipe.
- Keep Your Workspace Cool: Ensure your kitchen is cool while working with chocolate to prevent it from melting too quickly and losing its shape.
- Storage Advice: Store the chocolate bark in an airtight container at room temperature for up to a week, or refrigerate for longer freshness.
Variations
Different Types of Chocolate
You can use various chocolates for your bark. Dark chocolate brings a rich flavor. It pairs well with the sweet strawberries. White chocolate adds a creamy touch. If you want something different, try milk chocolate. Each type will change the taste and feel. This allows you to create a unique treat.
Alternative Toppings
Besides freeze-dried strawberries, think outside the box! You can add nuts like almonds or walnuts for crunch. Try mini marshmallows for a sweeter bite. Coconut flakes add a tropical twist. For a fun twist, sprinkle crushed pretzels for a salty crunch. These toppings make your bark more exciting and tasty.
Seasonal Variations
Seasonal changes inspire great flavors. In spring, add pastel candies for color. In fall, use pumpkin spice or chopped apples for a seasonal vibe. For winter, crushed candy canes give a festive touch. You can have a new bark for every season. This keeps your treat fresh and fun!
Storage Info
Best Storage Practices
To keep your chocolate covered strawberry bark fresh, store it in an airtight container. Use parchment paper between layers to prevent sticking. This method helps maintain its crisp texture and flavor.
Shelf Life of Chocolate Bark
When stored properly, chocolate bark lasts about two weeks. If you keep it in a cool, dark place, it can last even longer. The key is to avoid heat and moisture, as these can ruin your treat.
Tips for Storing in Different Climates
In hot climates, keep your chocolate bark in the fridge. This helps prevent melting. In cooler areas, a cupboard works well. Just ensure it stays dry and away from sunlight. If your area has high humidity, airtight containers are a must. This keeps moisture from spoiling the chocolate.
FAQs
Can I use milk chocolate instead of dark chocolate?
Yes, you can use milk chocolate. It will taste sweeter and creamier. Milk chocolate melts well, just like dark chocolate. Adjust the sweetness of your toppings if needed. You can also mix different chocolates for fun flavors.
How do I fix seized chocolate?
If your chocolate seizes, do not panic. Add a small amount of vegetable oil or coconut oil. Stir it in slowly until the chocolate smooths out. This helps regain its silky texture. Remember to melt chocolate carefully to avoid seizing next time.
What are common variations to chocolate-covered bark recipes?
You can change up the flavors easily! Try using different chocolates like white chocolate or even flavored chocolates. Top with nuts, coconut flakes, or other dried fruits. For a fun twist, add crushed cookies or pretzels. Each variation can create a unique treat!
You learned how to make delicious chocolate bark. We covered ingredients, step-by-step instructions, and helpful tips. You can use various chocolates and toppings to create your own twist. Remember to store your bark properly to keep it fresh. With these easy steps, you’ll impress everyone with your tasty treats. Enjoy making chocolate bark that suits any occasion! Happy chocolate-making!