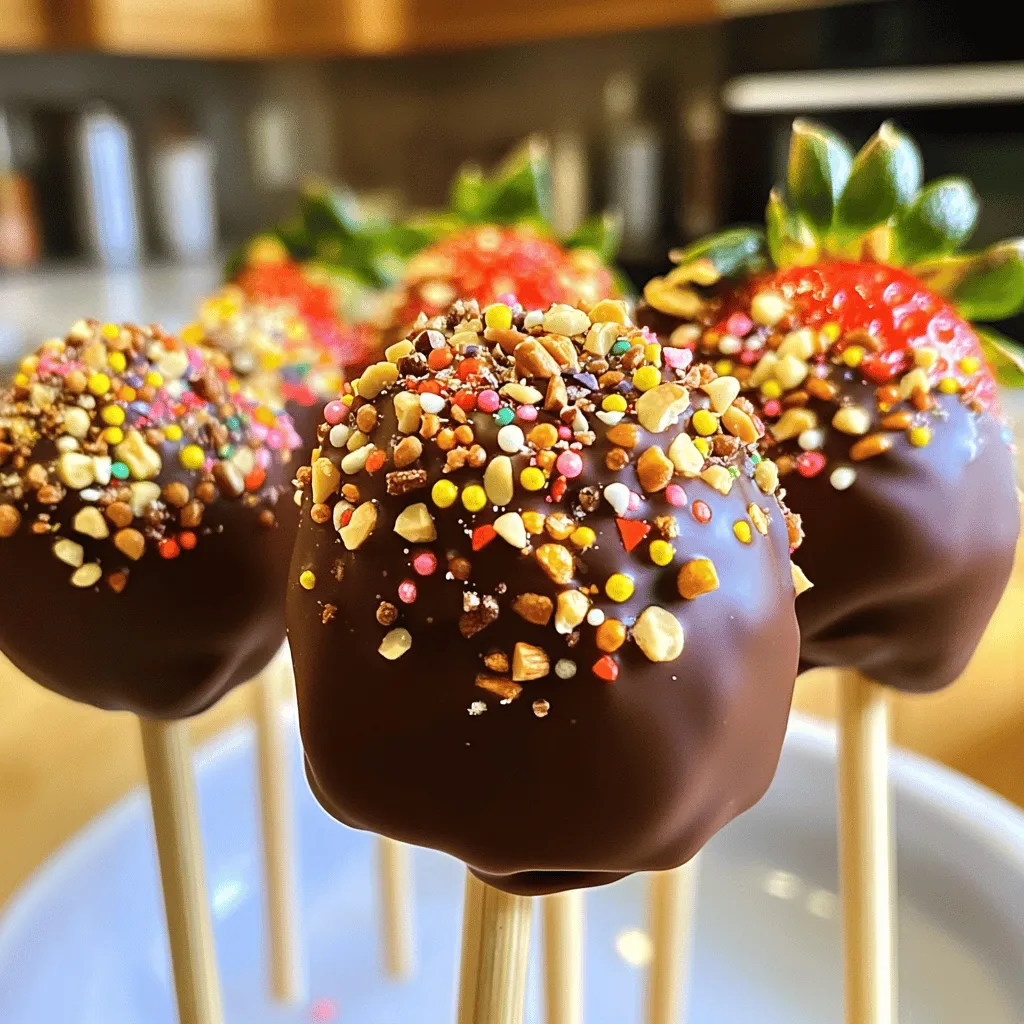
Are you ready to enjoy a sweet treat that looks and tastes amazing? I know I am! Chocolate covered strawberry pops are not just delicious; they’re fun to make and share. In this guide, I’ll walk you through simple steps and tips to create these delightful snacks. Plus, I’ll share handy tricks to make your pops look stunning. Let’s dive into this tasty adventure together!
Ingredients
Essential Ingredients for Chocolate Covered Strawberry Pops
To make these tasty pops, you need some simple items. Here’s what you will need:
– 1 pound fresh strawberries, thoroughly washed and dried
– 8 ounces dark chocolate (or your choice of chocolate, such as milk or white)
– 1 tablespoon coconut oil (optional, for extra smoothness)
– Wooden popsicle sticks
These ingredients create a delicious blend of sweet and fruity flavors. Fresh strawberries are juicy and bring a burst of flavor. The chocolate adds richness and sweetness. Coconut oil helps the chocolate melt smoothly.
Optional Ingredients to Enhance Flavor and Texture
You can add some fun extras to make your pops more special. Consider these options:
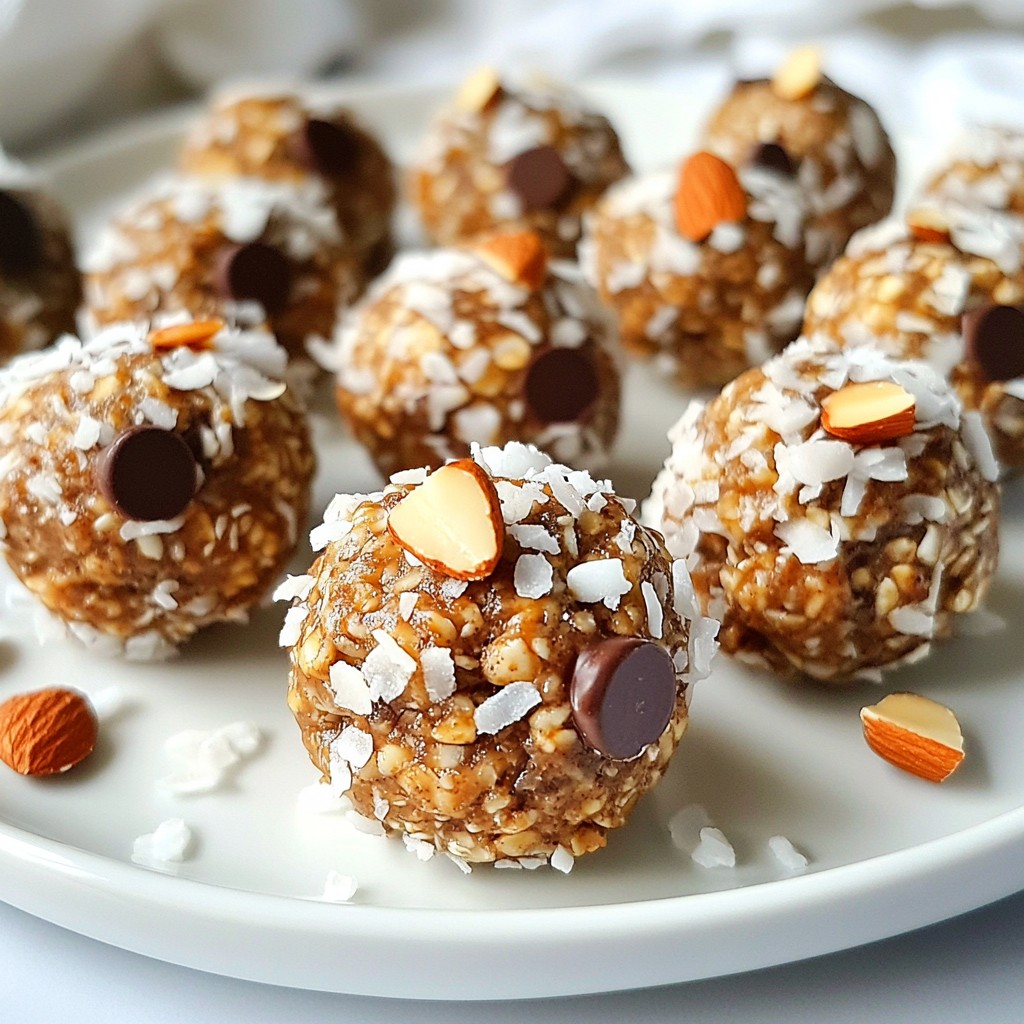
– Sprinkles or crushed nuts (such as almonds or pistachios, for decoration)
Sprinkles add a pop of color and crunch. Crushed nuts give a nice texture and nutty flavor. You can mix and match to find your favorite topping.
Recommended Tools and Equipment
Having the right tools makes cooking easier. Here’s what you’ll need:
– Microwave-safe bowl for melting chocolate
– Spoon for stirring
– Parchment paper or a glass for cooling
These tools help you melt chocolate well and keep your kitchen clean. The parchment paper makes it easy to remove the pops once they are set. Enjoy creating your Chocolate Covered Strawberry Pops!
Step-by-Step Instructions
Preparing the Strawberries: A Step-by-Step Guide
Start by washing your strawberries. Use fresh ones for the best taste. Dry them well with a clean towel. Water can make the chocolate not stick. Take each strawberry and insert a wooden popsicle stick into the stem end. Push it in about halfway to make a solid handle. This step is key for easy dipping.
Tips for Melting Chocolate Perfectly
To melt chocolate, I like using a microwave-safe bowl. Combine the chocolate with a tablespoon of coconut oil for smoothness. Microwave it in 30-second bursts. After each time, stir the chocolate well. This helps it melt evenly. Be careful not to overheat it. Chocolate can burn quickly, ruining your treats. You want a nice, shiny, smooth texture.
Dipping and Decorating Techniques
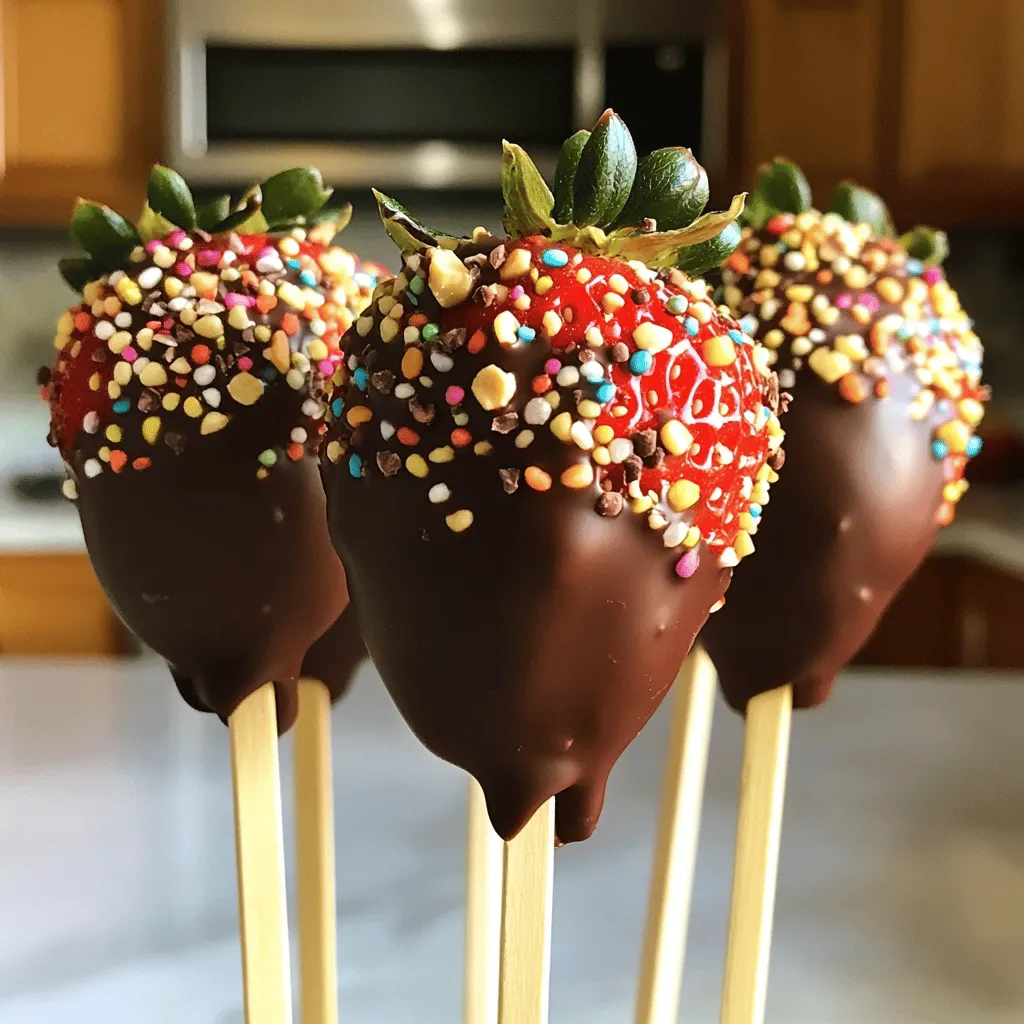
Hold the strawberry by the stick. Dip it into the melted chocolate and swirl it gently. Make sure it’s covered evenly. Let any extra chocolate drip back into the bowl. For decoration, roll the chocolate-dipped strawberry in sprinkles or crushed nuts. Do this while the chocolate is still wet. This adds fun colors and crunch. Place your decorated pops upright on a tray or in a glass. Let them sit for a few minutes to harden. You can also put them in the fridge for about 15 minutes. Now, your Chocolate Covered Strawberry Pops are ready to share!
Tips & Tricks
How to Ensure a Flawless Chocolate Coating
To get a smooth chocolate coating, start with dry strawberries. Any water will ruin the chocolate. Melt your chocolate slowly in the microwave. Stir it often to avoid burning. You can add coconut oil to make the chocolate smoother. Dip the strawberries with care. Swirl them gently in the chocolate for an even coat. Allow the excess chocolate to drip off before decorating.
Common Mistakes to Avoid
One big mistake is not drying your strawberries. Always dry them well before dipping. Another mistake is overheating the chocolate. Heat it in short bursts to keep it creamy. Don’t rush the cooling process. If you put them in the fridge too soon, the chocolate can crack. Finally, avoid overloading with toppings. A few sprinkles or nuts go a long way!
Presentation Tips for Showing Off Your Pops
For a fun display, use a glass or jar filled with rice or popcorn. This keeps the pops upright and adds charm. Arrange the pops with a sprig of mint for color. You can also use colorful paper straws as sticks. This adds a festive feel. And remember, a clean finish makes for a better look. Wipe any drips off before serving.
Variations
Exploring Different Chocolate Options: Dark, Milk, and White
You can choose from three types of chocolate for your pops. Dark chocolate has a rich, bold taste. It pairs well with the sweet strawberries. Milk chocolate is creamy and sweet. It is a favorite for many people. White chocolate adds a sweet and buttery flavor. Each type brings its own twist to the pops. Feel free to mix and match chocolates for fun flavors.
Fun Decoration Ideas: Sprinkles, Nuts, and More
After dipping the strawberries in chocolate, the fun continues! You can roll them in colorful sprinkles for a festive look. Nuts like crushed almonds or pistachios add crunch and flavor. You can also use coconut flakes or mini chocolate chips. Get creative! Each topping adds a unique touch to your pops.
Seasonal Variations Perfect for Holidays and Celebrations
Chocolate Covered Strawberry Pops can fit any season. For Valentine’s Day, use red and pink sprinkles. For Easter, try pastel colors or bunny-shaped chocolates. In summer, make them bright with colorful fruits. At Halloween, use orange and black decorations. These pops are perfect for any celebration or just a sweet treat. Enjoy experimenting with your favorites!
Storage Information
How to Store Chocolate Covered Strawberry Pops
To keep your chocolate covered strawberry pops fresh, store them in an airtight container. Place parchment paper between layers to avoid sticking. Keep the container in the fridge. This helps maintain their taste and texture.
Best Practices for Keeping Them Fresh
Make sure to eat the pops within three days for the best flavor. If the strawberries are too ripe, use them sooner. Avoid leaving them at room temperature for long, as this can cause the chocolate to melt and lose its shine.
Tips for Making Ahead and Freezing
If you want to prepare these pops in advance, you can freeze them! Wrap each pop in plastic wrap or foil. Place them in a freezer-safe bag. They will last up to one month. To enjoy, let them thaw in the fridge for a few hours before serving. This keeps them tasty and fresh.
FAQs
Can I use frozen strawberries for this recipe?
Yes, you can use frozen strawberries, but fresh ones are best. Frozen strawberries often lose their texture. They can become mushy when thawed. If you use frozen berries, ensure they are fully thawed and drained. This will help keep the chocolate coating smooth.
What is the best way to melt chocolate without burning it?
To melt chocolate, use a microwave or a double boiler. In the microwave, heat in short bursts. Start with 30 seconds, then stir. Repeat until smooth. If using a double boiler, heat water in a pot. Place chocolate in a bowl above the steam. Stir until melted. This method helps prevent burning.
How long do chocolate-covered strawberries last?
Chocolate-covered strawberries last about 1 to 2 days in the fridge. They taste best when fresh. Store them in an airtight container to keep them safe. Avoid washing them before storing to prevent sogginess. The chocolate may lose its shine over time, but they will still be tasty.
You learned about making tasty chocolate-covered strawberry pops. We covered essential and optional ingredients, tools, and step-by-step instructions to make them right. Tips and tricks helped you avoid common mistakes and present your pops well. We explored fun variations and smart storage tips.
Now you can create your own delicious treats. Enjoy making these pops for any occasion. They are sure to impress!