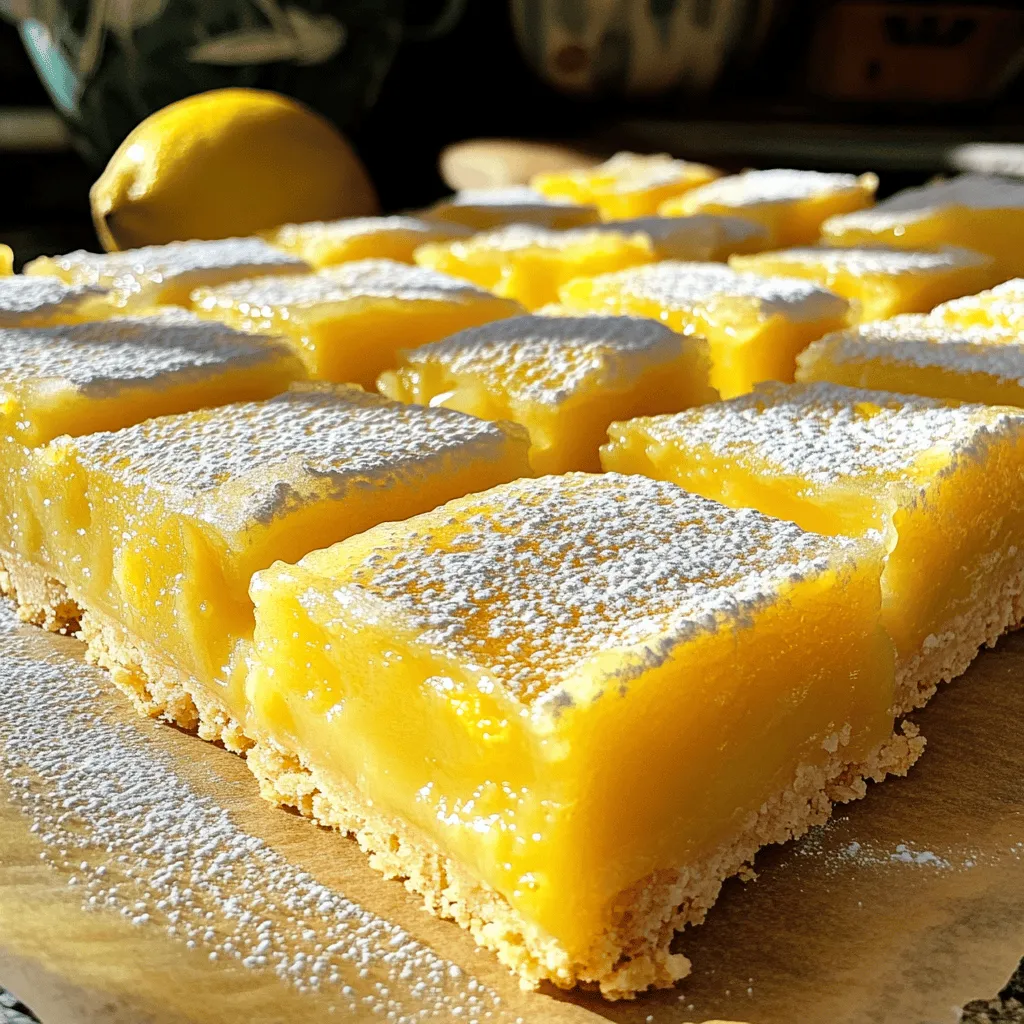
If you crave a sweet, tangy treat that’s easy to make, you’re in the right spot! These Easy Lemon Bars pack bright lemon flavor in a simple recipe that anyone can nail. I’ll share all the tips you need, from fresh ingredients to baking secrets. Get ready to whip up a dessert that will wow your friends and family! Let’s dive into the zesty world of lemon bars!
Ingredients
List of Ingredients
To make easy lemon bars, gather these simple ingredients:
– 1 cup all-purpose flour
– 1/2 cup powdered sugar, plus more for dusting
– 1/2 cup unsalted butter, softened to room temperature
– 1 cup granulated sugar
– 2 large eggs, at room temperature
– 1/4 cup freshly squeezed lemon juice (about 2 medium lemons)
– Zest of 1 lemon, finely grated
– 1 teaspoon baking powder
– A pinch of salt
Importance of Fresh Ingredients
Using fresh ingredients is key for great lemon bars. Fresh lemons bring bright, zesty flavor. They help the bars taste lively and delicious. Old lemons may taste dull. The zest from fresh lemons adds an extra punch that elevates your bars. Fresh eggs also help the filling set better, making the bars smooth and creamy. Always choose the best quality for the best results.
Ingredient Substitutions
If you lack an ingredient, don’t worry! Here are some swaps:
– Swap all-purpose flour with gluten-free flour for a gluten-free option.
– Instead of unsalted butter, you can use coconut oil for a dairy-free choice.
– You can replace granulated sugar with honey or maple syrup, but adjust the amount.
– If you don’t have fresh lemons, bottled lemon juice works, but fresh is best!
Feel free to get creative with these substitutions while making sure your lemon bars stay delightful.
Step-by-Step Instructions
Detailed Instructions for the Crust
Start by preheating your oven to 350°F (175°C). Grab a 9×9-inch baking dish and lightly grease it with butter or spray. This helps the bars come out easily. In a medium bowl, mix 1 cup of all-purpose flour with 1/2 cup of powdered sugar. Then, add 1/2 cup of softened unsalted butter. Use a fork to blend until it looks like coarse crumbs. Press this mix firmly into the bottom of your baking dish. This will be the crust for your lemon bars.
Preparing the Lemon Filling
While the crust cools, let’s make the lemon filling. In a large bowl, whisk together 1 cup of granulated sugar, 2 large eggs, and 1/4 cup of freshly squeezed lemon juice. Don’t forget the zest of 1 lemon! Add 1 teaspoon of baking powder and a pinch of salt. Mix it all until smooth, with no lumps. Pour this zesty filling over the slightly cooled crust. Make sure to spread it evenly.
Baking Time and Cooling Tips
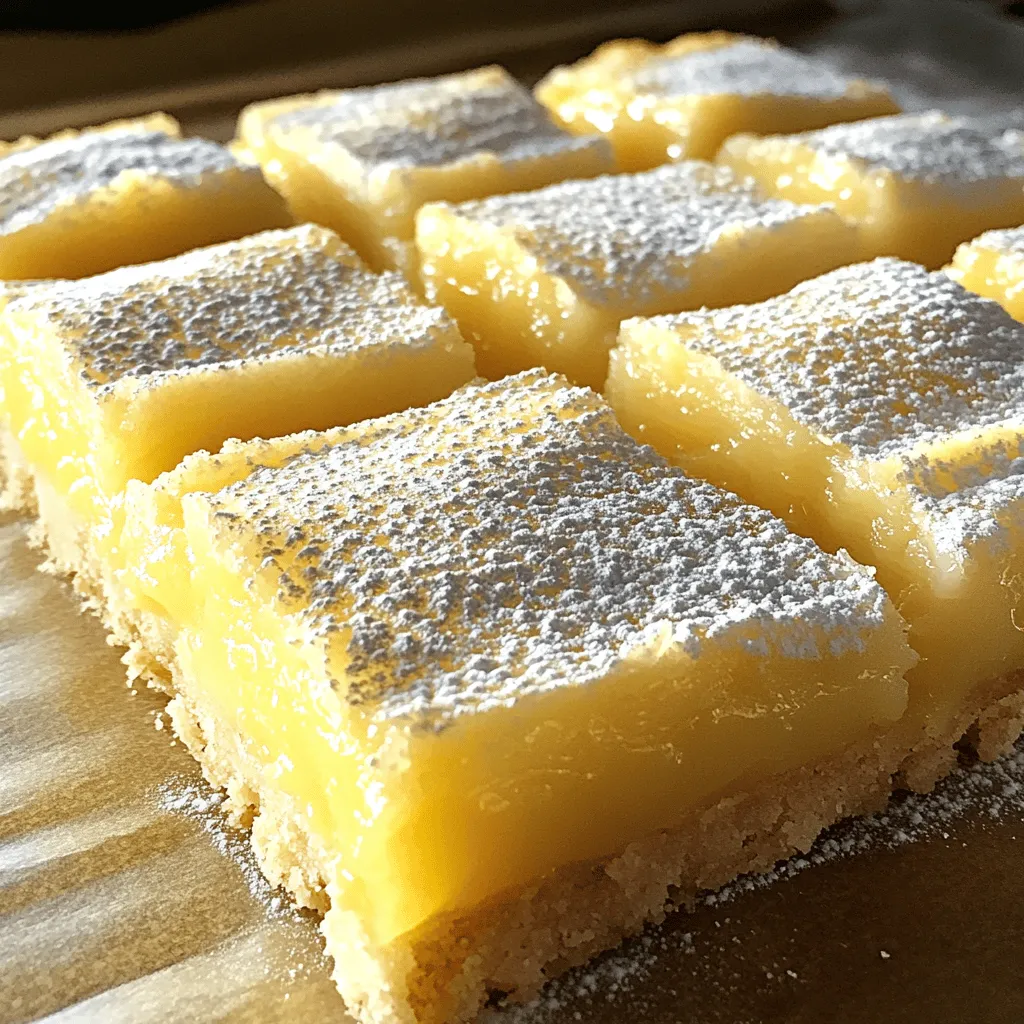
Now, return the dish to the oven and bake for another 20-25 minutes. Look for the edges to puff slightly and the filling to be just set. Once baked, take it out and let it cool completely in the dish on a wire rack. This cooling step helps the filling set nicely. Finally, dust the top with extra powdered sugar before cutting into squares. Enjoy your Easy Lemon Bars as a perfect treat!
Tips & Tricks
How to Perfect the Texture
To get the best texture in your lemon bars, focus on the crust and filling. The crust should be crumbly yet firm. Press it down well before baking. Bake it until it turns lightly golden. For the filling, mix until smooth. Avoid lumps for a creamy finish. This helps your bars set nicely.
Common Mistakes to Avoid
One common mistake is overmixing the filling. This can lead to a tough texture. Another mistake is skipping the cooling step. Let the bars cool completely before cutting. This helps them hold their shape. Use a sharp knife for clean cuts. Dust with powdered sugar right before serving for a pretty touch.
Enhancing the Lemon Flavor
To boost the lemon flavor, use fresh juice and zest. The zest adds a bright aroma. If you want more zing, add extra lemon juice. You can also try a bit of lemon extract for a stronger taste. Pair these bars with fresh berries for a vibrant taste experience.
Variations
Gluten-Free Lemon Bars
You can easily make gluten-free lemon bars. Use almond flour or a gluten-free flour blend. These flours provide a nice texture. Just replace the all-purpose flour with your choice. Follow the same steps as the original recipe. Your bars will still be zesty and delicious!
Adding Fruit or Nuts
You can get creative by adding fruit or nuts to your lemon bars. Try mixing in blueberries or raspberries for a fruity twist. Chopped pecans or walnuts can add a nice crunch too. Just remember to fold these extras gently into the lemon filling. This helps keep their shape and flavor.
Alternative Sweeteners
If you need a healthier option, consider using alternative sweeteners. You can use honey, maple syrup, or stevia. These natural sweeteners can change the flavor a bit. Adjust the amount based on your taste. Just make sure to keep the balance of wet and dry ingredients the same. This will ensure your lemon bars bake perfectly.
Storage Info
Best Ways to Store Lemon Bars
Lemon bars need proper storage to keep them fresh. I recommend placing them in an airtight container. This keeps moisture out and preserves their zesty flavor. If you stack the bars, use parchment paper between the layers. This prevents sticking. Always store them in the fridge to maintain their taste and texture.
How Long Do They Last?
When stored correctly, lemon bars last about five days in the fridge. You may notice they taste best within the first few days. As time passes, the texture may change slightly, but the flavor remains. If you want to enjoy them longer, consider freezing them.
Freezing Tips
To freeze lemon bars, first, let them cool completely. Then, cut them into squares. Wrap each square in plastic wrap tightly. Place the wrapped bars in a freezer-safe bag or container. This way, they can last up to three months. When you’re ready to eat them, thaw them in the fridge overnight. You can enjoy them cold or warm them up slightly in the oven.
FAQs
Can I make lemon bars ahead of time?
Yes, you can make lemon bars ahead of time. They store well in the fridge for up to a week. This makes them great for parties or gatherings. Just cover them tightly with plastic wrap or foil. This keeps them fresh and tasty. You can also freeze them for longer storage. When you’re ready to eat, just thaw them in the fridge overnight.
How do I know when lemon bars are done?
You can tell when lemon bars are done by looking at the edges. They should be slightly puffed and set. The center might jiggle a bit but will firm up as they cool. You can also insert a toothpick. If it comes out clean or with a few moist crumbs, they are ready. Be careful not to overbake, as they can become dry.
What can I serve with lemon bars?
Lemon bars are great on their own, but you can serve them with a few extras. A dollop of whipped cream adds a nice touch. Fresh berries like strawberries or blueberries go well too. You might also try a scoop of vanilla ice cream for a fun dessert. Pair them with a cup of tea or coffee for a delightful treat.
Lemon bars blend fresh ingredients with simple steps. I shared crucial tips for perfecting the crust and filling. You learned about tasty variations, like gluten-free and fruit add-ins. Storing the bars right helps keep them fresh longer.
In the end, these bars are fun to make and enjoy. Try your own twist on this classic treat!