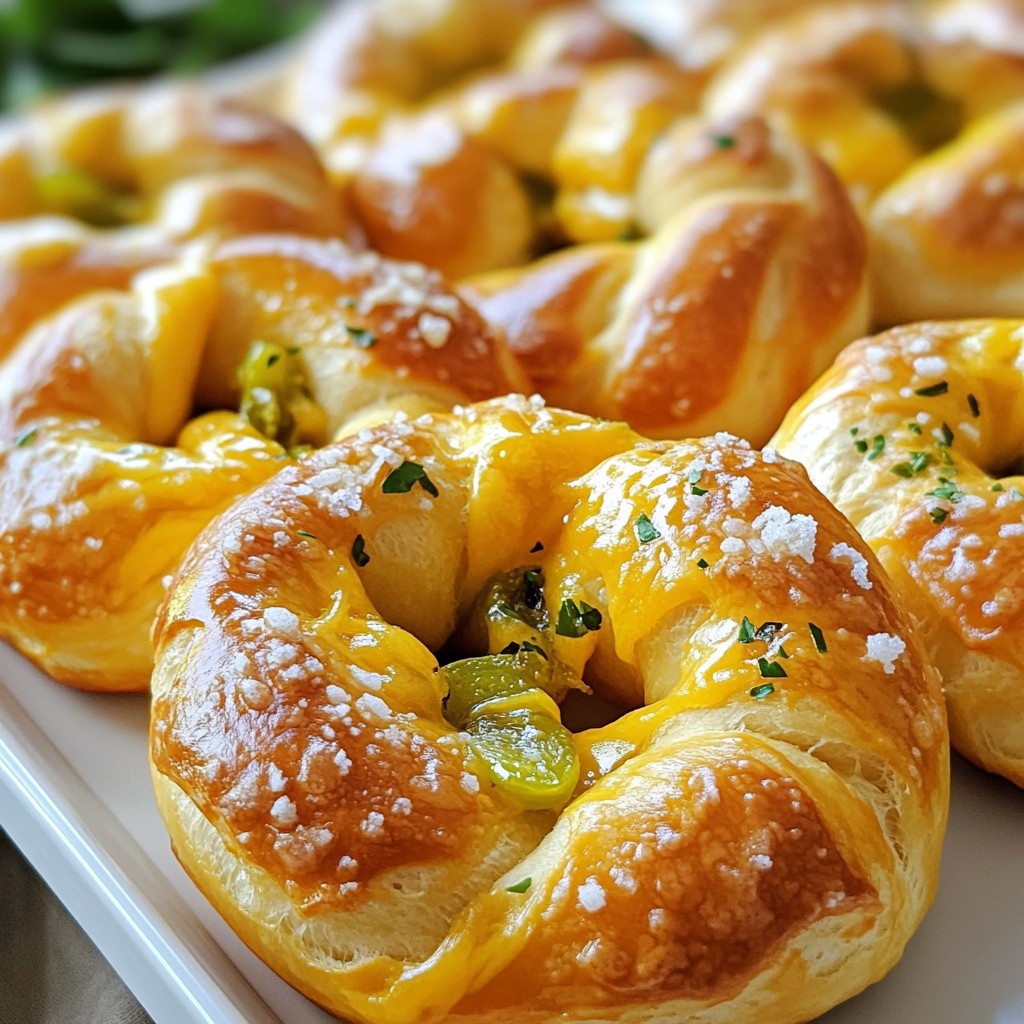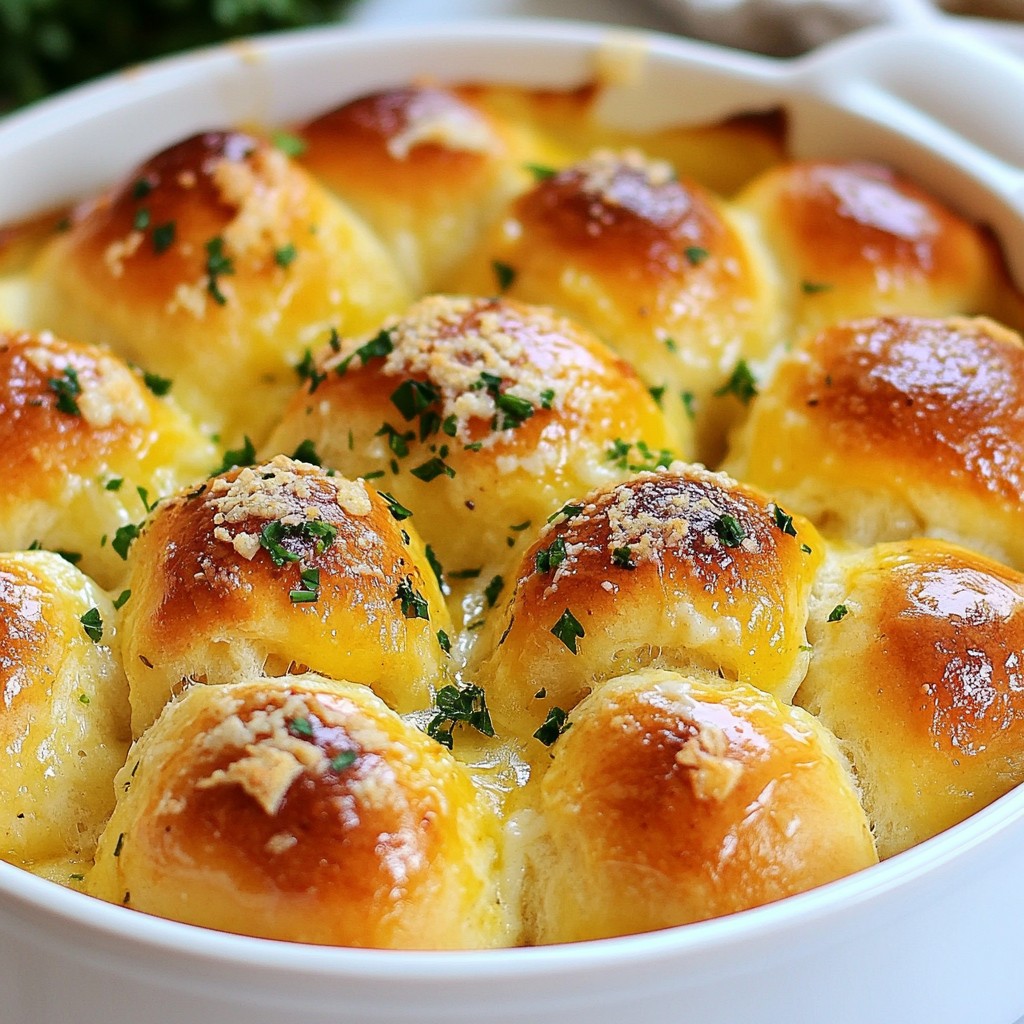
Garlic Parmesan Pull Apart Rolls are a must-try for any home cook. You’ll love how easy they are to make with simple ingredients and clear steps. This recipe brings a tasty twist to your dinner table. Whether you’re planning a family meal or a gathering with friends, these rolls will impress everyone. Let's dive into the ingredients and get cooking!
Error: Error code: 429 - {'error': {'message': 'You exceeded your current quota, please check your plan and billing details. For more information on this error, read the docs: https://platform.openai.com/docs/guides/error-codes/api-errors.', 'type': 'insufficient_quota', 'param': None, 'code': 'insufficient_quota'}}
Ingredients
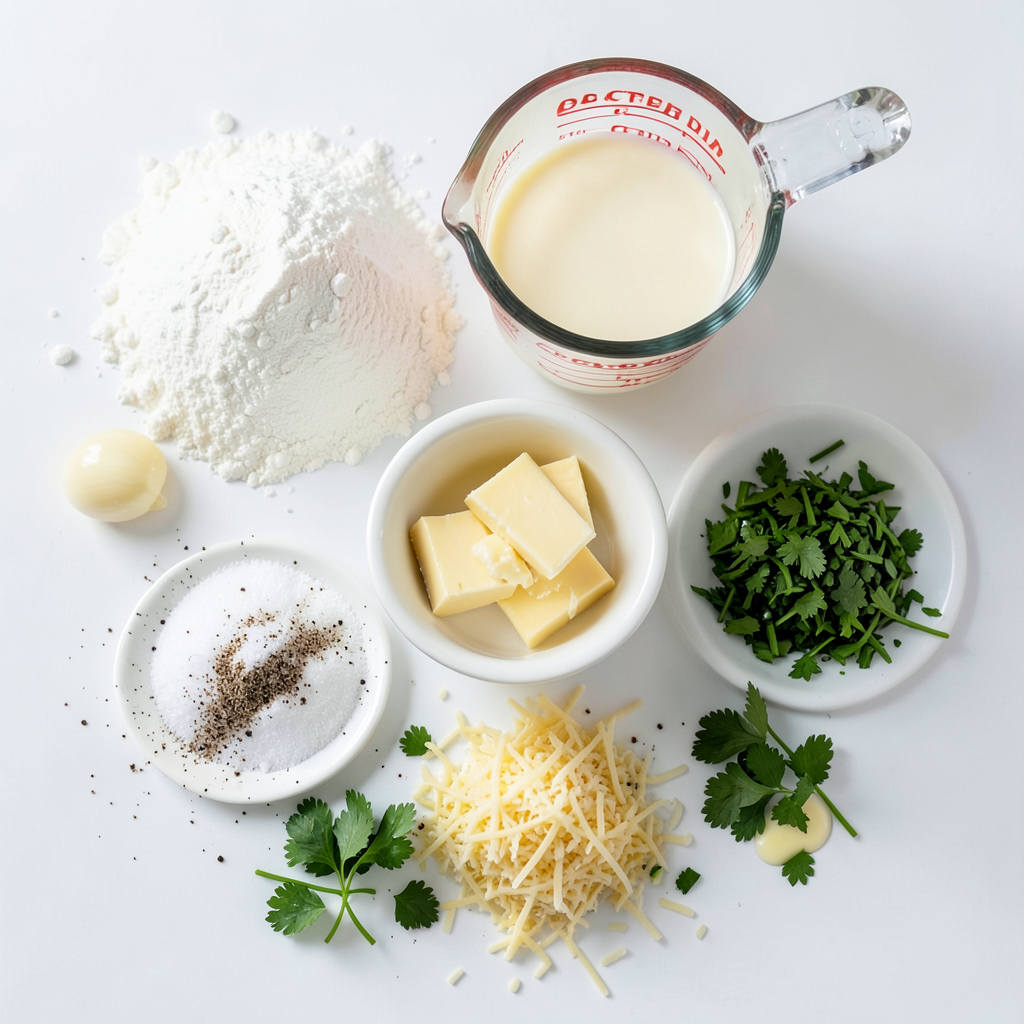
List of Main Ingredients
- 3 cups all-purpose flour
- 1 packet (2 1/4 teaspoons) active dry yeast
- 1 teaspoon granulated sugar
- 1 teaspoon salt
- 1 cup warm milk (approximately 110°F)
- 2 tablespoons unsalted butter, melted
- 4 tablespoons garlic, minced
- 1/2 cup grated Parmesan cheese
- 1 tablespoon fresh parsley, finely chopped
- 1/4 teaspoon freshly ground black pepper
- Extra melted butter for brushing
These ingredients work together to make soft, cheesy rolls with a garlic kick. The flour forms the base, while the yeast helps the dough rise. The warm milk activates the yeast for fluffy rolls.
Optional Ingredients for Enhanced Flavor
- Fresh herbs like thyme or oregano
- A sprinkle of red pepper flakes for heat
- Different cheeses like mozzarella or cheddar
- A touch of honey for sweetness
Adding these can give your rolls a twist. Fresh herbs brighten the flavor, while cheese adds a gooey texture.
Ingredient Substitutions
- Use whole wheat flour for a healthier option.
- Almond milk or oat milk can replace regular milk.
- Olive oil can substitute melted butter.
- Nutritional yeast can replace Parmesan for a vegan option.
These swaps can help match the recipe to your diet or pantry needs. Each option maintains the rolls' yummy taste and texture.
Step-by-Step Instructions
Activating the Yeast
To start, you need to activate the yeast. In a small bowl, mix warm milk, sugar, and active dry yeast. Let it sit for 5-10 minutes. You want it to become frothy and bubbly. This shows that the yeast is alive. If it does not foam, your yeast may be old.
Preparing and Kneading the Dough
Next, prepare the dough. In a large bowl, whisk together the flour and salt. Make a well in the center of the flour. Pour in the frothy yeast mixture and melted butter. Stir gently until a dough forms. Then, transfer the dough to a floured surface. Knead it for about 5 minutes. Your goal is a smooth, elastic dough.
Shaping and Filling the Rolls
Once the dough is ready, let it rise. Place it in a greased bowl and cover it with a cloth. After one hour, punch it down to release air. Now, divide the dough into 12 equal pieces. Flatten each piece into a disc. In the center, add minced garlic, Parmesan cheese, parsley, and black pepper. Fold the edges over the filling and pinch to seal. Finally, place the rolls seam side down in a greased dish. They should touch slightly for that pull-apart effect.
This step creates rolls that are not just tasty but also fun to eat!
Tips & Tricks
Ensuring Perfect Roll Texture
To get the best texture for your rolls, focus on the dough. Always use warm milk. It should be about 110°F. This helps the yeast wake up. Mix the yeast, sugar, and warm milk first. Let it sit until frothy. This shows that the yeast is alive.
Knead the dough well. Knead for about 5 minutes until smooth. A well-kneaded dough will rise better. After the first rise, the dough should double in size. If not, it might be too cold.
How to Avoid Common Mistakes
Watch out for over-flouring. Too much flour can make your rolls tough. Use just enough flour to keep the dough from sticking.
Also, don’t skip the second rise. This step makes the rolls light and airy. If you rush, your rolls can be dense.
Lastly, brush the tops with melted butter before baking. This adds flavor and a golden color.
Best Practices for Yeast Dough
Always check your yeast. If it's old, it won't rise well. Fresh yeast is key for great rolls.
Keep your kitchen warm when the dough rises. A cold spot can slow the process. You can place the bowl in a warm oven (turned off) or near a sunny window.
If you want to test your rolls, tap on the top after baking. If they sound hollow, they are done. Enjoy your tasty garlic Parmesan pull-apart rolls!
Error: Error code: 429 - {'error': {'message': 'You exceeded your current quota, please check your plan and billing details. For more information on this error, read the docs: https://platform.openai.com/docs/guides/error-codes/api-errors.', 'type': 'insufficient_quota', 'param': None, 'code': 'insufficient_quota'}}
Variations
Adding Different Cheeses
You can change the flavor by adding different cheeses. Try mozzarella for a gooey texture. Cheddar adds a sharp bite. For a bold taste, use feta or blue cheese. Mix and match cheeses for a fun twist. The key is to keep the cheese in small pieces.
Herb and Spice Variations
Herbs and spices can make your rolls even better. Add dried oregano or thyme for a tasty touch. You can use Italian seasoning for a classic flavor. A pinch of crushed red pepper flakes gives a kick. Fresh herbs like rosemary or basil also work well. Feel free to experiment with what you have on hand.
Experimenting with Fillings
You can fill these rolls with many tasty things. Try cooked spinach and cheese for a rich flavor. For a savory option, use cooked bacon or sausage. Add sun-dried tomatoes for a sweet twist. You can even use sweet fillings like cinnamon sugar for a dessert roll. Just make sure to seal the edges well.
Storage Info
How to Store Leftover Rolls
To keep your garlic Parmesan pull apart rolls fresh, place them in an airtight container. This will help prevent them from drying out. If you have leftovers, they can last up to three days at room temperature. Just make sure they are completely cool before sealing.
Freezing Instructions
If you want to store the rolls for longer, freezing is a great option. Wrap each roll tightly in plastic wrap. Then, place them in a freezer bag. They can stay fresh for up to three months in the freezer. When you are ready to eat them, simply thaw in the fridge overnight.
Reheating Tips for Best Results
To reheat the rolls, preheat your oven to 350°F (175°C). Place the rolls on a baking tray and cover with foil. Heat for about 10-15 minutes or until warm. This helps keep them soft and tasty. You can also microwave them for 15-20 seconds for a quick option. Enjoy the warm, cheesy goodness again!
FAQs
How to make pull-apart rolls from scratch?
To make pull-apart rolls from scratch, you start with basic ingredients. You need flour, yeast, sugar, salt, warm milk, butter, garlic, and Parmesan cheese.
1. First, activate the yeast with warm milk and sugar. Wait until it bubbles.
2. Mix the flour and salt in a bowl. Make a well in the center.
3. Add the yeast mix and melted butter into the well. Stir until it forms dough.
4. Knead the dough for five minutes until it is smooth.
5. Let it rise in a warm spot for about one hour.
6. Divide the dough, fill each piece with garlic and cheese, and shape them into balls.
7. Let them rise again, then bake until golden brown.
Can I use a bread machine for this recipe?
Yes, you can use a bread machine. It makes the process easier. Just add the ingredients in the order your machine suggests.
1. Start with the wet ingredients first, like the warm milk and melted butter.
2. Then add the dry ingredients, including the flour, yeast, and salt.
3. Set the machine to the dough cycle. It will mix, knead, and let the dough rise.
4. After the cycle, shape the rolls and let them rise again before baking.
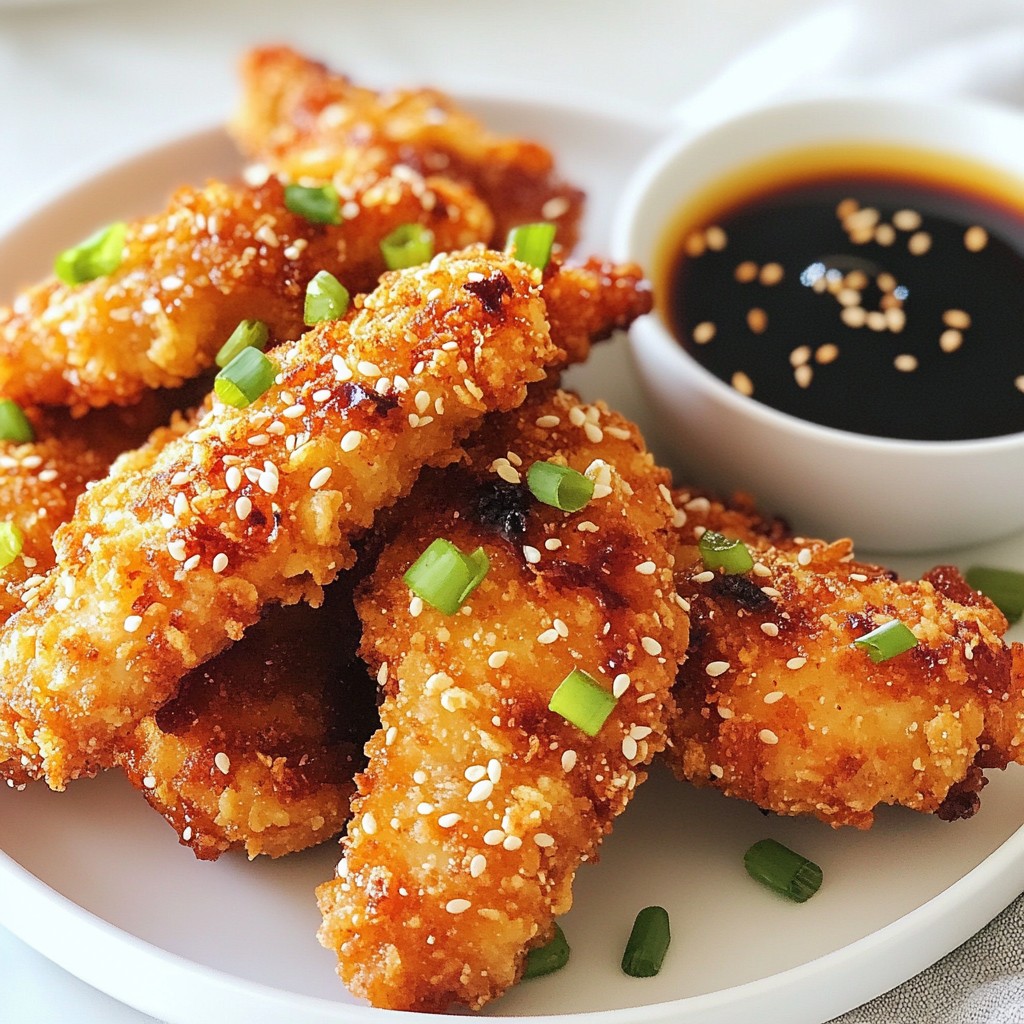
What are some good dipping sauces for garlic Parmesan rolls?
Dipping sauces can take your rolls to the next level. Here are some tasty options:
- Marinara Sauce: A classic choice with a rich tomato flavor.
- Garlic Butter: Melted butter with extra garlic for a rich dip.
- Ranch Dressing: Creamy and herby, it pairs well with the rolls.
- Cheese Sauce: For cheese lovers, a warm cheese dip is always a hit.
- Pesto: Adds a fresh, herby taste that complements the garlic.
These dips will make your rolls even more delicious!
In this blog post, I covered how to make delicious rolls from scratch. We explored the key ingredients and their substitutions. You learned step-by-step instructions for activating yeast, kneading dough, and shaping rolls. I also shared tips for perfect texture and avoiding mistakes. You can try several variations by changing up flavors and fillings. Finally, I provided storage methods to keep your rolls fresh. With these insights, you'll master this recipe and impress everyone with your baking skills. Enjoy your cooking adventure!