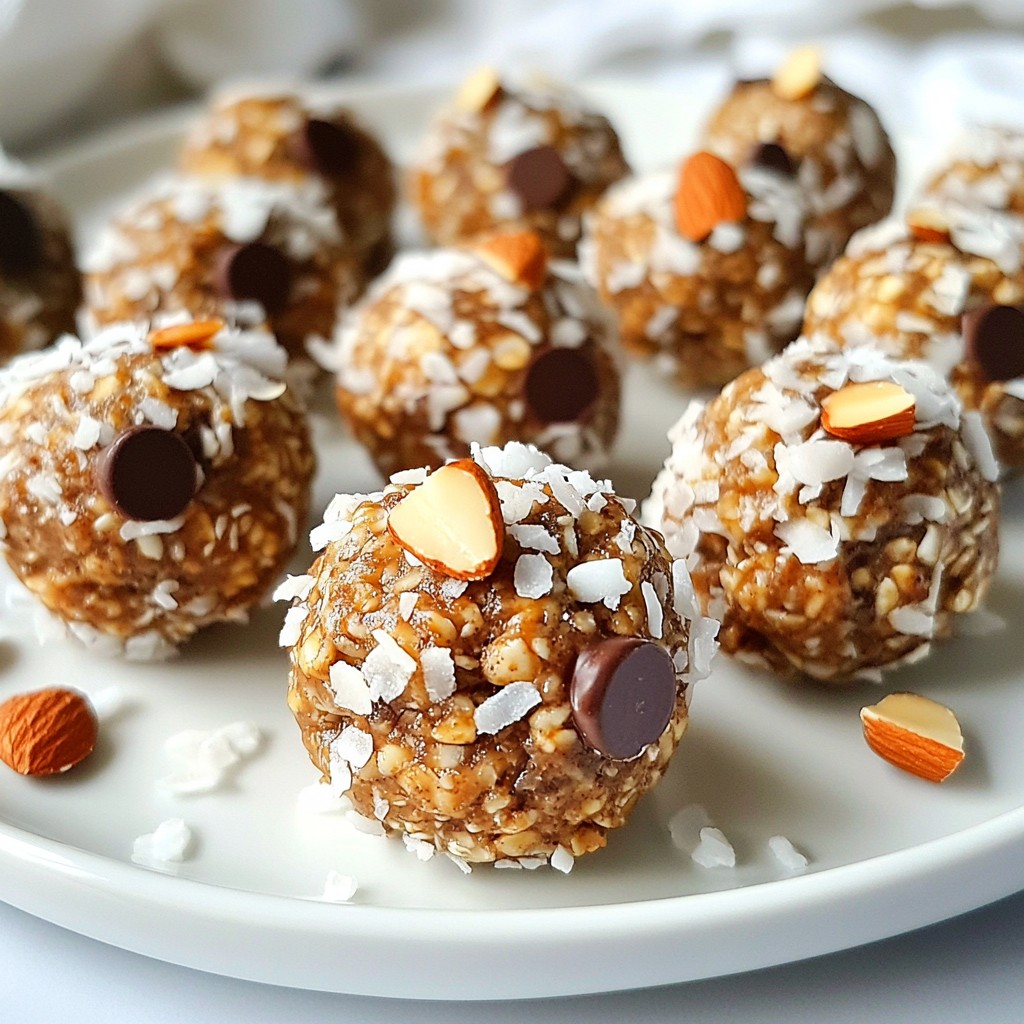
Looking for a delicious snack that’s easy to make? You’ll love these homemade chewy granola bars! Packed with wholesome ingredients like oats, nuts, and dried fruits, they’re great for on-the-go or a quick pick-me-up. Plus, you can customize them to fit your taste. Let’s dive into this simple recipe and whip up a batch that your whole family will enjoy!
Ingredients
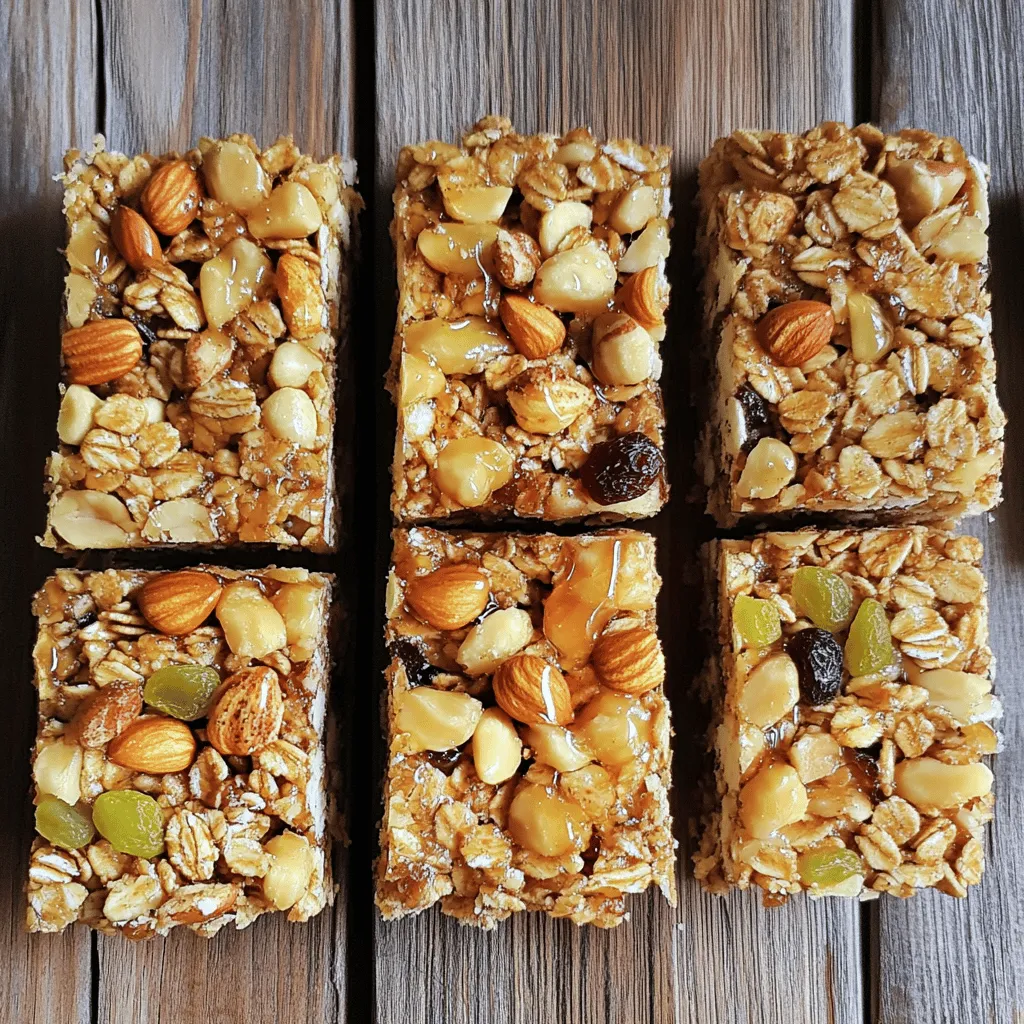
Here are the key ingredients to make these tasty homemade chewy granola bars:
– 2 cups rolled oats
– 1 cup mixed nuts (almonds, walnuts, and cashews)
– 1/2 cup honey or maple syrup
– 1/2 cup almond butter or peanut butter
– 1 teaspoon vanilla extract
– 1/2 teaspoon ground cinnamon
– 1/2 cup dried fruits (raisins, cranberries, or chopped apricots)
– 1/4 cup chia seeds (optional)
– Pinch of salt
You can switch up the nuts or dried fruits based on your taste. I love using walnuts and cranberries for a nice crunch and sweet bite. The oats give the bars a great base, while the nut butter and honey hold everything together. You can also use maple syrup for a vegan option. Don’t forget the pinch of salt; it adds a nice balance to the sweetness.
When I make these bars, I often add chia seeds for extra nutrition. They help with texture, too! You can find all these ingredients at your local store or online.
Step-by-Step Instructions
Preparation Steps
– Preheat the oven to 350°F (175°C) and prepare the baking pan.
– Mix dry ingredients in a bowl.
Start by preheating your oven to 350°F (175°C). This step gets your oven ready for baking. Next, grab an 8×8 inch baking pan. Line it with parchment paper. Make sure to leave some paper hanging over the edges. This helps you lift the bars out later.
In a big bowl, combine the rolled oats, mixed nuts, dried fruits, chia seeds (if you want), ground cinnamon, and a pinch of salt. Stir well. You want all the dry ingredients mixed evenly.
Combining Ingredients
– Heat honey/maple syrup and nut butter, stir in vanilla.
– Combine wet and dry mixtures until thoroughly coated.
Now, take a small saucepan and heat the honey or maple syrup. Add the almond butter or peanut butter. Stir it often over low heat until the mixture is smooth. This should take about 2 to 3 minutes. Once done, take it off the heat and stir in the vanilla extract. This adds a nice flavor.
Pour the warm mixture over the dry ingredients in your bowl. Use a spatula or a wooden spoon to mix. Make sure the oats and nuts are well coated with the sticky mixture. This step is key to getting chewy bars.
Baking Process
– Transfer the mixture to the pan, press down, and bake.
– Cool down and cut into bars.
Next, transfer the mixture into your prepared baking pan. Press it down firmly with a spatula or your hands. This helps the bars hold together after baking.
Put the pan in your preheated oven. Bake for about 15 to 20 minutes. Look for a nice golden brown color and a sweet nutty smell.
After baking, take the pan out and let it cool for at least 30 minutes. Once it cools, you can lift it out using the parchment paper. Place it on a cutting board.
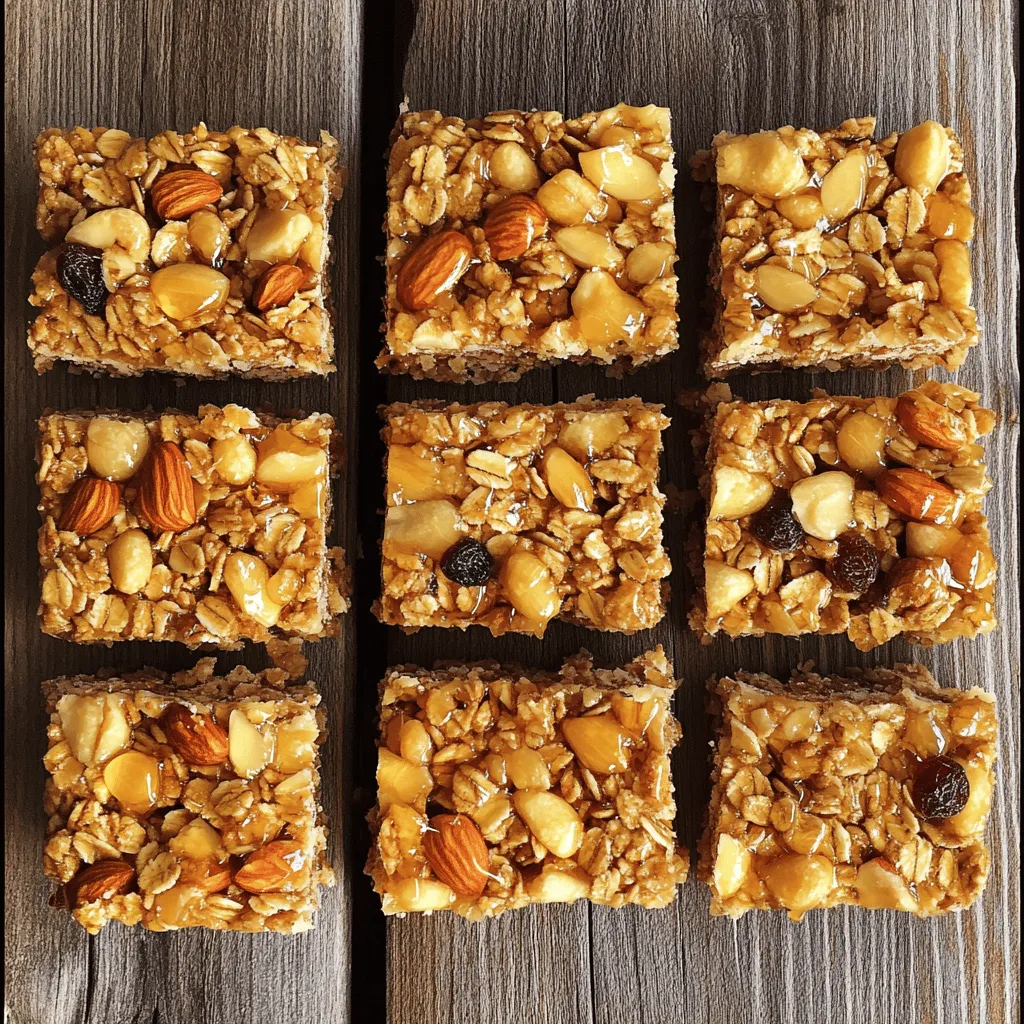
Now use a sharp knife to cut the cooled mixture into bars. Enjoy these healthy and tasty chewy granola bars, or store them in an airtight container. They will be good for up to a week.
Tips & Tricks
Achieving the Right Texture
To get chewy granola bars, you need to press the mixture firmly into the pan. The more you press, the better they hold together. If you want crunchy bars, add a few extra minutes to the baking time. This slight change can make a big difference. After baking, let them cool completely in the pan before cutting. This helps them set and stay chewy.
Flavor Enhancements
You can add fun flavors to your bars. Try mixing in coconut flakes or a dash of nutmeg. You can also switch nut butters. Almond butter gives a sweet taste, while peanut butter offers a richer flavor. Each nut butter adds its own unique twist. Consider using sunflower seed butter for a nut-free option.
Baking Time Adjustments
Ovens can vary, so keep an eye on your bars as they bake. If your oven runs hot, check them a few minutes early. Look for a golden top and a nice nutty smell. If they look too brown, take them out right away. Remember, the bars will firm up as they cool.
Variations
Nut Alternatives
If you want to make nut-free bars, seeds are a great option. Use pumpkin seeds or sunflower seeds instead of nuts. They give a nice crunch and are full of nutrients. If you love nuts, feel free to mix it up! Try using almonds, walnuts, or pecans based on what you like best. Each nut adds its own flavor and texture.
Sweetener Substitutions
You can swap honey or maple syrup for other sweeteners. Agave syrup works well too. If you prefer brown sugar, that’s an option too! Just remember, each sweetener has a different sweetness level. You may need to adjust the amount based on how sweet you want your bars.
Add-Ins and Mix-ins
Get creative with your bars by adding extra ingredients. Chocolate chips make a tasty treat, and coconut flakes add a tropical flair. You can also mix in seasonal fruits like dried apples or peaches. These add flavor and make your granola bars unique.
Storage Info
Best Storage Practices
To keep your granola bars fresh, use an airtight container. Glass or plastic containers work well. Make sure the lid fits tightly to seal in freshness. You can also wrap each bar in parchment paper for easy grabbing. This keeps them from sticking together. For long-term storage, consider vacuum-sealing the bars. This method removes air and helps prevent spoilage.
Shelf Life
At room temperature, these bars last about one week. Store them away from direct sunlight and heat. If you want to keep them longer, freezing is a great option. Wrap the bars in plastic wrap and place them in a zip-top bag. They can last up to three months in the freezer. When ready, just thaw them in the fridge overnight before enjoying.
Serving Recommendations
Enjoy these bars as a quick snack or breakfast. They are great on their own. For a fun twist, serve them with yogurt or fresh fruit. You can also crumble them over a smoothie or salad for added crunch. Pairing with nut butter or honey can enhance the flavor even more. These simple ideas can make your snack time even better.
FAQs
Can I make these granola bars vegan?
Yes, you can easily make these bars vegan. Replace honey with maple syrup. Use a plant-based nut butter like peanut or sunflower seed butter. Choose dried fruits that are unsweetened and check labels for any animal-based additives. This way, you get a tasty vegan treat.
What can I use instead of almond butter?
If you don’t have almond butter, use peanut butter. It adds a rich flavor but may taste different. Sunflower seed butter is a great nut-free option. Be aware that each nut butter brings its own unique flavor and texture to the bars.
How to customize these bars for dietary restrictions?
For gluten-free bars, choose certified gluten-free oats. You can also skip nuts if allergies are a concern. Instead, use seeds like pumpkin or sunflower seeds. Always read labels to ensure that all ingredients are safe for your dietary needs.
Can I add protein powder to the recipe?
Yes, adding protein powder is easy! Mix in 1 to 2 scoops of your favorite protein powder with the dry ingredients. This may change the texture slightly, so add a bit more nut butter or liquid. This helps keep the bars chewy and delicious.
Why did my bars fall apart?
Bars can fall apart for a few reasons. Not pressing the mixture firmly enough can lead to crumbling. Ensure your mixture is well combined so it sticks together. If you bake them for too short a time, they may not hold their shape. Follow the baking time closely for the best results.
This blog post provided a clear guide to making delicious granola bars. You learned about key ingredients, easy steps, and helpful tips. Customizing your bars can enhance flavor and meet your needs. Remember to adjust baking times for best results. Store your bars properly to enjoy them longer. With these insights, you can create tasty snacks that fit your taste and lifestyle. Now, go ahead and make your own granola bars, and enjoy every bite!