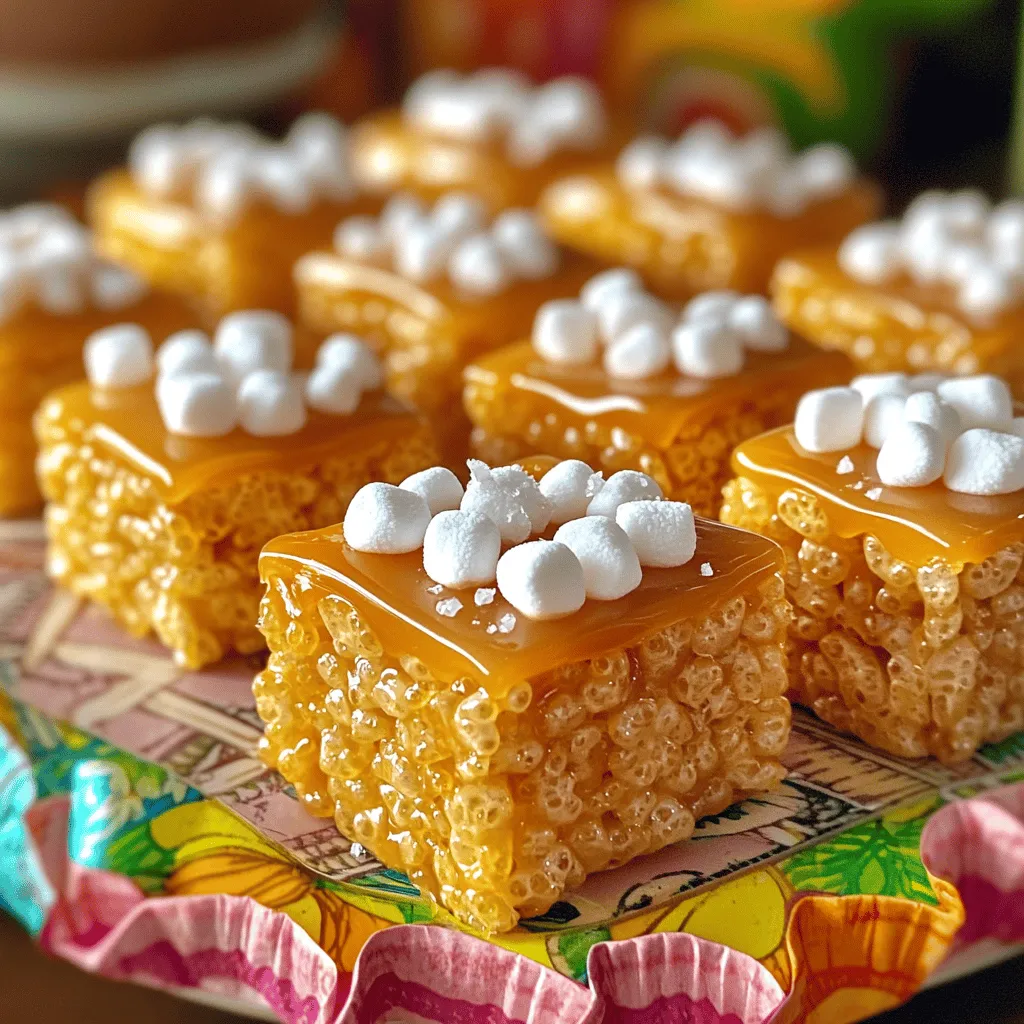
Get ready to satisfy your sweet tooth with my Salted Caramel Rice Krispie Treats! These treats blend gooey caramel, creamy peanut butter, and crunchy Rice Krispies for an unforgettable taste. Perfect for snacks or parties, they promise to be an instant hit. In this post, I’ll guide you through the simple steps to create this irresistible delight at home. You won’t want to miss my tips on perfecting the salty-sweet balance!
Ingredients
Complete List of Ingredients
– 6 cups Rice Krispies cereal
– 1 cup mini marshmallows
– 1 cup creamy or chunky peanut butter
– 1 cup unsalted butter (equivalent to 2 sticks)
– 1 cup granulated sugar
– 1/2 cup packed brown sugar
– 1 teaspoon vanilla extract
– 1 teaspoon sea salt (plus additional for garnish)
Ingredient Substitutions
You can change some ingredients if needed. For peanut butter, try almond butter or sunflower seed butter. These will add a different taste but still work well. If you can’t find mini marshmallows, you can use regular marshmallows. Just cut them into smaller pieces.
Important Ingredient Notes
The type of chocolate or caramel you use can change the flavor. Choose high-quality chocolate for a richer taste. A good caramel will add depth too. Always check the labels for freshness and quality.
Step-by-Step Instructions
Preparing the Base Mixture
Start by melting the butter in a large saucepan over medium heat. Once it melts, add the granulated and brown sugars. Stir constantly until the mixture begins to boil lightly. This boiling stage is key for achieving that deep, caramelized flavor that makes these treats special.
Adding Creaminess and Flavor
Next, lower the heat to a gentle simmer. It’s time to mix in the mini marshmallows and peanut butter. Keep stirring until everything melts and blends smoothly, which takes about 2-3 minutes. This step is crucial for getting that creamy texture. If you skip this, your treats may not be as rich and delicious.
Finalizing the Mixture
Now, fold in the Rice Krispies cereal. Do this gently, ensuring every piece gets coated in that sweet caramel mix. This is important to prevent the cereal from breaking. Once mixed, lightly grease a 9×13 inch baking dish with cooking spray or butter. Pour the Rice Krispie mixture into the dish. Use a spatula or your hands to spread it evenly. Press down firmly but gently to compact the mixture, which helps it hold together well.
Tips & Tricks
Enhancing Texture and Flavor
To keep the mixture from getting too hard, avoid cooking it too long. Once the sugars melt, just bring it to a light boil. Then, take it off heat as soon as you see bubbles. This method helps keep your treats chewy and soft.
Balancing salty and sweet is key. Use a teaspoon of sea salt in the mix, and sprinkle more on top. This adds a nice contrast and makes each bite pop with flavor. Always taste the mixture before pouring it over the Rice Krispies to ensure it’s just right.
Serving Suggestions
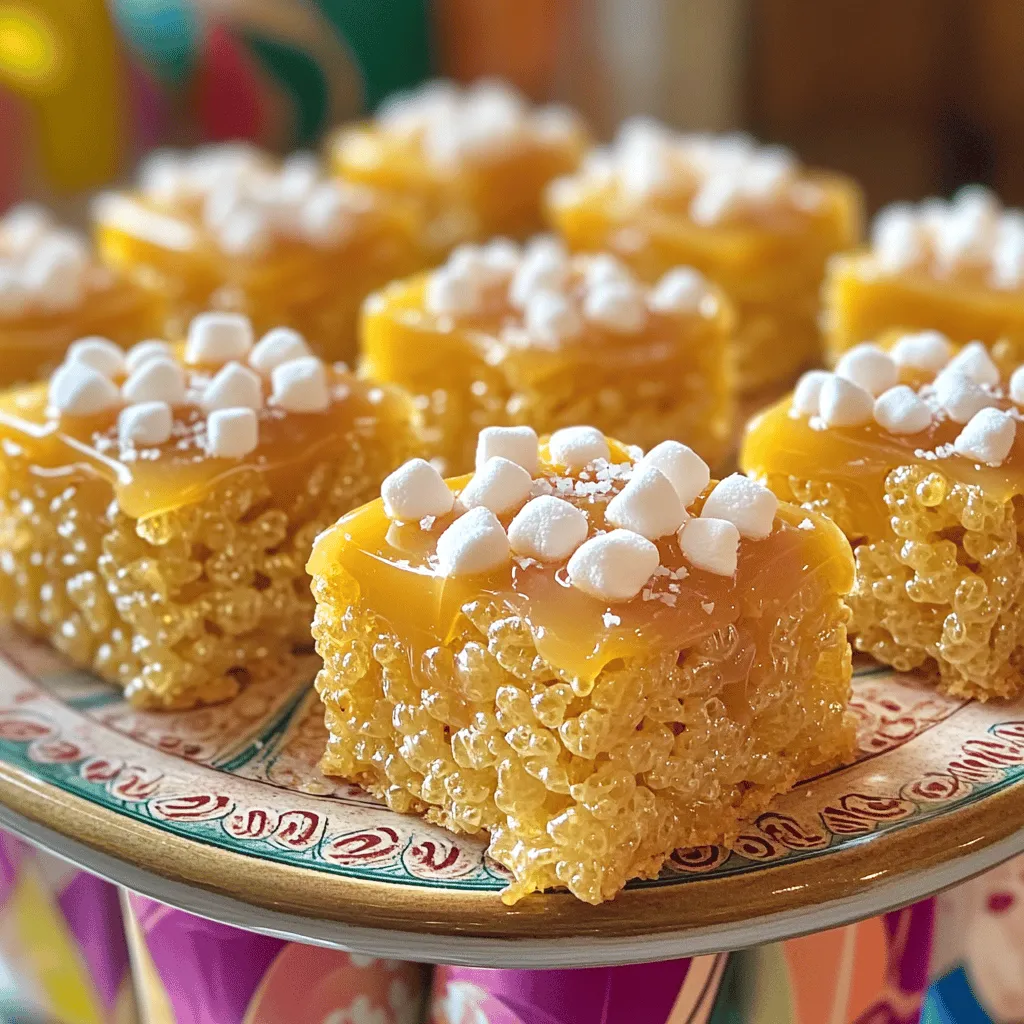
For a fun presentation, cut the treats into fun shapes using cookie cutters. You can also stack them in a clear jar for a lovely display. This lets everyone see the delicious layers of caramel and cereal.
Pair these treats with warm milk or a scoop of vanilla ice cream. The warm drinks contrast well with the cool sweets. You can also serve them with a rich coffee for a nice kick.
Common Mistakes to Avoid
If your mixture is too sticky, it may mean you added too many marshmallows or didn’t cook it long enough. To fix this, add a bit more Rice Krispies. If the mix is too crumbly, you may need more melted butter or peanut butter. Mix in a spoonful at a time until it holds together better.
Variations
Flavor Variants
You can change up the flavors in your salted caramel Rice Krispie treats. Different types of peanut butter can add a twist. Try crunchy for texture or flavored ones like chocolate or honey. You can also toss in chocolate chips or nuts. Dark chocolate chips add a rich taste. Chopped nuts like pecans or almonds give a nice crunch.
Dietary Adjustments
For gluten-free options, use gluten-free Rice Krispies. This way, everyone can enjoy these treats. If you need vegan alternatives, swap the butter for coconut oil. Use vegan marshmallows and a nut butter of your choice. This keeps the recipe plant-based and just as tasty.
Serving Variations
You can serve these treats in many ways. Create bars for a thicker bite or stick to traditional squares for a classic look. You can also decorate them. Drizzle melted chocolate or caramel on top for extra flair. A sprinkle of sea salt adds to the flavor and makes them look fancy.
Storage Info
Best Storage Practices
To keep your salted caramel Rice Krispie treats fresh, use an airtight container. A glass or plastic container works well. Line the bottom with parchment paper. This helps prevent sticking. Store the treats at room temperature. They stay good for about 3 to 5 days.
Freezing Options
You can freeze the treats too! First, let them cool completely. Wrap them tightly in plastic wrap. Then place them in a freezer-safe bag. They can stay fresh in the freezer for up to 3 months. When you want to enjoy them, remove them from the freezer. Let them thaw at room temperature for a few hours. This keeps the texture nice and chewy.
Signs of Spoilage
Check for changes in texture or smell. If the treats feel hard or dry, they may have gone bad. Look for any off smells or signs of mold. If you see any, it’s best to throw them away. Always trust your senses to ensure your treats are fresh!
FAQs
How to make Salted Caramel Rice Krispie Treats?
To make salted caramel Rice Krispie treats, follow these easy steps. First, melt unsalted butter in a large saucepan over medium heat. Add granulated and brown sugars, stirring until it bubbles. This creates a great caramel flavor. Next, lower the heat and mix in mini marshmallows and peanut butter. Stir until smooth. Remove from heat and add vanilla extract and sea salt. This step enhances the taste. Fold in Rice Krispies cereal gently. Pour the mix into a greased 9×13 dish and press down firmly. Let it cool for 30 minutes, then cut into squares. For a tasty touch, sprinkle more sea salt on top.
Can I use alternative cereals?
Yes, you can use different cereals. Some great options include Cornflakes, Cheerios, or even puffed rice. Each cereal brings its unique flavor and texture. If you use a sweeter cereal, you may want to reduce the sugar slightly. If you prefer a crunchier treat, try adding some nuts or seeds. This twist keeps it fun and interesting!
How long do these treats last?
Salted caramel Rice Krispie treats last about a week when stored properly. Keep them in an airtight container at room temperature. If you want them to last longer, you can freeze them. Just wrap them tightly in plastic wrap and then in foil. When you want to enjoy them, let them thaw at room temperature. Always check for any signs of spoilage, like changes in texture or smell, to keep your treats fresh.
This article covered how to make delicious Salted Caramel Rice Krispie Treats. You learned about essential ingredients, tips, and variations. Remember to choose high-quality chocolates and marshmallows for the best flavor. Experiment with different nut butters and cereals for unique twists. Follow storage tips to keep treats fresh longer. With this guide, you can create tasty, fun snacks perfect for any occasion. Enjoy crafting your treats and sharing them with friends and family. Happy cooking!