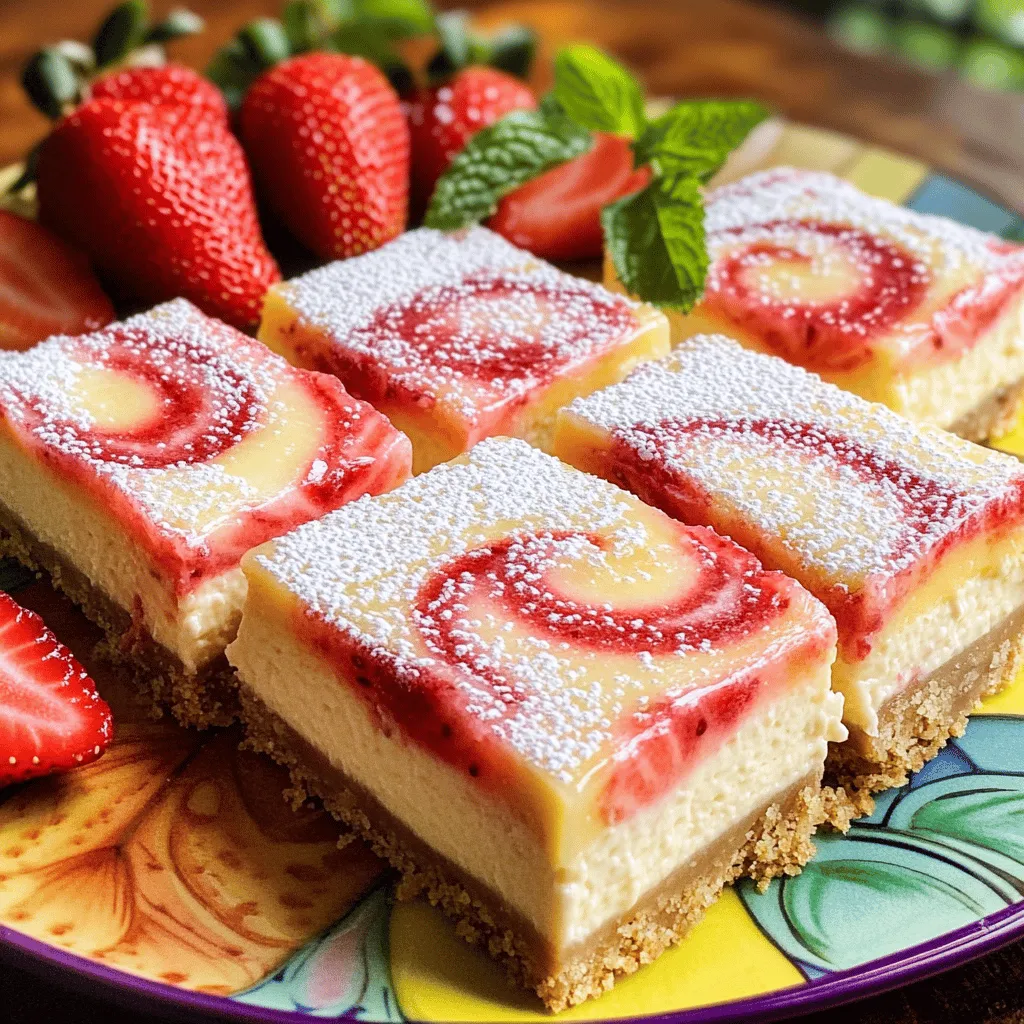
Get ready to indulge in a sweet treat that’s both tart and creamy! Strawberry Lemon Cheesecake Bars are the perfect dessert for any occasion. You’ll learn how to whip up a batch that will wow your friends and family. From making the crust to adding the perfect toppings, I’ll share every step. Let’s dive into this delightful dessert and elevate your baking game today!
Ingredients
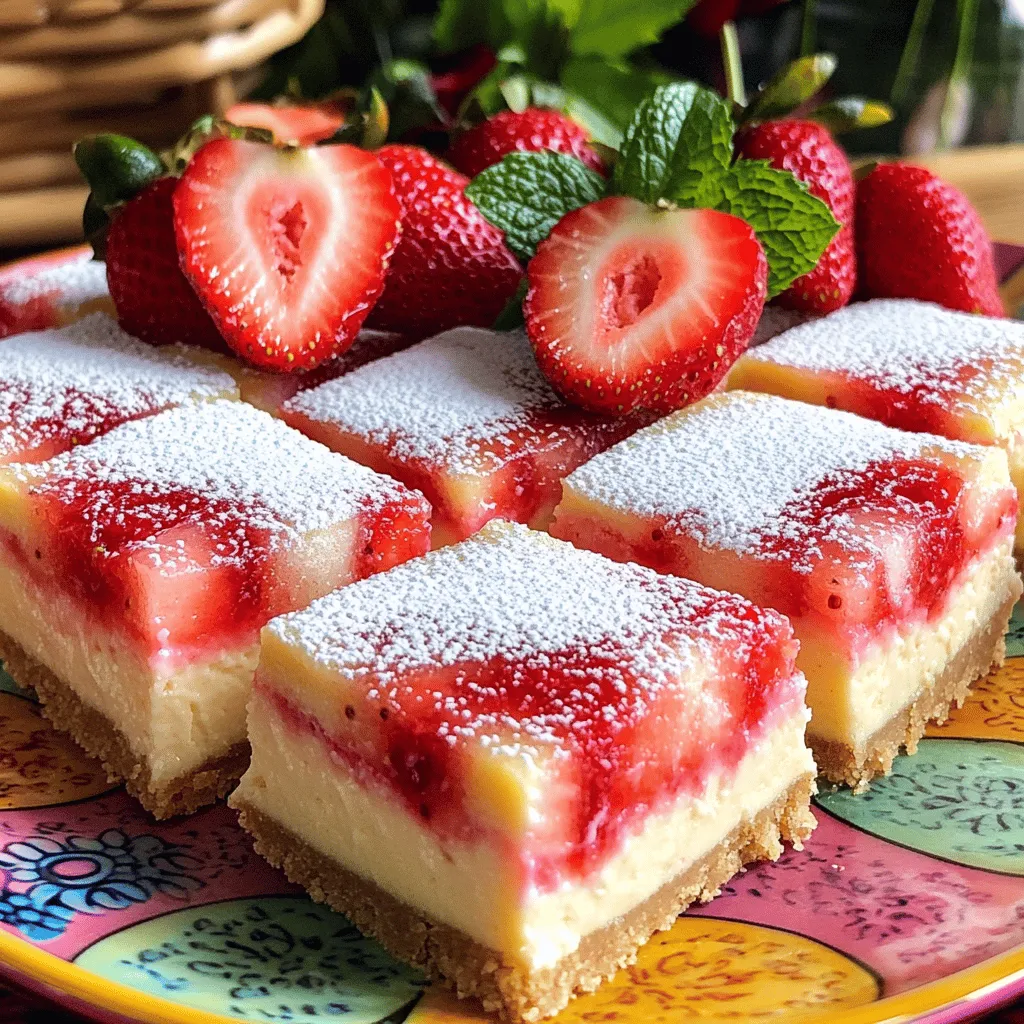
Main Ingredients for Strawberry Lemon Cheesecake Bars
To make delicious strawberry lemon cheesecake bars, you need these key items:
– 1 ½ cups graham cracker crumbs
– ½ cup unsalted butter, melted
– 2 tablespoons granulated sugar
– 2 (8-ounce) packages cream cheese, softened
– 1 cup granulated sugar
– 3 large eggs, at room temperature
– 1 teaspoon pure vanilla extract
– 1 tablespoon lemon zest, finely grated
– ½ cup freshly squeezed lemon juice
– 1 cup fresh strawberries, pureed until smooth
– 2 tablespoons powdered sugar (for topping)
These ingredients blend to create a creamy, fruity treat that’s hard to resist.
Optional Toppings
While the bars are tasty on their own, you can add fun toppings. Here are some ideas:
– Fresh strawberry slices
– Mint leaves for color
– A drizzle of chocolate sauce
– A dollop of whipped cream
These toppings enhance the look and flavor of your dessert.
Suggested Pairings
When serving your strawberry lemon cheesecake bars, consider these pairings:
– A cup of tea for a light touch
– Sparkling water for a refreshing twist
– Vanilla ice cream for a rich contrast
– Fresh fruit salad for added freshness
These pairings make your dessert experience even more delightful.
Step-by-Step Instructions
Preparing the Oven and Pan
First, preheat your oven to 350°F (175°C). This step is key for even baking. Next, take a 9×9 inch baking pan. You can grease it or line it with parchment paper. If you use parchment, let some hang over the edges. This makes it easy to lift out the bars later.
Making the Crust
In a medium bowl, gather 1 ½ cups of graham cracker crumbs, ½ cup of melted unsalted butter, and 2 tablespoons of granulated sugar. Mix these ingredients well. You want the mixture to look like wet sand. It should hold together when you squeeze it in your hand. Once mixed, pack the crust tightly into the bottom of your prepared pan. Bake this crust for 10 minutes. After baking, let it cool slightly while you prepare the filling.
Blending the Cheesecake Filling
In a large mixing bowl, take 2 packages of softened cream cheese and 1 cup of granulated sugar. Use an electric mixer to beat them together until smooth. Make sure there are no lumps. Now, add 3 large eggs, one at a time. Mix well after each egg. Then, add 1 teaspoon of vanilla extract, 1 tablespoon of lemon zest, and ½ cup of freshly squeezed lemon juice. Mix until everything is combined and smooth.
Baking and Cooling the Bars
Carefully pour half of the cheesecake mixture over the cooled crust. Spread it evenly. Next, spoon 1 cup of pureed fresh strawberries on top. Use a knife or toothpick to swirl the strawberry puree into the cheesecake. Be gentle; you want a marbled look, not to mix it too much. Pour the rest of the cheesecake mixture over the strawberry layer and smooth it with a spatula.
Now, bake the bars for 30-35 minutes. The edges should be set, but the center should still jiggle a bit. This means the bars will be creamy. After baking, let them cool to room temperature. Cover and refrigerate them for at least 4 hours, or overnight is even better. This chill time helps the flavors blend and the texture set.
Tips & Tricks
How to Achieve a Creamy Texture
To get a smooth and creamy texture, start with softened cream cheese. It mixes better when it is at room temperature. Use an electric mixer for the best results. Beat the cream cheese and sugar until there are no lumps. Add eggs one at a time, mixing well after each. This helps keep the filling light and fluffy. If you follow these steps, your cheesecake will turn out creamy and delicious.
Swirling Strawberry Puree Effectively
Swirling the strawberry puree is fun and easy. First, spoon the puree onto the cheesecake layer in dollops. Then, grab a knife or toothpick. Gently drag it through the puree to create a marbled effect. Be careful not to overmix. You want to see those pretty swirls. This technique adds beauty and flavor to your cheesecake bars.
Best Practices for Chilling
Chilling is key for the perfect cheesecake bars. After baking, let them cool at room temperature first. This step helps prevent cracks. Then, cover the pan and place it in the fridge. Aim to chill for at least 4 hours. If you can wait overnight, do it! The longer they chill, the better the flavor will be. Enjoy your strawberry lemon cheesecake bars at their best!
Variations
Alternative Fruit Purees
You can switch things up by using different fruit purees. Instead of strawberries, try ripe raspberries, blueberries, or even peaches. Each fruit will give a unique taste and color. For a tropical twist, use mango puree. Just make sure the fruit is ripe for the best flavor. Blend it until smooth, just like with the strawberries.
Different Crust Options
While graham crackers make a great crust, you can explore other options. Try using crushed cookies like Oreos or gingersnaps for a different flavor. A nut-based crust, made from almond or pecan flour, adds a rich, buttery taste. Mix the nuts with melted butter and a bit of sugar, then press it into the pan as you would with graham crackers.
Gluten-Free Adaptations
If you need a gluten-free option, you can easily adapt the recipe. Use gluten-free graham crackers or a mix of almond flour and coconut flour for the crust. Be sure to check that all your ingredients are certified gluten-free. This way, you can enjoy the cheesecake bars without worry!
Storage Info
How to Store Leftover Cheesecake Bars
To keep your cheesecake bars fresh, first let them cool completely. Once cooled, cover the pan with plastic wrap or foil. You can also transfer the bars to an airtight container. This helps prevent drying and keeps them tasty. Store them in the fridge for up to five days.
Freezing Instructions
If you want to store the bars for longer, freezing is a great option. Cut the cheesecake into squares before freezing. Wrap each piece tightly in plastic wrap. Then place them in a freezer-safe bag or container. They can last up to three months in the freezer. When ready to eat, thaw them in the fridge overnight.
Best Serving Tips After Storage
After storing, the bars can lose some creaminess. To bring them back to life, let them sit at room temperature for about 30 minutes before serving. This will make them smoother and tastier. For a fun twist, add a sprinkle of fresh strawberries or mint on top for color and freshness.
FAQs
Can I use frozen strawberries instead of fresh?
Yes, you can use frozen strawberries. Just thaw them first. Pat them dry, then puree them. This helps avoid extra moisture in your cheesecake bars.
How long will cheesecake bars last in the refrigerator?
These cheesecake bars will stay fresh for up to five days in the fridge. Store them in an airtight container. This keeps them moist and tasty for a longer time.
Can I make these bars ahead of time?
Absolutely! You can make these bars a day or two in advance. Just remember to chill them well in the fridge. This helps the flavors blend perfectly. Plus, it saves you time on the day you plan to serve them.
In summary, we explored the key ingredients for making delicious strawberry lemon cheesecake bars. We covered the crust, filling, and optional toppings. You now have step-by-step instructions to create this treat, along with tips for a creamy texture and fun variations. Store them properly for the best taste later. Don’t forget to try freezing them for a refreshing dessert anytime. Enjoy your baking journey and impress your friends with your new skills!