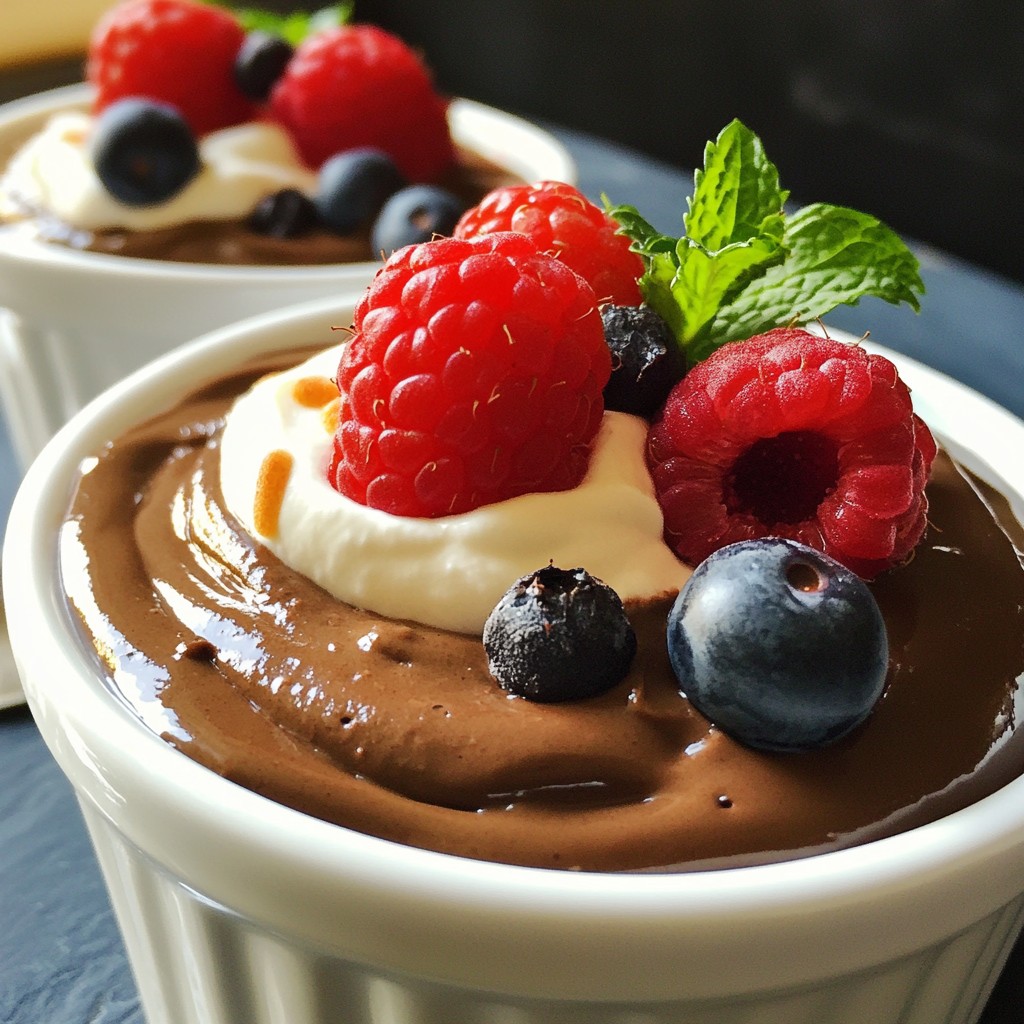
If you crave a rich dessert that's vegan and simple, this Vegan Chocolate Mousse is for you! With just six ingredients, you can whip up a creamy treat that satisfies your sweet tooth. Whether for a cozy night in or a special occasion, this mousse will impress everyone. In this post, I’ll guide you through easy steps, tips, and variations to make it truly yours. Get ready to indulge!
Why I Love This Recipe
- Decadent Texture: This mousse offers a rich and creamy texture that feels indulgent yet is completely plant-based.
- Simple Ingredients: With just a few wholesome ingredients, this recipe is easy to make and perfect for any occasion.
- Versatile Flavor: The combination of dark chocolate and coconut milk creates a delightful flavor that can be enhanced with various garnishes.
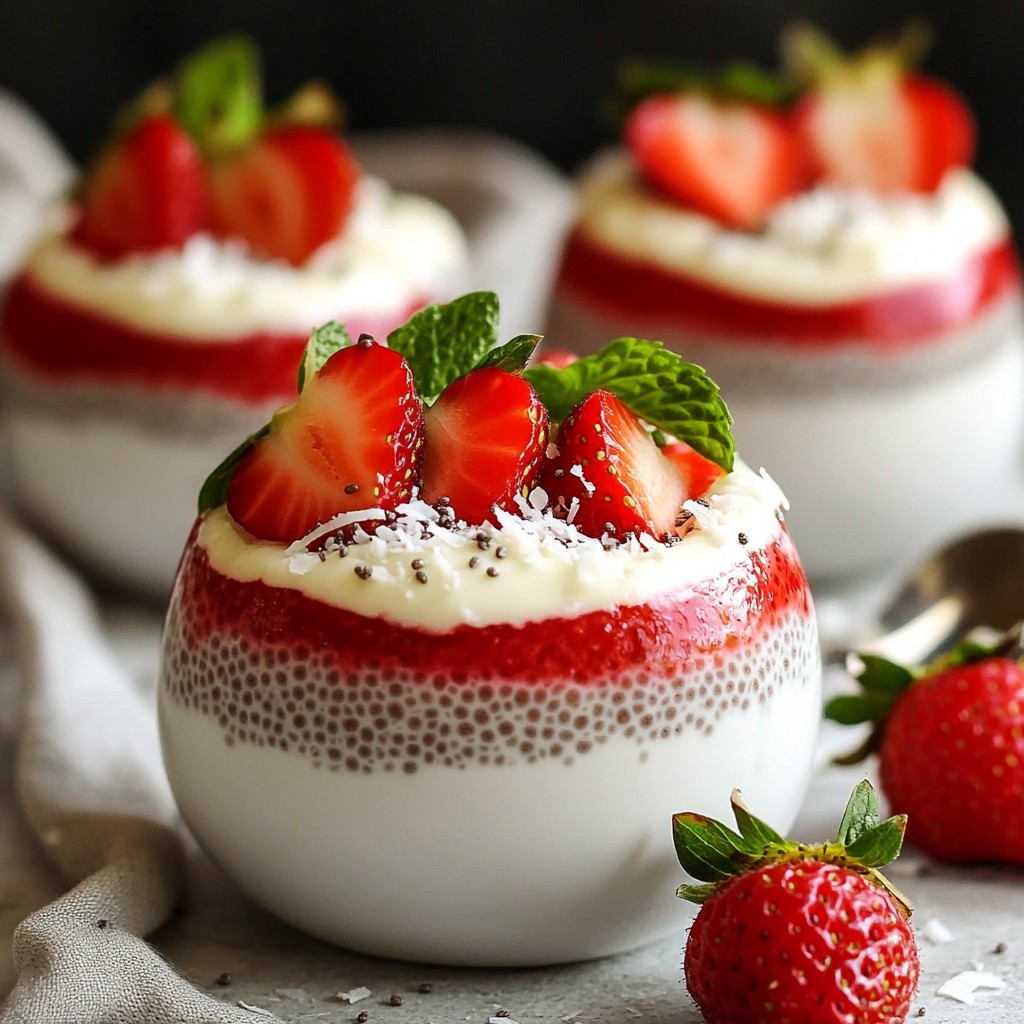
- Impressive Presentation: Served in elegant cups and garnished with fresh berries and mint, this mousse looks as good as it tastes!
Ingredients
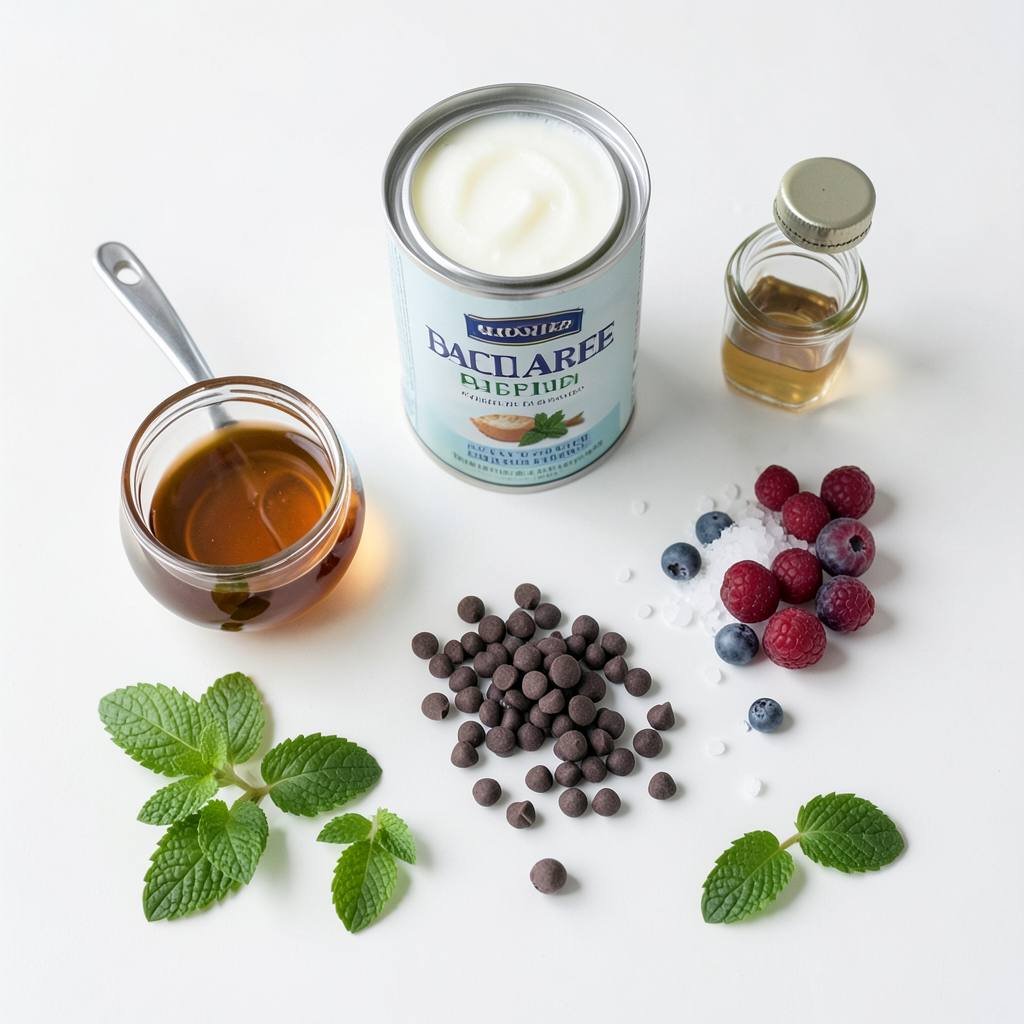
To make a tasty vegan chocolate mousse, you need simple ingredients that create a rich flavor. Here’s what you will need:
- 1 can (400ml) coconut milk, chilled overnight
- 1 cup dark dairy-free chocolate chips
- 1/4 cup pure maple syrup
- 1 teaspoon pure vanilla extract
- A pinch of fine sea salt
- Fresh berries (like raspberries or strawberries) and mint leaves for garnish
- Other optional ingredients can include a splash of espresso or a hint of almond extract
Each ingredient plays a role in giving this mousse its creamy texture and sweet taste. Coconut milk adds richness, while dairy-free chocolate chips bring that deep chocolate flavor. Maple syrup adds sweetness, and vanilla extract enhances the overall taste. A pinch of sea salt balances the sweetness. Fresh berries and mint make it look great and add a fresh touch.
Feel free to experiment with optional ingredients. A bit of espresso can deepen the chocolate flavor. Almond extract can give it a nice twist. Get creative and enjoy this fun dessert!
Step-by-Step Instructions
Preparation Steps
1. Chilling the mixing bowl
Start by placing your mixing bowl in the fridge for 10 to 15 minutes. A cold bowl helps the mousse stay light and fluffy.
2. Melting the chocolate
In a microwave-safe bowl, add the dark dairy-free chocolate chips. Heat it in the microwave for 30 seconds. Stir after each round until the chocolate melts smoothly. Set it aside to cool a bit.
3. Preparing the coconut cream
Open your can of chilled coconut milk. Scoop out the thick cream that forms on top. You can save the liquid for smoothies or other recipes.
4. Mixing and folding ingredients
In your cold mixing bowl, combine the coconut cream, maple syrup, vanilla extract, and a pinch of sea salt. Use a hand mixer or whisk to beat this mixture until it’s fluffy and doubled in size, about 2 to 3 minutes.
5. Spoon into serving dishes
Slowly pour the cooled melted chocolate into the whipped coconut cream. Gently fold it together with a spatula until it’s smooth. Be careful not to deflate the mixture. Then, spoon or pipe the mousse into individual serving dishes.
6. Chilling the mousse
Place your filled dishes in the fridge. Chill for at least 2 hours. This helps the mousse set and brings out its rich flavor.
7. Garnishing
Just before you serve, top each mousse with fresh berries and a mint sprig. This adds a nice touch and makes it look beautiful.
Enjoy this rich, vegan chocolate mousse!
Tips & Tricks
Achieving the Perfect Texture
To make a smooth vegan chocolate mousse, start with a chilled bowl. This helps keep the mousse light and fluffy. Place your mixing bowl in the fridge for about 10-15 minutes before you begin. Next, using chilled coconut milk is key. When you open the can, only scoop out the solid cream on top. Discard the liquid or save it for smoothies.
When mixing, gently fold the melted chocolate into the whipped coconut cream. Use a spatula and a light hand. This keeps the air in the mousse, making it airy. If you want to adjust sweetness, taste the mixture. You can add more maple syrup if needed, but remember to do it slowly.
Presentation Suggestions
For an elegant touch, serve the mousse in glass cups. This showcases the rich color and texture. To make it look even better, garnish with fresh berries. Raspberries and strawberries work well. You can also add a sprig of mint on top for a pop of green.
Another fun idea is to drizzle melted chocolate over the berries. This adds a nice touch and extra flavor. Enjoy your mousse, and remember, presentation matters!
Pro Tips
- Chill the Bowl: Chilling your mixing bowl helps achieve a fluffy texture in the mousse, as it keeps the coconut cream from melting too quickly when whipped.
- Quality Chocolate: Using high-quality dark dairy-free chocolate will enhance the flavor of your mousse significantly, so opt for a brand you love!
- Don’t Rush the Cooling: Allow the melted chocolate to cool slightly before adding it to the whipped coconut cream to prevent it from melting the mixture.
- Presentation Matters: Serving the mousse in clear cups or glasses not only makes it visually appealing but also showcases the beautiful texture and layers of the mousse.
Variations
Raw Vegan Chocolate Mousse
To make a raw vegan chocolate mousse, swap regular chocolate chips for raw cacao nibs. Use fresh dates instead of maple syrup for sweetness. This keeps the mousse raw and rich. Raw cacao is packed with antioxidants, fiber, and minerals. Dates add natural sugars and help bind the mousse.
The raw version tastes just as good. It feels light and creamy. You will love the intense chocolate flavor. Plus, you gain health benefits with each bite. Using raw ingredients means you eat more nutrients. This is a great choice for health lovers.
Gluten-Free Options
When making this mousse, ensure your chocolate chips are gluten-free. Not all brands are safe, so check the label. Some brands are made in factories that process gluten. Look for certified gluten-free options to be safe.
You can pair this mousse with gluten-free desserts. Try serving it with almond flour cookies or gluten-free cakes. It also goes well with fresh fruit. This way, everyone can enjoy a tasty treat without worry.
Storage Info
How to Store Vegan Chocolate Mousse
To keep your vegan chocolate mousse fresh, use airtight containers. Glass containers work best. They prevent air and moisture from getting in. This helps the mousse stay creamy and fluffy.
For best texture, avoid heating the mousse. Keep it cool and away from sunlight. When storing, do not cover the mousse too tightly. This can cause condensation and ruin its texture.
You can store the mousse in the fridge for up to 3 days. After that, it may lose its lightness and flavor. If you see any signs of spoilage, like an off smell or change in texture, throw it away.
Freezing Instructions
If you want to save mousse for later, freezing is an option. Use freezer-safe containers or silicone molds. Make sure they have tight lids to avoid freezer burn.
When you are ready to enjoy it, thaw the mousse in the fridge. This keeps the texture nice. Avoid thawing in the microwave, as it can change the mousse's creamy quality.
Let the mousse sit in the fridge for several hours. Once thawed, give it a gentle stir to restore its fluffiness.
FAQs
Can I use other types of dairy-free milk?
Yes, you can! Almond milk, soy milk, or oat milk work well. These options change the taste a bit, but they still make a creamy mousse. Just make sure they are unsweetened to keep the flavor balanced.
How long does the mousse last in the fridge?
The mousse lasts about 3 to 5 days in the fridge. Store it in an airtight container to keep it fresh. The texture may change slightly, but it will still taste great.
Can I make this recipe nut-free?
Absolutely! This recipe is already nut-free, as it uses coconut milk. If you choose dairy-free chocolate chips, you will have a perfect nut-free dessert.
What can I use as a substitute for maple syrup?
You can use agave syrup, brown rice syrup, or even date syrup. Each choice has a different flavor but still keeps the mousse sweet.
Is this chocolate mousse suitable for kids?
Yes! Kids love chocolate mousse. It has a rich flavor and a fun, fluffy texture. It’s also dairy-free, which is great for kids with lactose issues.
Can I add flavor variations, such as mint or coffee?
Definitely! You can add a few drops of mint extract or a teaspoon of instant coffee to the mousse. These flavors enhance the chocolate and add a nice twist. Just be sure to mix them in gently.
This blog post walks you through making a tasty vegan chocolate mousse. You learned about essential ingredients, step-by-step preparation, and tips for perfect texture. We covered fun variations, like raw vegan options and gluten-free swaps. You also got storage advice to keep your mousse fresh.
With these insights, you can create a delightful dessert that everyone will enjoy. Experiment with flavors, and don't forget to garnish for an extra special touch! Enjoy your chocolate mousse adventure!